TASCAM is a leading audio interface manufacturer, but US-1800 is one of their best launches, with more inputs than any other audio interface. It’s designed with four outputs and sixteen inputs, which can be transmitted to the Mac and Windows system over a USB 2.0 connection.
Moreover, there are eight microphone inputs that promise 60dB of clean gain and phantom power. However, there are some problems associated with USB connections, and this article contains different problems as well as solutions!
Solving Tascam 1800 USB Problems
- USB Doesn’t Stay Connected
When you connect this audio interface to the USB, the USB indicator LED turns on and stays on during the music session as the data keeps transferring through the USB protocol.
However, if the USB indicator LED turns off after some time, you have to disconnect the USB and plug it in again tightly because a loose USB can cause a connectivity issue. On the contrary, if re-plugging the USB doesn’t work, it’s recommended that you turn off the audio interface and clean the USB port that you are using.
With regular use, these ports collect dust, which hinders connectivity. So, use an alcohol wipe or a contact cleaner to clean the ports and dry them. Once the ports are cleaned and dried, connect the USB again.
- PC Not Detecting The Interface
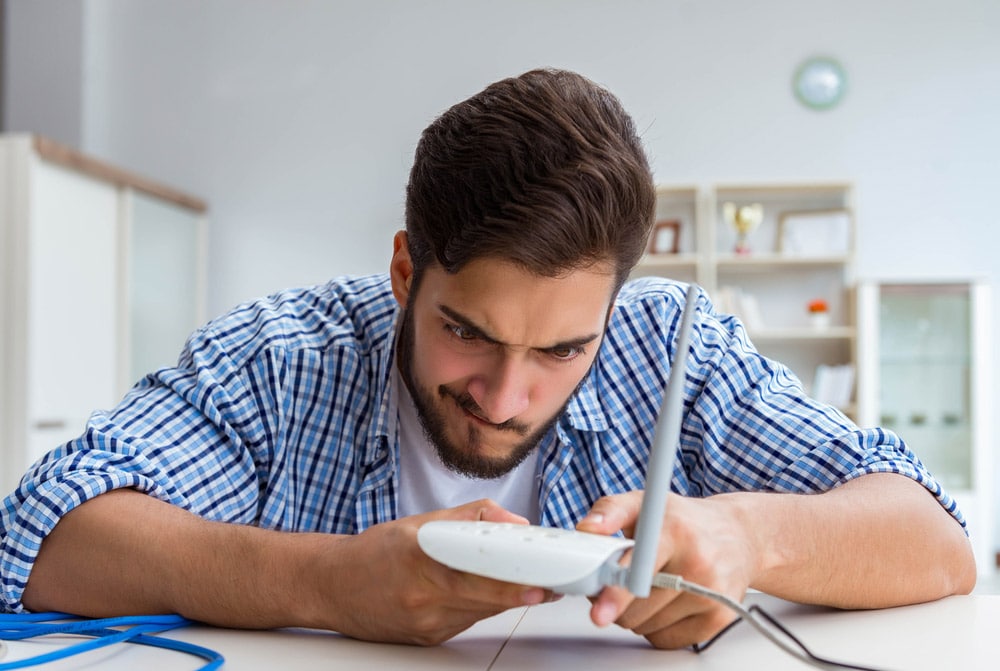
If you are connecting the USB cables to the PC, but the PC is not detecting your audio interface, you have to change the USB cable. In most cases, people opt for third-party cables, but it’s recommended to use a USB cable that comes in the TASCAM 1800 box.
On the other hand, if the original USB cable is damaged, you must ensure that the new cable is compliant with the data transferring requirements. It’s recommended that you share your audio interface model with the music shop owner, and he will provide a suitable USB cable.
- Too Much Noise
When you connect an audio source to the audio interface through a USB port, and it creates excessive noise, you must disconnect all the cables connected to the US-1800 and reconnect them tightly. Also, the ports must be clean (you can clean the dust buildup with contact cleaners or some alcohol wipes).
It’s recommended that you disassemble the audio interface to access the ports/jacks. That’s because if you apply the contact cleaner while the ports are connected, the liquid can seep into the system and cause a short circuit since there are electrical components inside.
- Installation Is Constantly Failing
If you are installing and setting up the audio interface for the first time and it won’t complete, you must check if the USB indicator is lit up. In case it’s off, you must ensure that the USB cable is tightly connected and make sure to use the USB cable that comes with the package.
If the connection is tight and you are using the right USB cable, the next solution is to change the USB port (use a built-in port) and install the drivers. Keep in mind that using the USB hub can hinder the connection, so take it out and connect the USB cable directly to the USB port.
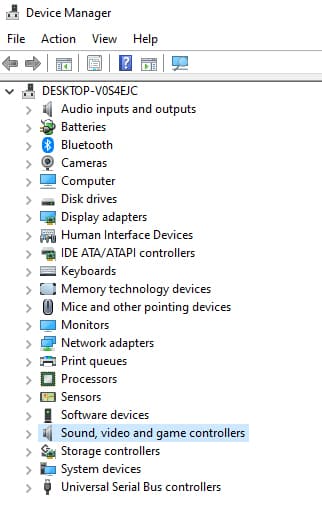
In addition to this, you must disable the antivirus program before starting the installation process because it can interfere with the installation process. If you are already using the right USB port and USB cable, but the installation is still failing, you must check the driver and install it on the computer.
Installing the driver is pretty easy as you can use the CD-ROM that comes with the interface. The drivers are regularly updated, and you can download the latest version from the official website. Also, if you haven’t installed the driver, follow the below-mentioned instructions for Windows;
-
- Make sure that the audio interface and PC aren’t connected through the USB cable
- Install the CD-ROM to the PC and open it
- Tap on the “install driver” option
- A language selection window will appear, and you can choose the desired language and hit the OK button
- Tap on the “install the driver” option, and when the new screen appears, press the “install” button
- When a next window opens, connect the audio interface and PC with the USB cable that came with the interface and turn on the audio interface
- Wait for a few seconds, and the new screen will appear. On this screen, press the “reboot now” option and let the system reboot
- When it comes on again, the driver will be installed

On the other hand, if you are using US-1800 with a Mac system, follow these steps to install the driver;
-
- Begin by ensuring that the audio interface and Mac aren’t connected
- Connect the CD-ROM
- When it turns on, click on the .dmg file twice, and a new folder will be created on the home screen
- Now, open this folder and double-click the .mpkf file
- As a result, there will be various on-screen prompts that you need to follow
- Once the installation is complete, reboot the Mac computer and connect US-1800
Keep in mind that CD-ROM is important for installation, so handle it with care and make sure there are no scratches. This is because a dirty or scratched CD-ROM hinders the computer’s ability to read it, resulting in installation issues.
Last but not least, you must follow these instructions quickly because if you wait too long, the installation will fail.
- No Sound Even After Connecting The USB
If you have connected the USB to the right port, but the audio interface is not producing the sound, you must ensure that the audio output is properly set on the computer.
However, if the audio interface is still not producing the sound, you have to check the audio settings. The audio settings are different for Windows and Mac computers, such as;
- Windows XP – if you are using Windows XP, shut down all the programs and apps, open the control panel through the start menu, and go to the “sounds and audio devices” tab. Then, open the audio tab and make sure the sound recording option is set to US-1800
- Windows Vista & 7 – if you are using any of these Windows systems, you must close all the apps and programs, open the sound tab from the control panel, and open the playback tab. From this tab, right-click US-1800 and tap on the “set default” option
- Mac – if you are a Mac user, exit all the apps and software, open the System Preferences, and move to the sound tab. Scroll down to the Output tab and choose US-1800 as the output
When you make these changes to the settings, reboot the computers and check the sound. In addition to this, you must ensure that the DAW driver settings are correct.
- Breaking Sound
When you connect the audio interface to the computer with the USB cable, and it starts producing breaking sound, it’s likely caused by excessive load on the computer. To reduce the computer load, it’s recommended that you disconnect the wireless LAN connection.
In addition to this, you must ensure that the background apps and antivirus software are closed down while you are using the audio interface. Secondly, you could try increasing the latency (buffer size) from the audio interface’s control panel.
In addition, if you have connected your US-1800 to the Windows system, open the settings from the control panel, go to the performance tab, and choose the “Adjust for best performance” button.
- Computer Reboots Whenever US-1800 Produces Sound
It’s needless to say that this audio interface is connected to the computer for real-time editing, but if the computer reboots whenever the unit tries to produce sound, it’s likely that you have selected a 24-bit option for “select the bit depth and sample rate when using in the shared mode”.
To fix this problem, you must choose the 16-bit setting. Also, the company is working on rolling out a new driver update to overcome this issue, so in the meantime, shift to a 16-bit setting.
We have found that simply turning the US-1800 off then back on using the switch on the front panel normally resynchronizes the USB connection without all of the other suggestions that you have made… We generally do this before each recording session and have had very few issues.