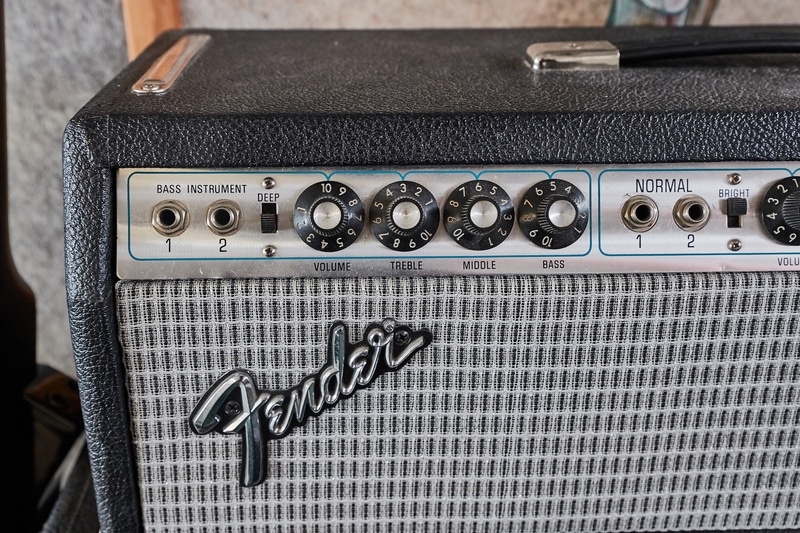
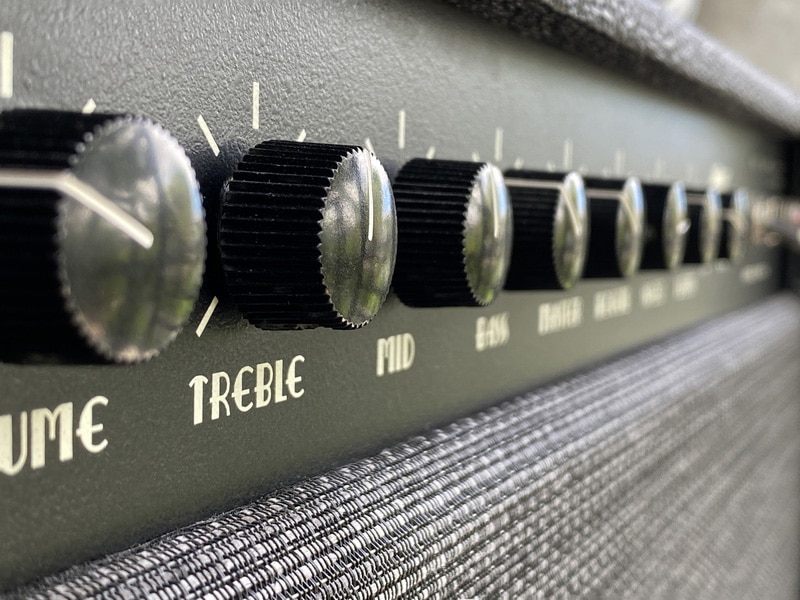
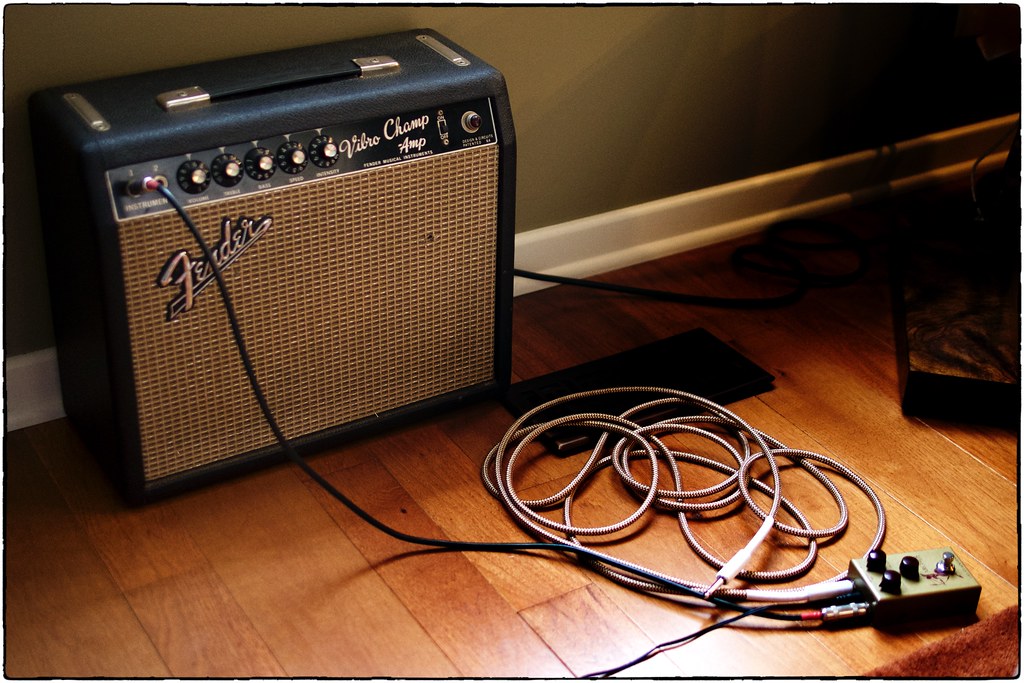
Fender is a well-known name in the musical instrument industry and this ’68 reverb is one of the best they have designed. That’s because the reverb has a classic design with moderate power and a lightweight and compact design. It is integrated with a vintage channel for producing silver panel tones.
Overall, it has great quality and exceptional performance. However, there are times when the reverb stops working or creates distortion in the music. For this reason, it’s important to be aware of the common problems of this reverb!
Common Fender 68 Custom Deluxe Reverb Problems
- Crackling Sound with Low Output
If you are getting crackling sounds in the music output and the output level has reduced as well, it’s likely that the tubes are overheating. The tubes are overheated when you use the reverb for too long without any break.
So, it’s recommended that you pause the jamming session and let the reverb come back to room temperature before you use it again. The reverb takes around thirty minutes to cool down. On the other hand, if this doesn’t work, the tubes could be damaged.
For this purpose, you must take off the reverb’s chassis to inspect the tubes. If the tubes are blackened or seem burnt, you can simply replace the tubes.
- Connectors Having Distortion
The connectors on this reverb are prone to becoming loose, and if you perform for a long time, the wire can come off as well. So, if there is distortion in the sound, check the connectors on the reverb and tighten them up if they are loose. Moreover, check the connecting wires and make sure they are securely connected to the port.
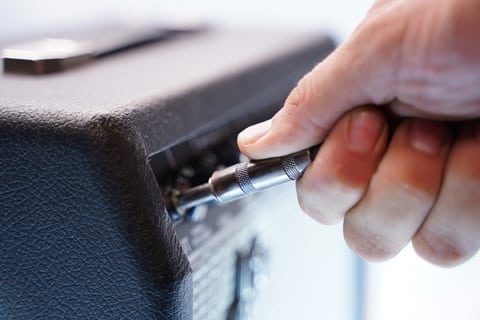
Secondly, you must clean the reverb’s ports and connectors because dust buildup can result in a short circuit, which causes distortion. Make it a habit to clean the reverb’s connectors and ports before and after the music performance. Lastly, you must check the soldering points and add more solder if the previous one has melted.
- Finish Getting Off
This reverb by Fender is known for its vintage look. However, many people have complained about the reverb finishing peeling off. It is recommended that you clean the reverb properly to prevent the buildup of dust particles because it can break the leatherette.
You can use a damp cloth for cleaning the reverb properly. On the other hand, if the finish is already coming off, you must get the leatherette replaced.
- Clicking Sound
Clicking sound coming from the reverb is the most common problem faced by the users. If you have a similar problem, you need to raise the buffer or sample rate. In the majority of cases, the buffer size is set to 256 samples but you need to increase it to 1024 samples for eliminating the clicking.
In addition to this, make sure the latency is zero and turn on wet gain – you can make these adjustments on reverb easily.
- Humming
The reverb hum is a serious issue because your music track will have constant humming. The solution is to rotate the tank at 180 degrees. This is important to ensure the RCA connectors are pointed to the amp’s front rather than on the back.
However, for rotating the tank, you must remove it from the amp (don’t take off the cardboard). Once the tank is rotated, the hum will be eliminated. Secondly, you have to check the reverb tube because a damaged tube is the most common culprit of humming.
Keep in mind that the new tube must be compliant with the reverb (you can share the reverb’s model with the shopkeeper and he will provide the tube accordingly). Also, when you install the tube, make sure it’s tightly connected to the socket.
On the other hand, if you cannot replace the tube, you could try reducing the output tube’s bias as it reduces the hum as well as the gain. Last but not least, you must replace the RCA cable that’s connecting the reverb tank.
- Scratchy Noise
In case the amp is making scratchy noises, you need to check the V4 tube immediately. In most cases, playing the music at louder volumes can cause this noise, so try lowering the volume. However, if reducing the volume doesn’t work, you must get the V4 tube replaced.
In addition to the V4 tube, you must check all the reverb tubes for microphonic, and if they show microphonic behavior, they should be replaced as well. The second solution is to clean the sockets and pins with a contact cleaner. You must remove the tubes before cleaning the sockets to prevent the liquid from dripping into the sockets.
It’s important to add that the reverb’s silver circuit is noisy and has low negative feedback, which adds around 3dB of idle noise and the circuit starts pushing that noise, which mixes with the sound output. For this reason, you should install 12AU7 on the V4 and V6 to reduce the idle noise.
- Reverb Not Working
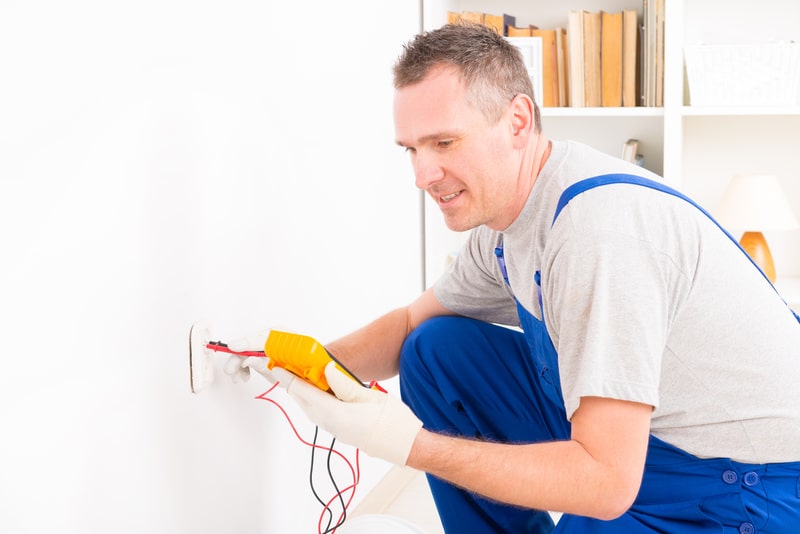
If the reverb has completely stopped working, there are various components that must be checked, including the circuit board, transformer, dead input connection, and bad power cable.
The first step is to inspect the power cable and use a multimeter to check its continuity – if there is zero continuity, the power cable is damaged and has to be replaced for the reverb to work properly. On the other hand, if the cable is working fine, you must check the transformer.
This is because it streamlines the currents and voltages to make sure the reverb is secured from voltage fluctuations. However, when the transformer stops working, the power connections will be impacted and the reverb will fail to perform. So, get the damaged transformer replaced with a new one.
The third option is to hire an electrician to get the circuit board inspected. That’s because there are multiple components on the circuit board that have to be inspected individually (it’s challenging for people who have no experience in handling the electronic components).
If the components are damaged or the solder joints have come off, the electrician can replace the components and add more solder, respectively.
- Loud Noise When Goes Over The Third Knob
If you are using the reverb and it starts creating loud noise when you go beyond the third knob, you have to check the cable. This is because broken shielding on the cable can cause noise issues. So, inspect the cables connected to the reverb tank and make sure the shield is intact.
In addition, make sure that the cable is connected to the right jack. On the other hand, if the shielding is broken, replace the cable.
- Echoing
If there is shrieking feedback or echo coming from the reverb, you must check the gain levels. To begin with, you should try turning down the gain because a higher gain increases the input signals, which results in feedback. So, reduce the gain and it’s best to keep it at 3/4th at max.
In addition to the gain, you should also lower the volume of the audio source. Secondly, you must reduce the treble and increase the bass because high treble can produce feedback. Another solution is to check the distortion pedal if you have connected it to the reverb.
This is because these pedals can produce feedback if you turn the effects too high. So, try to reduce the level as well as the gain knobs. In addition, it’s recommended that you disconnect the guitar from a distortion pedal and plug it directly into the reverb to see if it stops the echo.
If removing the pedal eliminates the echo/feedback, you have to get the pedal repaired.
The Bottom Line
Using a reverb with guitar helps add depth and space to the music tracks. For this purpose, it’s important to maintain the Fender reverb to make sure it doesn’t damage the sound output.
All in all, these are some common issues associated with the Fender reverb, but if you still have some issues, you can contact Fender customer support at (800) 856-9801.
I get a splashy sound in my reverb that makes reverb un usable. Do you know what might cause this?