
Egnater is the most preferred choice of professional players as their amps are designed with tone-shaping features. One of the best ones is Rebel 30, which is designed with a 30W tube and a dual-channel design, so the musicians can create a variety of tunes.
Every channel is designed with a separate Watts knob, which allows the users to customize the headroom. Still, it has some common problems that interfere with the music production experience, but they can be fixed!
How To Solve Problems With Egnater Rebel 30
The all-tube amps are usually very sensitive and have a higher chance of getting overheated. In case your amp is showing sound issues, it’s highly likely that the tubes are overheated. This unit must be placed in an open area to ensure it has sufficient airflow to disperse the hot air coming out of the unit.
For this reason, you should avoid installing this unit in a tight cabinet because it restricts the airflow. Moreover, the unit must not be installed around a stove or radiator as these devices produce heat, which also raises the temperature of Rebel 30.

- Crackling
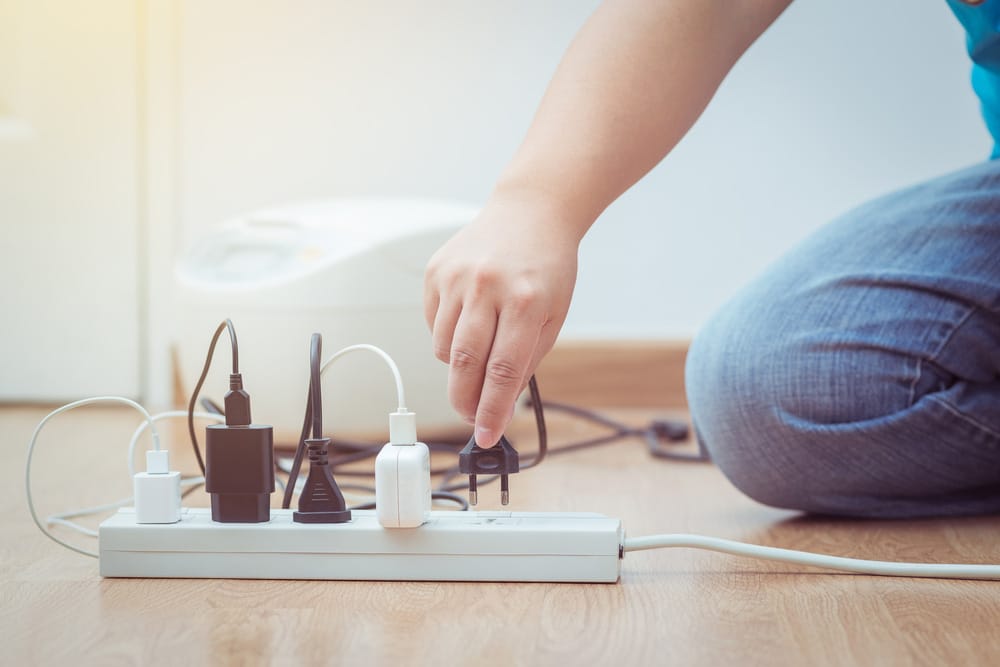
Distortion and crackling sounds are pretty common with this unit, which obviously reduces the clarity as well. In most cases, these sound issues are caused by cables, as damaged cables can negatively impact the connections, leading to sound issues.
For this reason, you must examine the cables connected to this unit, and if they are damaged, they must be replaced. In addition to replacing the cables, you must ensure a tight connection of these cables to the respective ports.
- Amp Not Turning On
The amp unit not turning on is another common problem. The first solution is to check the power cord and make sure it is tightly connected to the power outlet as well as on the back of the unit. However, if you have been using this unit for a long time, we recommend that you check the power continuity of the cord with the help of an ohmmeter.
If you don’t see any continuity, the only solution is to replace the power cord for turning it on. If the power cord is working normally, you must check the plug. This amp unit is designed with a grounding-type plug, which has two blades as well as one grounding prong. The third prong is added for safety purposes.
However, many people don’t have a suitable power outlet that supports this plug, which is why the majority of people end up changing the plug. However, a different plug causes connectivity errors, and the amp unit fails to turn on.
For this reason, you have to hire an electrician to install a new power outlet that supports the three-prong plug. The third step is to check the internal circuit because it holds all the electrical components that are important for turning on the unit. To access the circuit, you have to remove the back cover of the unit.
Once you gain access to the circuit board, inspect the connections, and if some connections seem loose, add some solder to reconnect them to the circuit board. Once done, turn on the unit, and it’s likely to turn on. Last but not least, the unit won’t turn on if the internal parts are corroded.
If you live in humid areas or threw water on the amp at some point, it can corrode the electrical contacts and components. Honestly speaking, it’s impossible to remove the rust or corrosion, so inspect the entire unit and replace the damaged parts.
- Disrupted Low End
If you are creating the music and the low end gets sound disruptions, you must check the channel you are using. Channel 1 tight is the most recommended channel to clean the low end, particularly if you have to increase the volume and overdrive the channel.
This is because this tight channel cuts out the deeper bass to make sure the tone is well-balanced, irrespective of which guitar you are using. Secondly, it’s recommended that you reduce the gain because it helps create a tighter and well-defined low end.
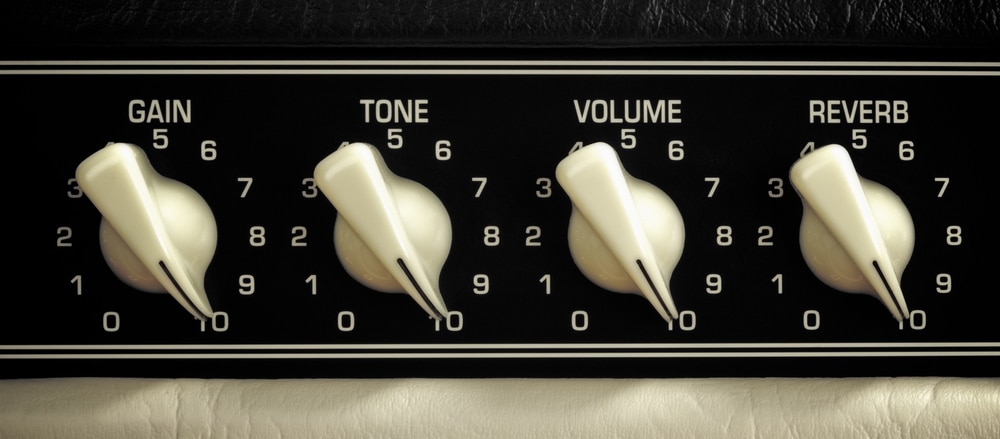
Lastly, you can turn the tube mix node to the 6V6 side to make sure the low end is smoothened out.
- Muddy Sound
Muddy sound can negatively impact the music output, but there are ways to eliminate the muddiness without adding a new component. In particular, you must select channel 2 tight as it helps tighten up the low end, particularly when you want a higher gain.
That’s because it can cut the deep bass at high gain preamp’s beginning. So, set this switch in the upward position to remove the muddiness and add clarity to the music.
- Compressing Music Output
If the sound is too compressed or muffled, you have to check the gain channel 2. This channel control helps adjust the overdrive, and it usually turns on gradually to make sure the sound breakup is moderate. Once it passes the 1:00 level, the gain increases quickly.
All in all, when the gain is high, it leads to muffled and compressed sound, which is why it’s recommended to lower the gain control settings on the channel to achieve well-defined music output.
- Low Power Amp Breakup
Every channel on this unit is designed with its own watts controller, but many people have been struggling with the low power amp breakup. It’s usually an issue for people who like to create loud music as low power breakup leads to lower volume.
The solution is pretty easy as you can use the watts controller knob to adjust the power output. It allows the users to select the power output between 1 and 30 – 30 is the maximum and 1 is the lowest, so adjust the knob accordingly.
- Not Enough Sound Output
In case you have to play live and are worried about the insufficient sound output, you need to remember that the amp goes as loud as allowed by the power setting. So, if the sound output is low, you need to increase the watts knobs rather than increasing the volume.
This is because when the watts knob is too low, increasing the volume will only result in distortion, so always increase the watts when you want to increase the sound output.
- Sound Is Not Creamy Enough
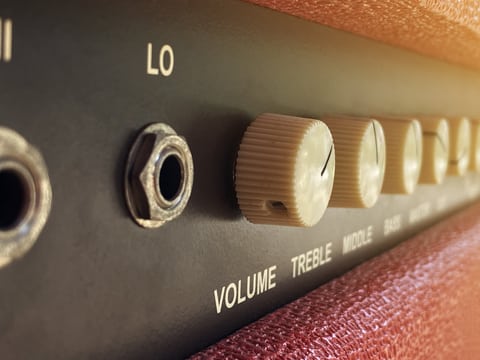
If you want to create creamy and smoother tones on this amp unit but you are failing, you have to check the tube mix and set it in the most clockwise direction as it helps create the smooth and creamy tones.
In addition to creating the creamy tones, the tube mix knob also allows the users to select the tone with a British undertone when you rotate it on the EL84 side.
Secondly, if the sound is creamy but not loud enough for you, you must remember that the maximum power output is around 20W. In case you want more power, you have to set the control knob at 12:00.
- Effects Are Not Working
Rebel 30 has been designed with a special effect loop that helps add external effects to the music tracks. However, when the effects stop working, the first step is to check the input levels and output levels, as they must be set to deliver maximum headroom and the lowest possible noise.
In addition to this, you must use a top-notch and shielded cable to connect the audio source with the amp. If the effects are still not working, there could be some internal damages that should be repaired by an authorized repair center.
The Bottom Line
Rebel 30 is a well-designed and durable amp, promising clear sound quality, but it’s common to have some problems. It’s recommended to contact the authorized repair center or call Egnater’s customer support for more troubleshooting assistance.
When i first bought this amp the Watts controller/ power soak knobs worked, now neither do anything ?