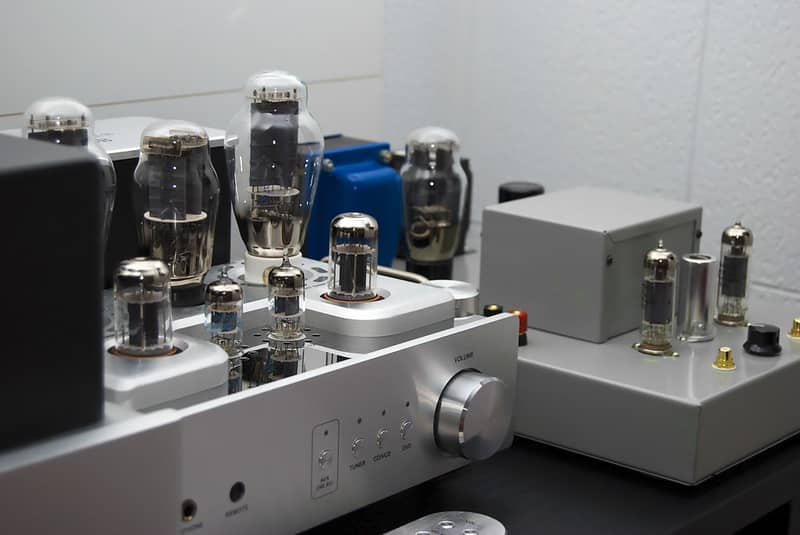
Commonly known as a valve amplifier, a tube amp utilizes vacuum tubes for increasing the signal amplitude to make sure the sound and tunes are accurate.
These amps are designed on old technology, which is why finding these amps is quite challenging. However, people who already have the amp are often worried about maintenance and low volume problems.
The low volume output is a significant issue for musicians as it can impact the music quality. The low-volume issue is simple to fix as long as you are following the correct instructions.
Common Reasons for the Tube Amp Low Volume Problem
1. Overheated Tubes
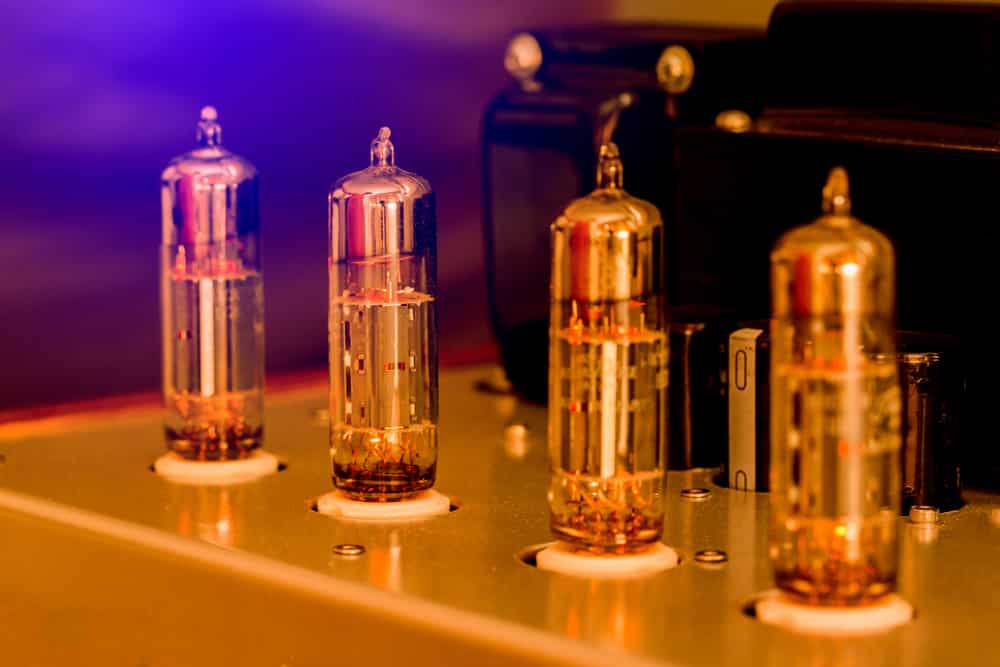
The vacuum tubes are prone to overheating and the overheated tubes can result in low volume output. It’s recommended that you put your hand on the tubes, and if you are unable to keep your hands on for ten seconds, they are overheated.
In that case, you need to let the amp rest for ten to fifteen minutes to make sure the unit comes back to room temperature.
In addition, it’s recommended that you purchase a standing fan and turn it on whenever you have to use the amp as it helps regulate the temperature.
Secondly, you need to check the soldering. The musicians often solder the wires on their own but the solder lumps can cause overheating as well.
So, inspect the grounded wires on the amp, and if you see some solder lumps, you must hire an electrician to remove the messy soldering and add a new one.
Keep in mind that tube amps have high voltages stored in them, which is why you shouldn’t try to handle it yourself.
Thirdly, you must clean the tubes regularly because debris and dust buildup limits the airflow, which increases the chances of overheating.
As far as cleaning is concerned, always use electrical cleaning tools or vacuum cleaners (never use a damp cloth because moisture can cause short circuits).
To prevent the dust buildup, purchase a mesh-covered sleeve for the rear side of the amp. Last but not least, always choose speakers that match the load capacity of the amps because mismatched speakers can overheat the amp and blow the internal components.
2. Check the tubes
If the volume is low even after the tubes are back to normal temperature, it’s likely that the tubes are damaged and need a replacement to deliver perfect sound.
In fact, popping and crackling sounds are clear indications of damaged tubes. If you have been using the amp for heavy music genres for more than a year, it’s time to replace the tubes.
This is because playing loud and heavy music results in a loss of tone and power for the tubes.
Keep in mind that when the tubes are damaged, the damaged tube will glow in different colors or intensities as compared to the functional tubes. In addition, the amp will show a loss of tonal frequency.
So, if these symptoms are clear, you should replace the tubes. However, since tube amps have a high voltage, it’s safer to hire an electrician or a guitar repairman.
3. Angle
The angle you’ve placed the amp on matters a great deal as it can directly influence the volume and tone. To begin with, the amp should be placed on a well-leveled surface and make sure that it’s slightly off the center and is closer to the musician.
In addition to this, you need to place the amp above the ground because it will be closer to your ears, resulting in better sound.
In addition, elevated positioning of the tube amp will remove the low-end sound. However, if you need to put the amp on the floor, it’s better that you tilt it in an upward direction.
4. Swap the Speakers
The tube amps aren’t connected to the external speakers as they have built-in speakers. So, if the volume is low, there are chances that the output capacity of internal speakers has been reduced.
The only solution is to replace the speakers. Honestly, replacing the speakers can be expensive, which is why you should try connecting external speakers (if you already have them) to optimize the volume.
5. Connection Of The Speakers
In case you are already using the external speakers with your tube amp but the volume is still low, you need to check the speaker connections.
In particular, the speakers must be connected to an A/V receiver. In addition, the A/B speaker selector must be put in the right position.
For instance, if you want to connect the speakers to A connections on the receiver, you have to put the selector on the A position as well. Moreover, make sure that the A/V receiver isn’t muted.
6. Power Supply
The power supply is essential for operating the tube amp and shortages in the supply can lead to volume issues. In the majority of cases, the sound becomes distorted but low volume is also a possibility.
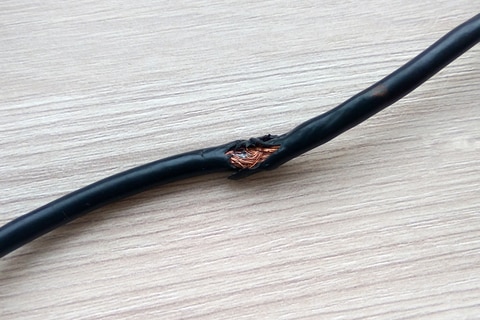
First of all, you need to check the amp’s power cable and make sure it’s tightly connected to the amp as well as the main power outlet – if the cable seems loose, tightening it up should streamline the power supply.
However, if it doesn’t fix the problem, it’s recommended to check the continuity in the power cable. In case the continuity is zero, the power cable is damaged and needs to be replaced with a new one.
Secondly, you need to check the power outlet. This is because in some cases, the power outlets are damaged, which hinders the power supply to the amp.
Rather than using a tester to check the outlet, it’s better that you connect the amp to a new power outlet.
Last but not least, you need to check the voltage you are getting.
The tube amp’s manual will have information about the required voltage, and if your power connection has a varied voltage, you need to call the electricity provider to get the voltage fluctuations fixed.
7. Signal Level
The signal level is basically the input sensitivity that’s essential for driving the amp to its full capacity into a nominal and stated impedance. In some cases, the signal level becomes too big, which clips off the sound, resulting in low volume.
For this reason, it is important that you reduce the signal level as it’s a reliable way of avoiding volume clipping.
Reducing the signal level helps match the required power, and once power and signal levels are balanced, the volume issues will be minimized
Secondly, you can invest in a limiter. The limiters are designed with special technology that reduces the signal levels and equalizes them.
8. Reactive Load Device
The reactive load device is connected between the speakers and the amp and is known to reduce the wattage. In addition, it pushes the signals into the internal amp, so you can control the volume through the speakers.
The best thing about a reactive load device is that you can increase and decrease the volume as per your liking. In addition to this, you can opt for master volume controls to have better control over the amp volume.
9. FX Loop
If your tube amp has been integrated with the FX loop, buzzing-out is a common occurrence, which can result in low volume. You need to use the contact cleaner for cleaning the FX jack to prevent volume loss
In addition, you have to connect a small jumper cable to the send jack and connect the other end to the return jack – this connection helps cancel the volume loss.
While you are cleaning the FX jack, you need to clear the control knobs and tube sockets as well because dirt or grit buildup on the knobs can also impact the volume control.
For cleaning, you can use the switch cleaners as they are perfect for cleaning the tough buildups.
The Bottom Line
Volume loss is a serious issue for musicians because it can hinder the entire music-producing experience.
These solutions should help you fix the problem, but if the volume is still not high enough, you should call the amp’s manufacturer for better troubleshooting assistance.