FL Studio is one of the must-haves for music producers as it’s a digital workstation. It has been integrated with a graphic interface and a music sequencer that allows the users to edit the music, add chain effects, and create patches.
Moreover, it supports pitch scaling, audio chopping and editing, and audio time stretching. Once you are done producing and editing the music, you can export them in MP3 format. However, if you are unable to export the MP3 tracks, there are various solutions that can be tried.
How To Fix The FL Studio MP3 Export Problem
- Save The Progress
Before you start the export process, it’s important to save the music product. For instance, if you don’t save the progress and start exporting, the export process will be longer. So, just save the progress before you press the export button on the interface.
- Check Export Configurations
The export configurations play an important role in optimizing the export process, such as audio quality, compression, and data size. In case you have chosen incompatible settings according to the MP3 file, it will hinder the export process.
So, recheck the export settings and revert them to default settings and the exporting process will be optimized.
- Storage Space
In case the export settings are correct, but the FL Studio is still unable to export the files, there could be a storage issue. It’s needless to say that your drive must have sufficient storage space to save the exported file.
So, if you are unable to save the tracks, check the drive’s storage and delete some unnecessary files to make sure there is sufficient space. Ideally, you should have 2GB of free space on the drive because the MP3 track also has some files that need to be stored on the drive.
- Update
When you use the outdated versions of the software, it can lead to various performance errors, and some features stop working – the issue is caused by bugs. So, check for the FL Studio software update and install it on the system.
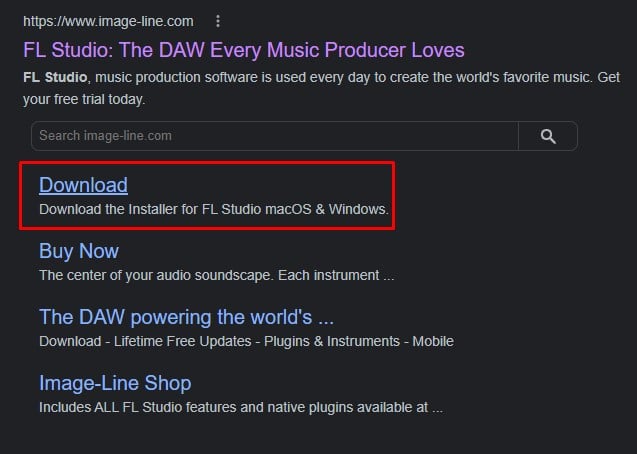
The simplest method for software update is to delete the old software, reboot the system, and install the FL Studio from the link available on the official website. However, you can also try the following instructions to update the software;
- First of all, reboot the computer to make sure no program files or system files are being used; it’s important to prevent overwriting of the files as it can result in installation errors. Also, make sure you don’t open the software until the latest version is installed
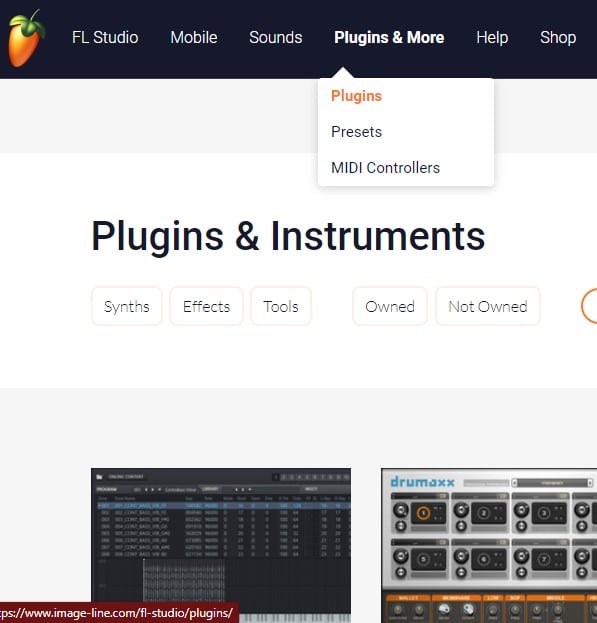
- Now, open the FL Studio installer, and you will have access to the native plugins (you won’t have to download the plugins separately)
- Then, use the installer to download and install the latest FL Studio version. Keep in mind the update installation will only replace the program files, and your personal files will remain intact
Once the update is complete, open the FL Studio software, and unlock the updates for automated updates in the future. For this purpose, open the “about” panel, add your credentials, and tap on the “unlock products” button. As a result, the FL Studio updates and image-line products will be unlocked.
On the other hand, if you are using an offline computer, you have to unlock the latest version through a regkey file. This is because the registry key has all the database-related information that’s used for storing the configuration information.
The regkey file can be downloaded through the image-line account, but you need access to an online computer. All in all, once the software is updated, the export feature should start working properly.
- Plugins
The improperly configured plugins can also interfere with the software functions, including the export feature. In the majority of cases, the export feature stops working when you are using outdated and third-party plugins. Secondly, you should download the plugins according to the FL Studio version you are using.
For instance, if you are using a 64-bit version of the software, download the 64-bit plugins. Keep in mind that 32-bit plugins might work, but they can limit the features, and exporting will be impacted.
- Bit Size
When you are exporting the tracks, you need to be considerate about the bit size as well. In most cases, the users export the MP3 file in 32-bit size, but the bigger file size makes it challenging to complete the export process (the export will freeze as well). That being said, it’s recommended that you export the MP3 tracks in 24-bit or 16-bit size.
- Try The Edison Method
Another option is to choose a different method for exporting the files. For this purpose, you need to open the Edison tool on FL Studio. For this purpose, press the Ctrl and E buttons in the sampler channel. Once it’s opened, access your music file and export it from this tool.
Secondly, when you use the Edison tool, you can export the file as .WAV and drag it into Edison. From this tool, you can save the file in MP3 format.
- Buffer Size

Buffer size is another consideration when you are unable to export the files through FL Studio, particularly when you are using the Kontakt plugin. In this case, you have to open the troubleshooting option from the plugin’s menu and start the troubleshooting (there is a troubleshoot button in the menu).
Once the troubleshooting is complete, select the “use fixed size buffer” option and start exporting. In addition to this, open the “processing” tab on the software and check the “notify about rendering mode,” and try exporting.
- Compression
It’s common for musicians to compress the music tracks before exporting them as it reduces the size. Many musicians believe that compressed files are easier to export, but the more compressed the track is, the longer it will take to export. So, make sure you don’t compress the file too much.
In addition to reducing the compression, you must ensure that your computer has enough CPU to support the software’s functions. In addition to fastening up the export process, a higher CPU level will also help run simultaneous channels on the software and add more effects.
All in all, it’s recommended to opt for a computer with a multi-core CPU because if one core becomes stressed, the other core can be used to complete the export process.
- Reinstall
In case nothing is fixing the export error, you have to delete FL Studio from the system and reinstall it. While deleting the software, make sure that you delete its files as well. Once the FL Studio is deleted, reboot the PC, and install it again.
When it’s installed, open the FL Studio software and try exporting the file. However, before you delete the software, you must save the MP3 file’s progress on the software, so you can access it even after deleting the software.
- Format
If reinstallation hasn’t resolved the problem either, the only solution is to download/export the file in .WAV form and then convert it into MP3 format with another converter tool. That’s because various users have complained about tracks not exporting in MP3 format, and it seems like a system flaw.

In particular, FL Studio doesn’t have a .MP3 encoder and depends on a basic encoder. So, just change the format and start exporting. Secondly, if you are trying to export the track in multiple formats, it can slow down the export process. For this reason, you must export the tracks in one format at a time (preferably FLAC and WAV formats).
The Bottom Line
Importing the tracks from FL Studio is quite convenient as long you have enough space on the hard drive, and the CPU has multiple cores. In addition, it’s recommended that you export the files when you are using the paid version because the accessibility is limited in the demo mode.