If you use the acoustic guitar, it’s important to have a reliable preamp system as it helps switch between various line-level sources to improve the signals. In simpler words, it helps convert the mic-level and quiet audio signals into louder audio signals.
E-Sonic2 is one of the best preamp systems for acoustic guitar users as it provides an array of controls. However, there are some problems associated with this system but we have an in-depth troubleshooting guide that can help!
Deal With E-Sonic2 Problems
- Compatibility Problems
First of all, you must understand that E-Sonic2 can only be used with acoustic guitars and semi-electric guitars. It can be connected to an electric guitar but it doesn’t produce clean sound output.
- Dust Problems
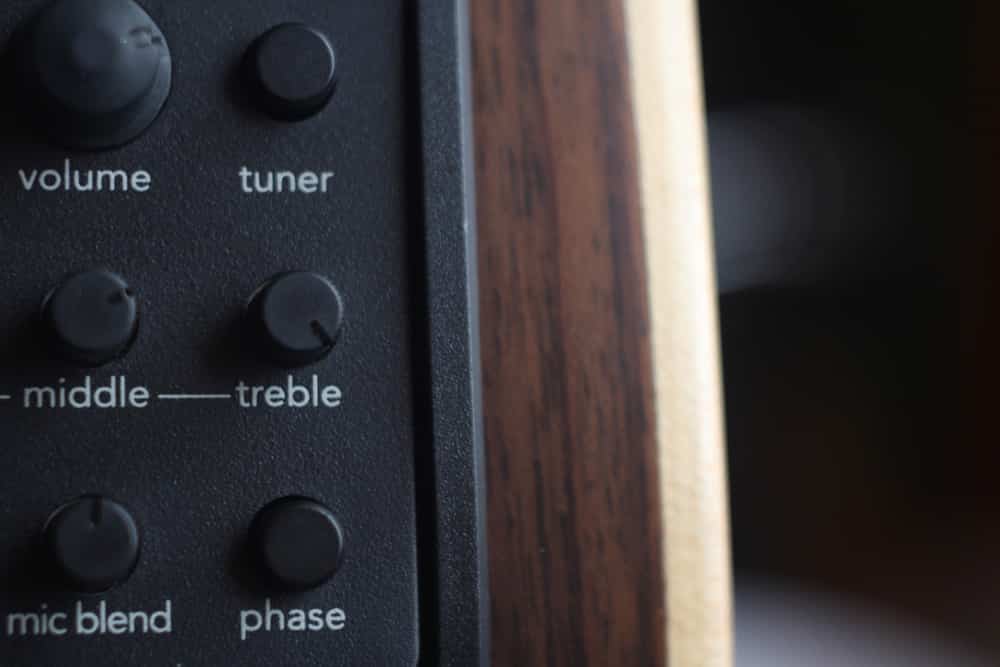
This preamp system is designed with multiple buttons and knobs to help users control the audio settings but they can accumulate dust. With regular use, dust can accumulate on the knobs and buttons, which makes them challenging to use these knobs and buttons. In some cases, the knobs stop responding as well.
For this reason, it’s recommended that you clean the preamp system regularly to prevent dust accumulation. A clean cloth should be enough to clear off the dust.
However, if the dust has built up too much, it’s recommended that you use a blow dryer to clear off the dust (the blow dryer has a high pressure that’s beneficial in cleaning the dust).
- Bulky Design
The bulky design of this preamp system can lead to portability issues and musicians who go on music tours won’t be able to use this system. However, it’s suitable for music studios if you like to edit your music and add effects on your own.
- No Sound
If you have connected the preamp system to the guitar but there is no sound production, you have to check the speakers because a speaker’s system failure is the most common reason behind zero sound output.
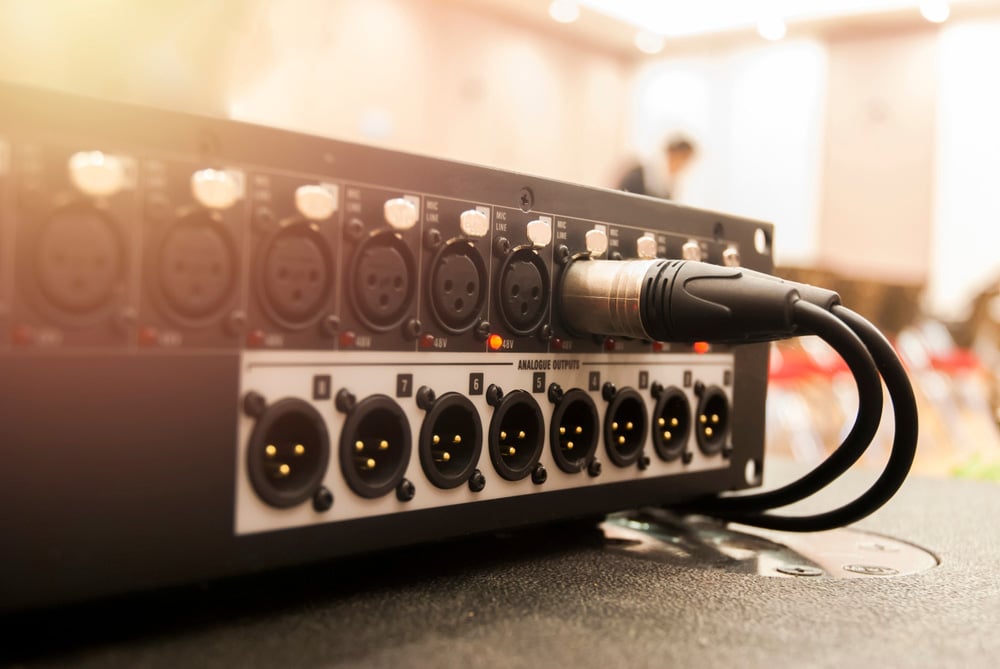
First of all, you have to check the connections with the audio receiver, speakers, and preamp system to make sure the power cords are fully inserted into the respective ports. Moreover, the speaker wires must be pushed into the audio source properly.
On the other hand, if the connections are already correct and tight, you must tweak the speaker channels to determine if it creates sound – you can consult the speaker’s user manual to determine the correct channels that produce sound.
- Surround Sound Is Not Working
If you have connected E-Sonic2 to the guitar and speakers but the surround sound isn’t working, the first step is to increase the volume. However, if the volume is already turned up, you must inspect the speaker connections to ensure the wires are tightly screwed in.
Secondly, if you are playing music through the audio receiver, it’s recommended that you set the audio receiver to transform the 2.1 mix into a 5.1 mix.
- Static Charge
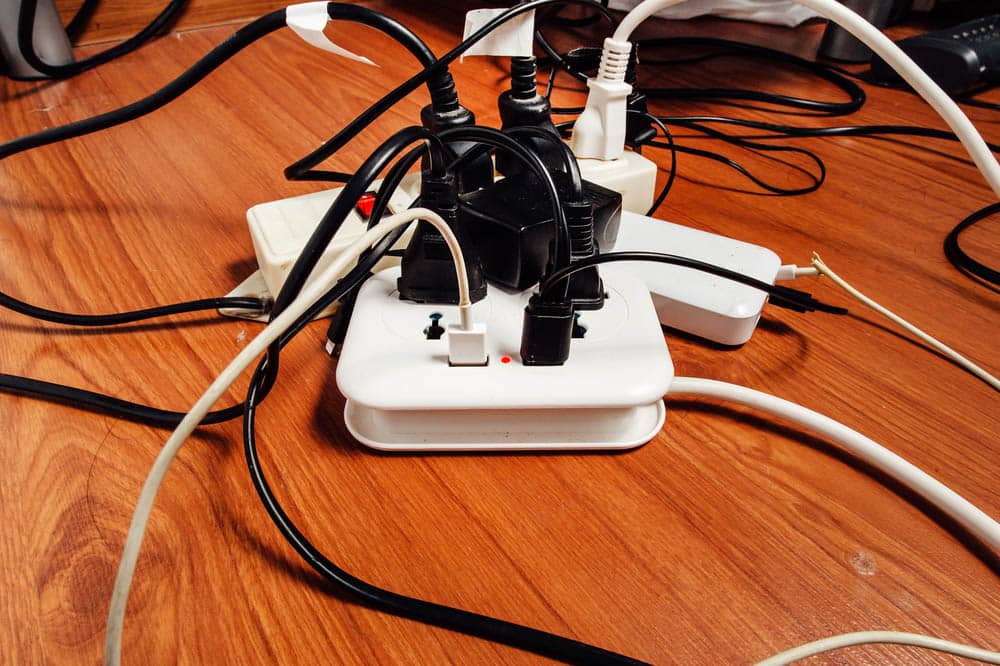
If you touch the preamp system’s buttons and knobs and they electrocute you or release the static charge, it’s highly likely that there is something wrong with the connections. For instance, the power cable might be loose, which is causing power fluctuations. In that case, you have to wiggle the power cable tightly into the power outlet.
However, if reconnecting the power cable doesn’t work, you have to check the power amplifier if you have connected one. That’s because if the power amplifier has internal loose connections, it will create a static charge.
For instance, if the internal electrical components have come off the board and the amp is connected to the power outlet, the electric charge will be directed to the knobs. So, hire an electrician to check the internal components and get the connections done.
- Humming
Humming is one of the most annoying issues associated with this preamp system, and unfortunately, there are multiple points that need to be checked, which makes troubleshooting time-consuming.
- Unmatched Output & Input Signals
If the sound source has a higher signal as compared to the amp, it results in the production of hum (the balance issues between input and output signals can cause humming). To balance the signals, you have to install a resistor to a sound source but make sure that the resistor’s capacity doesn’t exceed the source’s power level.
- Ground Loop
The grounding occurs when you connect a ground pin to the electric outlet but the electric current doesn’t pass through the cable that’s meant to be the pathway, and instead, creates a loop. As a result, the electric current will go back to the current’s source.
It also creates a voltage difference, which results in the development of another loop, resulting in humming. To eliminate the ground loop, you must use the same electric outlet to connect the preamp system and other audio gear.
In addition to this, you should add an adaptor to an earth cable as it minimizes the electric current that passes through the wires. Another way of eliminating the ground loop is to connect a grounding wire between the preamp system and speaker to make sure there is a separate path for the signals to flow through.
- Unbalanced Signal In Cables
The unbalanced signals are another reason behind humming and it occurs when the cables connecting the preamp system and system are unparalleled. In simpler words, the cable must equalize the signals.
To prevent unbalanced signals in the cables, it’s recommended that you opt for ground loop isolators or adaptors, as they help prevent the formation of a loop.
- Damaged Cables
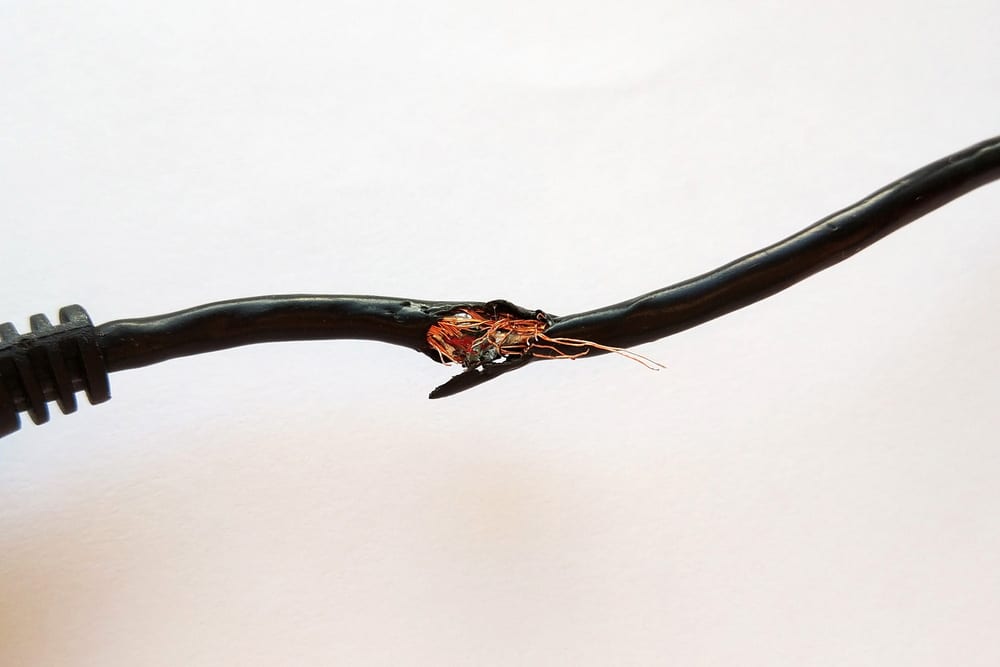
The damaged cables are also known to cause humming in the preamp system. In particular, you have to inspect the wires that connect the audio source to the preamp system and replace them if they are damaged.
The long-term use of these wires can lead to internal as well as external wear and tear, which damages the sound quality, hence the hum. So, replace the damaged cables/wires with new ones and opt for compatible ones.
- No Bass
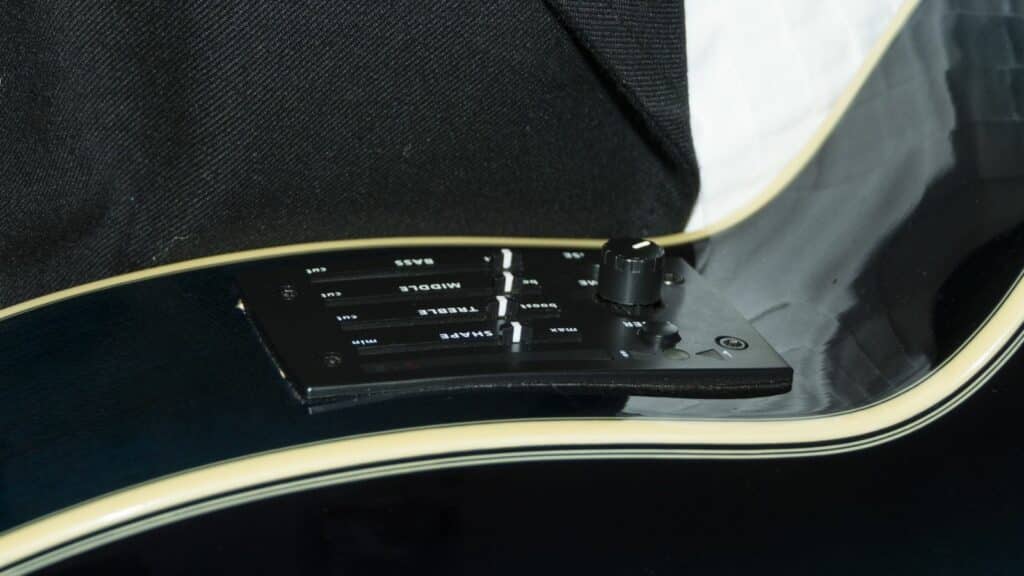
The preamp system allows the users to customize the audio, add effects, and adjust the audio quality. However, if your music doesn’t have any bass, it’s recommended that you increase the volume because the bass isn’t produced at low volume.
In case the volume is already sufficient, it’s recommended that you check the subwoofer that you have connected to the audio gear. For instance, the bass will be impacted if the subwoofer is installed in an enclosed shelf or a cabinet as it restricts the output, resulting in a bass issue.
So, take out the subwoofer from the enclosed space and put it in the open area to make sure its vents are not blocked. Secondly, you should always use an RCA cable to connect the subwoofer to the preamp system.
- Lag In The Sound
If you are producing music with the help of E-Sonic2 and there is a lag in the sound, you must check the cables. That’s because if the cables are damaged and have insufficient continuity, it negatively impacts the sound quality and leads to lags.
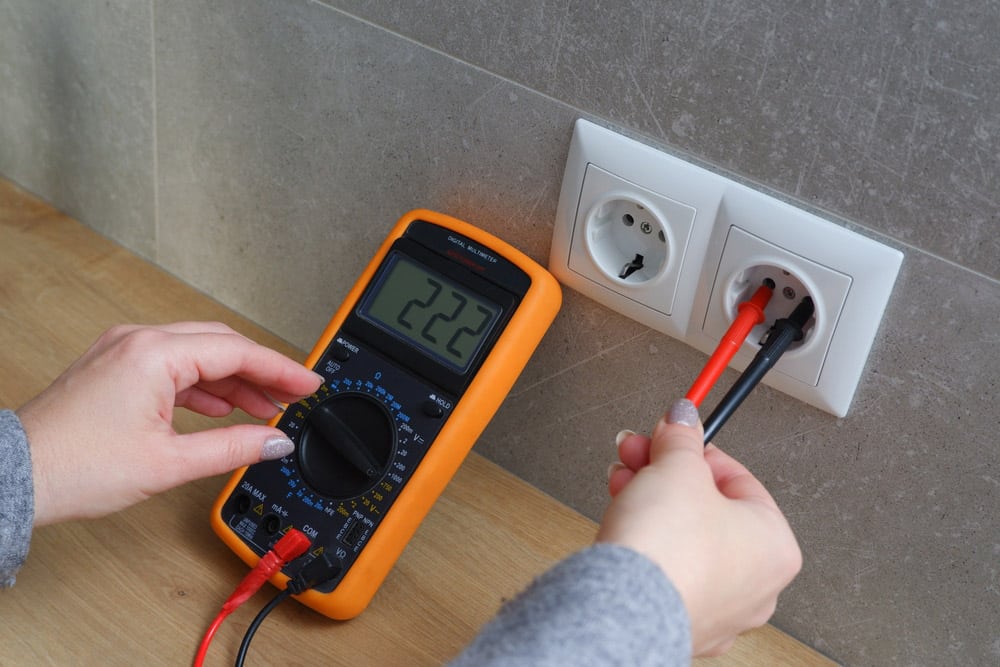
It’s better that you use an ohmmeter to check the cables’ continuity, and if the continuity is zero, you must get them replaced. On the other hand, if the cables are already working well, you have to check the voltage of the power outlet that you are using to connect the preamp system.
The voltage must be 220V, so if you are getting any less voltage, you have to request the electricity service provider to streamline the voltage – it’s important because low voltage can slow down the signal response, resulting in lag.
- Not Turning On
If the preamp system is not turning on at all, you must check the fuse because a blown fuse can hinder the preamp’s functionality and prevent it from turning on. To inspect the fuse, you’ve to remove the back panel of the preamp and replace the fuse if it seems damaged or burnt.
However, you must be careful while replacing the fuse because it holds an immense electric charge and mishandling can cause harm.
Volume control knob suddenly not working, I have volume but it cannot be controlled by the volume pot, it is at a constant volume and cannot be turned down or off by turning the pot counter clockwise, I know it did work previously but suddenly stopped working, all other functions work perfectly, please help, Esonic2 with Nano Mag and Nano Flex on the Epiphone EJ-200 left handed.