
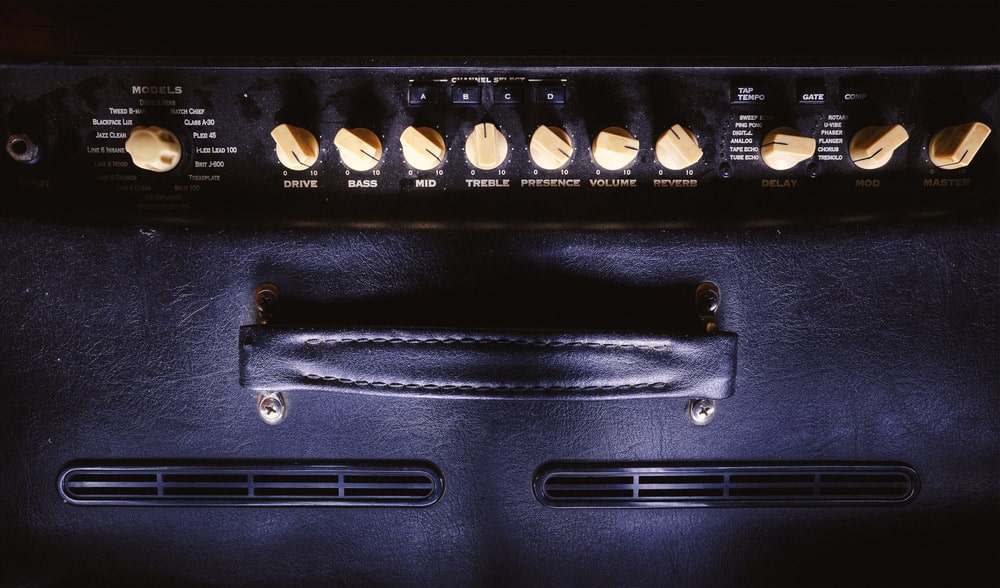
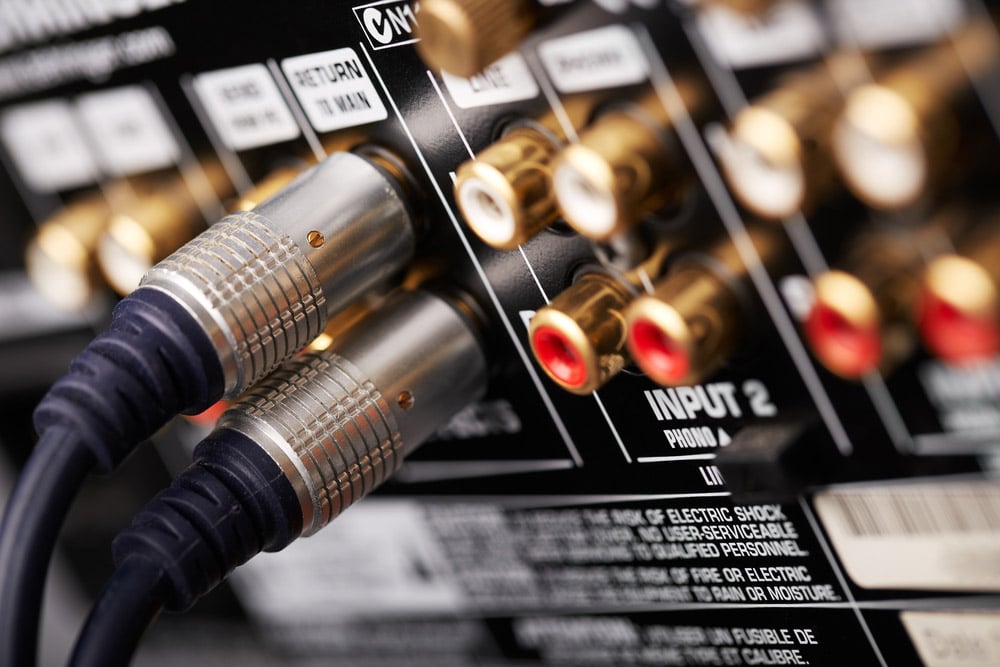
The royalty of the Bugera brand is widely known in the musical world. Bugera amps surpass the rest of the amps in design, aesthetics, performance, and reliability. A large number of musicians and guitarists pick Bugera V55HD for enhancing their playback experience and perfecting their tunes.
One can totally rely on this amp, thanks to the plenty of features it is equipped with. Not only does this amp exude vintage style and sound, but it also has the latest features that take your tone into the sonic stratosphere.
Whether you need an amp for a studio or practice room, a stage, or a concert hall, Bugera V55HD meets all the requirements. Although there is a certain vintage touch to the old design of this amp, it also accompanies a bunch of problems that can bring you inconvenience.
Therefore, it is important to have a thorough knowledge of the problems with the Bugera V55HD amp. The reason is that if you are not comfortable with this amp and its possible issues, you can purchase another amp.
You should also read about its problems and solutions if you already own a Bugera V55HD because it is better to fix the unit yourself than to take it to the technician and spend dollars. So let’s proceed to discuss the problems one by one.
Bugera V55HD Problems
- Clean Channel Overdriving Sooner Than Previously
Owners of the Bugera V55HD amp may encounter the problem of the clean channel overdriving sooner than previously. The first step in troubleshooting this problem is to use a valve tester and test the valves. In most cases, a worn Shuguang preamp valve causes a change in the clean channel.
You can replace this valve with a new Tung-Sol 12AX7. There is a high chance that a Bugera branded power valve might also be defective. You need to change the power valve to a functional one. The bias control of Bugera is a phono output that gives external access to the bias voltage.
It is too hard to adjust the trim pot. The accuracy of screwdriver-turned pots is relatively more. The voltage in the phono socket is between -40 and -80VDC. Measuring bias with the bias voltage is not totally reliable.
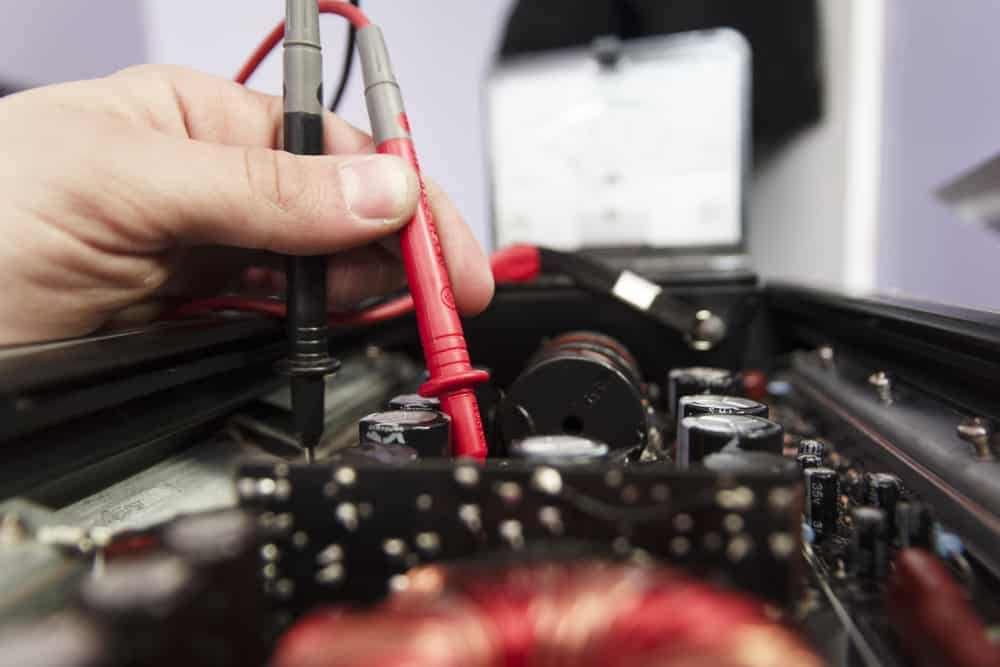
It is suggested to use the cathode current method where you bias with a set of the custom proves and a multimeter. The bias should be set to 38mA, which equals 70%.
- Damaged Standby Switch
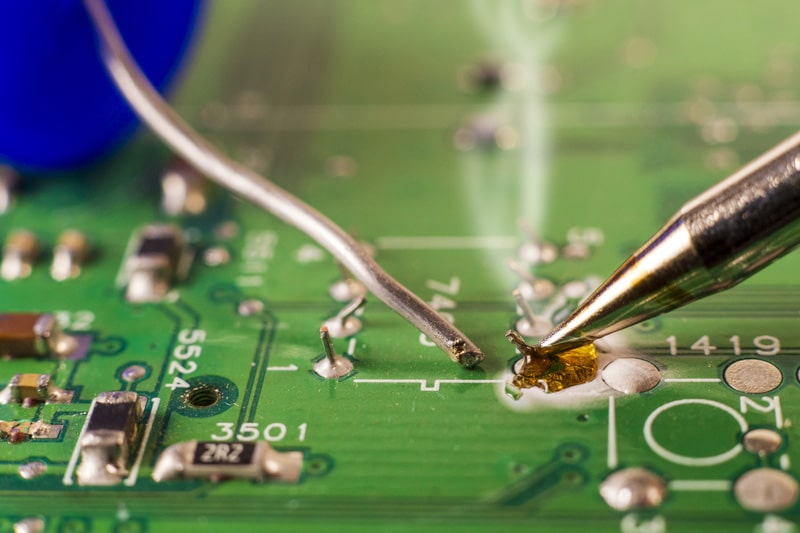
It is common to get the standby switch of your amp damaged. Repairing it is an easy job that takes no time. Check the board and look for the corroded components. The PCB pads and component pins have Verdigris (copper carbonate). All you need to do is desolder these pads and resolder them.
The valve bases might have a couple of dry joints that need fixation. Refit the PCB. A thread lock is used to secure the original screws. Therefore, you should add a plain washer and a toothed washer. Using a plain washer is not common among repairers and manufacturers, but it is very important in preventing any damage to the PCB surface.
- Hum Sound
Users have frequently complained about the Hum problem linked with the Bugera V55. When the AC line noise leaks into the input stages or the filament wiring, it gets amplified, and as a result, you hear the humming sound. The first thing that you need to check is the grounding; it should be reliable.

In simple terms, the value of resistance from each part ground connection to the chassis should be 0.5 ohms. It must not go beyond 1 ohm. Check the connection of the main ground at the chassis. It should be tight. In the next step, you need to turn the volume control so that the hum can be located.
If there is a change in the levels of the hum as you turn the volume control, then there is something in front of the volume control that is sourcing the hum. If the volume control has no effect on the hum, then look for the cause after the volume control. In some situations, the internal hum is developed by the faulty tubes.
You can locate the problem by swapping the tubes. Usually, a ripple is generated in the output transformer, which can get canceled by the matched push-pull amp. If the power tubes have different bias currents, the output tubes fail to match, and as a result, the cancellation is upset. It gives rise to a loud hum.
The chances of hum development are greater if some equipment lies near the amplifier. The reason is that the amp picks up the radiated hum from other devices. You can detect this problem by observing the change in the loudness of the tone as you move the amp. All you need to do is take the amp somewhere where the hum is less.
- External Fuse Blowing
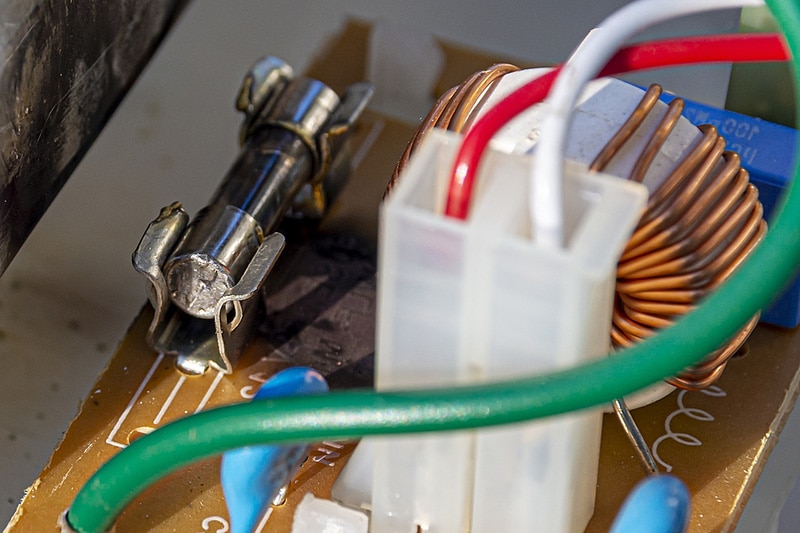
One of the most common problems with the Bugera V55HD amp is that its fuses keep blowing repeatedly. Users are fed up with changing the fuse on a regular basis. Therefore, it is recommended to keep a few spare fuses so that you can replace them whenever you face this problem.
It also keeps you from facing any inconvenience or hindrance during your performance. However, this solution is not permanent. For the permanent fix, you need to check the wiring of the unit. There must be something wrong with the wiring that is causing the fuses to get blown.
Either the wires are getting overheated, or they have a short circuit on them. Whatever is wrong with the wiring, get it fixed and get your amp working again.
- Low Volume And Poor Sound
The issues of low volume and poor sound in the amp persist even if it is playing perfectly and all of its controls are functional. You can try replacing the screen grid resistors, but it is not likely to solve the problem. This problem is evident when you observe the deterioration in the quality of the sound as you turn up the master past half.
Both the channels give the same result. Users have tried switching the power off and turning it on again. After this measure, the amp sounds fine, but the volume is still too loud. However, the sound starts fading out with time. If you face this problem, you should start the troubleshooting by checking on the solder joints first.
There is a high chance that the solder joints might have gone bad, and thus the volume and sound are affected. Move on to check the connection from the OT to the plates. Check whether the connection is stable or broken. If it is broken, get it fixed.
- Suffocating Sound
There is no doubt in the fact that the clean sound from this amp is phenomenal. The gain channel works great as well. However, if you play deep fifths with added eights, you might feel like the amp is suffocating.
Most of the users try using the clean channel by putting an overdrive pedal to use, but there is no difference observed in the operation of the amp. The first thing that you need to do is use the overdrive on the gain channel. The next step requires you to back off the gain and supplement it by using the overdrive.
Proceed to kick on the overdrive after the gain is on five or six. It is recommended to try the overdrive in boost mode first and look at the results. If you are not happy with the results, then you can proceed to try overdrive with the level set at, say, 5.
Then you can turn some gain on the pedal. As a result, you get a crunchy rhythm tone and a higher gain lead sound.
- No Power
If you come across the problem of no power from the amp, there are numerous ways to get the amp illuminated. Start by checking the fuse first. The next items to be checked are the preamp and power tubes. If they are glowing, it means that they are getting the filament voltage.
It is better to be sure about the lighting of the filaments in all of the tubes. If even one of the tubes has an inoperative filament, the whole amp can fail. If you detect multiple tubes with filament problems, start replacing the tubes, one at a time.
The reason is that the filaments might lie in series and when there is a series connection, a failure in one filament gets the rest of the filaments affected. Move on to checking the series effects loop. It is common for the series loops to have their ability to close compromised because of the accumulation of dirt in the jacks.
This problem is common with the amps you don’t frequently use the loop. The jacks do not get any exercise, and the switching contacts are unable to clean themselves on their own. In order to detect the cause of the problem, get your hands on a guitar cable and jump the one end of the loop plug into the send jack and the other end into the return jack.
If you observe any operation in the amp, it means that one of the jacks has dirty contacts. You need to spray electronic contact cleaner into the jacks and get the dirt removed. It is possible that the intermittent problems stay despite your cleaning the plug. In that case, you have to replace the jacks.