When you have a great guitar, you also want to have a great amp. There is a large variety among amps based on brands, size, shape, and price range. Regardless of the brand that makes them, guitar amps offer great performance, functionality, durability, and design.
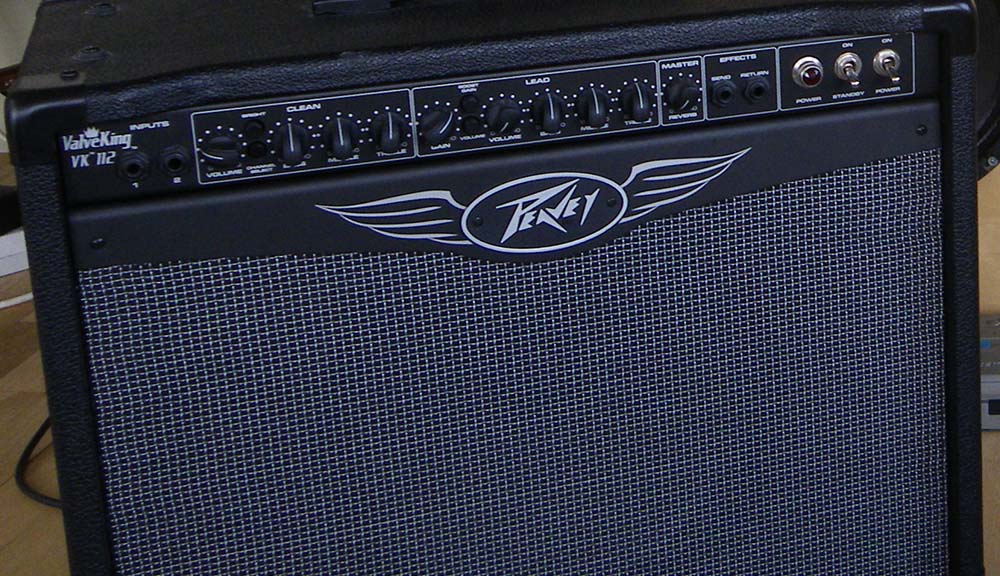
Peavey is a popular name in the world of guitars and musical instruments. Apart from making guitars, Peavey has also earned a name in making amps. It gets you some of the best amps out there. Whether audio quality or durability, you get both in one place as soon as you settle for Peavey Valveking 212.
Thanks to the valuable features and attributes of the Peavey Valveking 212 amp, it has been applauded on multiple platforms. It has gathered a large number of users because of the amazing results that it delivers. Despite the huge demand and use of Peavey Valveking 212 by guitarists, it still encounters some problems.
Peavey Valveking 212 Problems
This article addresses these problems and recommends practical troubleshooting tips to solve them.
- Sudden Bursting Of The Amp
If you are in the middle of a performance and your Peavey Valveking 212 gets unplugged and busted, you don’t have to panic because this problem is common among the amps. They keep tripping now and then, especially when they are low on maintenance. If you face the same problem, you will notice that the power is lost.
Replace the fuse and get the power back. Look for the power tubes as well. They might be fried. If yes, replace them with the new ones. It will give you power, but the sound will still be lost. Check the test tubes and see if they need to be changed.
Another important thing to remember is that you should replace only necessary things because it gets costly if you start replacing even the unnecessary components without any knowledge. Give an Internal inspection of the amp. Make sure you know what things you need to look for. Some of the problems are obvious, while others are not.
Take note of the obvious ones. The next thing you need to check is the voltage. Observe where the voltage is successfully getting to and where it is not. Trace out the cause behind the broken connection of voltage and fix it. It is also possible that multiple factors are causing the voltage problems. You need to fix each one of them.
In this problem, the best recommendation is to take the amp out and get it fixed right. Only a professional can deal with it in the best way. It is possible that an Internal fuse might have blown. There are also chances for a cracked power circuit board.
If you try to do things yourself, you might endanger yourself because the voltage internal in the circuit is high enough to kill a person if it is disturbed. Although the Peavey Valveking 212 is not expensive, it is always better to get such amps fixed rather than replacing them.
You also have another alternative: sell this amp for salvage not working and use that money to buy another one. This option is suitable only when the expense to fix the amp is more than its price range. With that being said, the Peavey Valveking 212 is always worth fixing.
- Crackling In The Amp
Whenever users hear crackling in the amp, their first thought is that the power tubes have gone bad. Sometimes it’s not the power tubes that are causing the problem. The amp shuts off even if you replace the power tubes with new and functional ones.
The next thing you would want to replace is the fuse, but even that won’t fix the problem. The amp’s crackling and shutting are usually common in amps that have been in use for ten years or more. No troubleshooting tip can help because this problem has multiple causes.
However, you should get the amp to a technician as soon as you encounter this problem. Another thing that you need to remember is that while you take the device to a professional, make sure you mention which tubes are hot and which are cold.

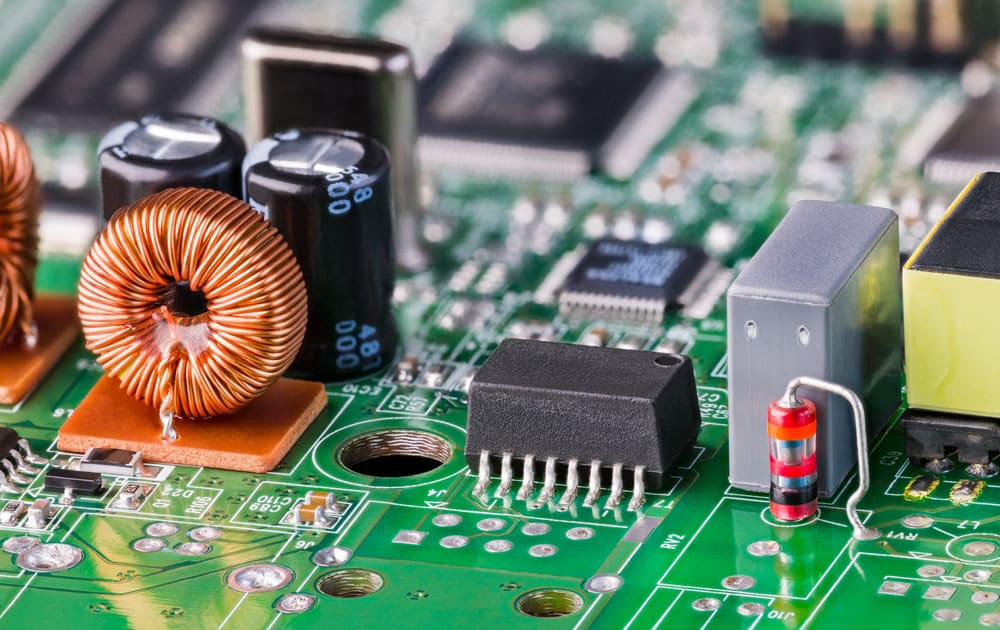
If your tech support is not helping you the way it should, contact Peavey and explain the problem. Most of the time, they tell you to check the resistor, which usually goes bad. The point is that the certified staff of Peavey helps you get to the cause and fix the problem in no time.
- Noise When Stand By The Switch Is On
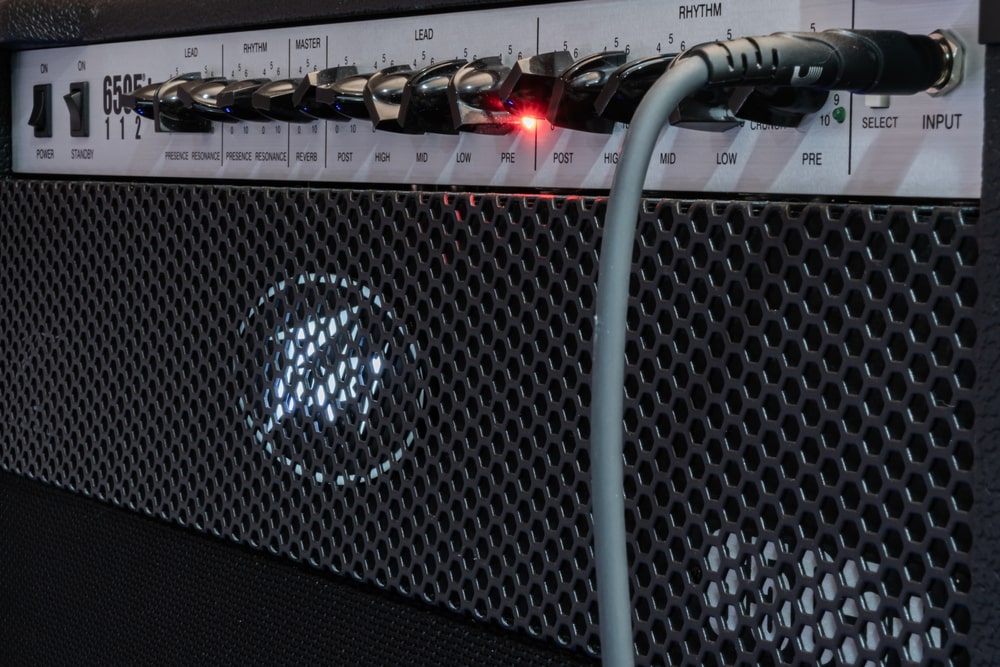
On the list of Peavey Valveking 212 issues, the next one is the production of static noise as soon as you turn on the stand by the switch. You cannot get rid of this noise even if you lower or raise the volume. Your efforts on plugging/unplugging anything from the amp will also go futile.
Usually, the speakers have no problem either because you get the same sound even if you connect the Peavey Valveking 212 with other speakers. You have to understand that it is not mandatory that only an amp that receives abuse go through this issue.
Your Peavey Valveking 212 can make static noise even if you don’t play it at a volume higher than 11 o’clock. You can eliminate the noise if you solder the primary wires from the OT. These primary wires are in the white connector, Red, Blue, and Brown. The connector needs to be clipped off. Try soldering directly to the pin bases.
- The Fuse Going Off Repeatedly
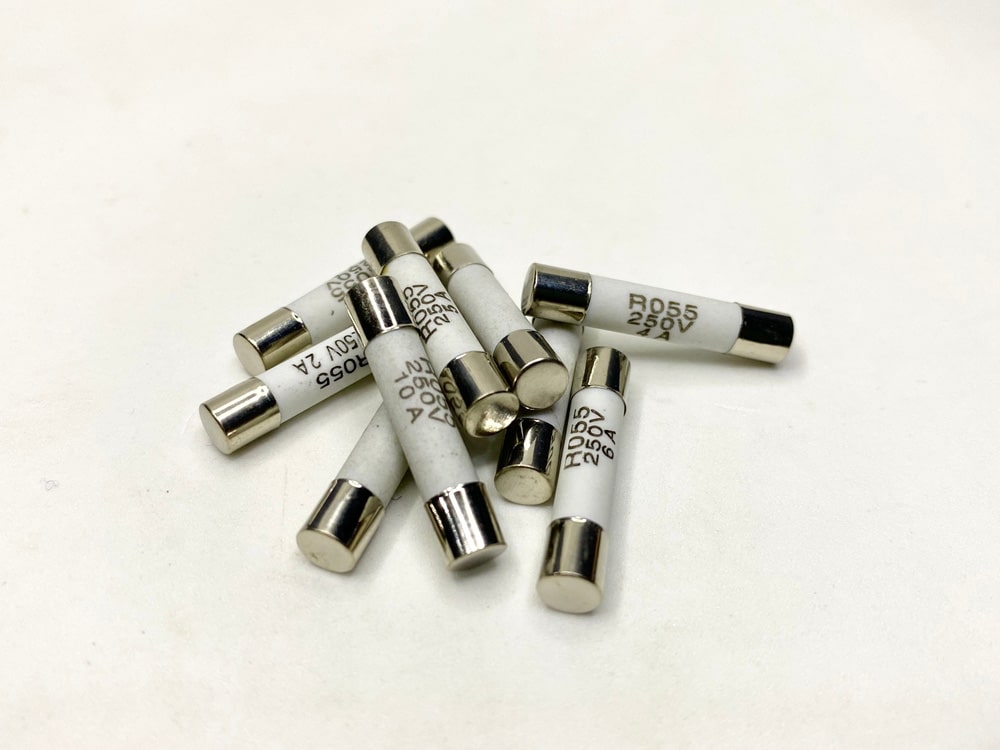
It is possible that you might plug in a Peavey Valveking 212 amp, but there is no power. As you check the fuse, it could be burnt out. Users have complained that they have to do a thorough search here and there before getting their hands on the correct fuse for the Peavey Valveking 212.
When they do find the right fuse and install it in the amp, they hear a loud pop, and the fuse blows out again. You might be wondering what causes the fuses to go. Mostly, it’s the improper plugging of the speaker. Whenever the cables are not in completely, they can cause something to blow.
You should also check on the power tubes because a bad power tube is equally damaging as an incorrect cable plugging.
- Stuck In The Boot Loop
No matter what particular amp you are using, it is common for it to get stuck in the boot loop. The same is the case with the Peavey Valveking 212. The first thing that you need to check on is all the connected devices and mixers. Make sure they are compatible with the amp. If they aren’t, disconnect them.
As soon as they are disconnected, do a resetting of the amp. In the reset, the amp is disconnected from the power, and this process is completed in a matter of seconds. You can try connecting the power again when you are done with the reset. There is a high chance that there would be no getting stuck problems with the amp afterwards.
- Guitar Amp Not Turning On
While using the Peavey Valveking 212, you might suddenly experience that it fails to get any power. Neither there any power light nor any kind of sound is produced. The bad news is that even if you check the power cord and try different ones, the issue still stays. The same goes for the electrical outlets.
This problem is common when your amp gets turned over. Most of the time, the input jack is broken. In addition, the fuse is also blown. In that scenario, you need to take out all the tubes and systematically replace each one of them. This will give you the tube that’s blowing a fuse.
After replacing the problematic tube, the working amp can be stored, but that’s a temporary solution. There is a high chance that the Peavey Valveking 212 might stop working altogether if you take it to practice. Before you try any troubleshooting on the amp, do know that the circuit has hazardous voltages.
Therefore, the input circuit needs a static test. If you are running a test on the circuit, make sure you have completely disconnected the power from the amp beforehand. The amp power input socket has the line and neutral connectors where you need to place the Ohmmeter test leads.
Meanwhile, operate the power switch on the amp. Check the meter for the reading. If you see no reading, make sure there is the correct setting of the DMM. You might see no reading across the power input terminals even if the DMM is set correctly. That situation demands a point-to-point test of the circuit.
Keep moving the test lead to further points in the circuit until you get the point that shows no reading. This problem has multiple causes, including a dry solder joint, loose fuse holder, and broken connections. As soon as you find any of these causes, get them repaired or replace them.