
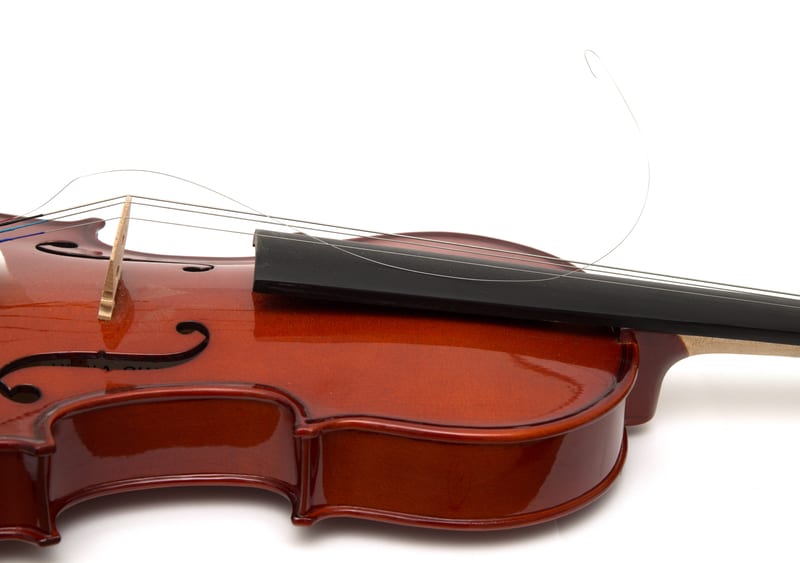
One of the biggest fears of every violinist is to have a string broken, and the reasons are obvious: the sudden explosive sound, the risks of a fallen soundpost and consequent interruption of the practice session for some minutes or days, depending on the gravity of the situation.
After the initial shock, it is time to have the broken strings replaced. Keep in mind that there are also other reasons for replacing the strings apart from breakage – maybe the strings are getting too old, producing false harmonics or the player desires a better quality set of strings.
Can I Restring A Violin By Myself
When a similar situation happens for the first time the player usually wonders: “Am I capable of re-stringing the violin by myself?”. Well, if the player has a good perception of pitches or knows how to use a tuner properly he/she is absolutely able to do that alone.
If you have asked yourself the same question do not worry. In this article we will teach you how to do it properly without any fear of going wrong.
Here is a step-by-step guide on when and how to change your strings:
1- Is it time to have my strings replaced?
If your string is broken, obviously yes. You may also need to change them if you notice they never seem to be in tune – the older the strings gets, the less in tune its harmonics tend to be.
Also, if you notice their winding is unraveling, it is also a sign that they are about to break.
To be sure the strings will not break before you are ready to change them, you should change them after three or four months of intense playing or one year of light to moderate playing, even if they look healthy.
2 – Causes of breakage
If your case is a broken string, you should evaluate the causes. Perhaps the nut or the bridge, or both, have not been well sanded or lubricated, preventing the string from sliding naturally though the grooves.
This type of problem may be found in beginner instruments and should be fixed by a luthier only. After every replacement of strings the player is advised to lubricate these grooves with graphite (pencil).
Another factor that contribute to the premature breakage of strings is sweat: some brands are more susceptible to breakage due to sweaty hands. Make sure you keep strings dry after each practice session.
3 – Buying the right type of string
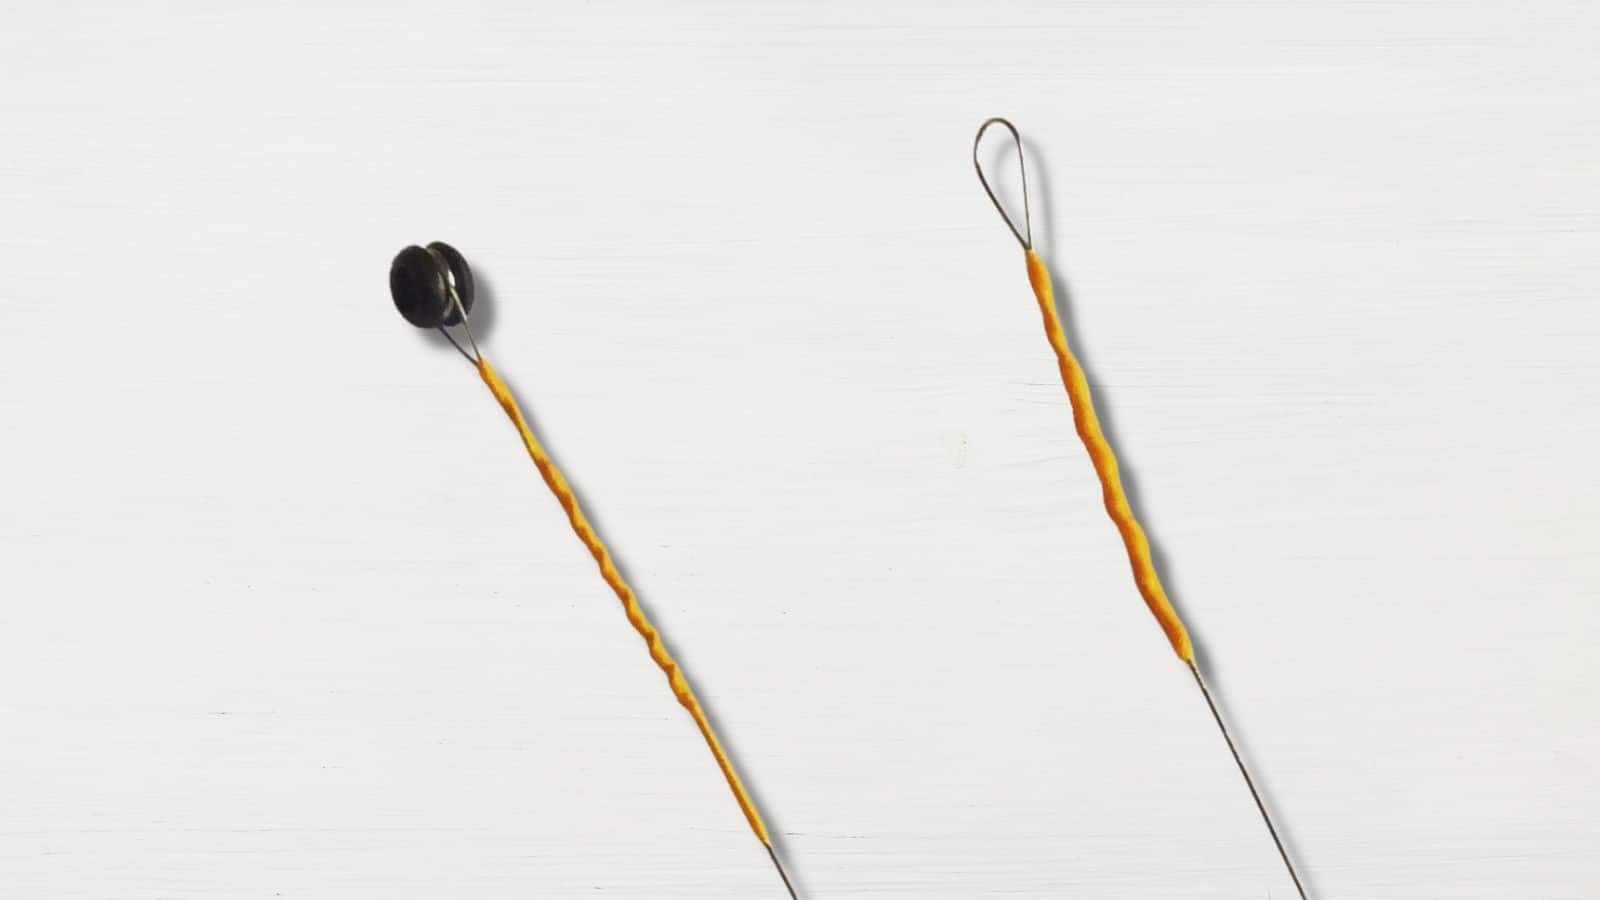
There are two options on the market: strings with ball end and loop end. These words refer to how the strings will be a attached to the tailpiece or to the fine tuners.
Ball end is by far the most popular and is the standard for most instruments. Some violins may require a loop end, especially for the E string, to match their fine tuner. You can check pictures online to quickly decide what is the type you need.
4 – Bridge and sound post
Before putting the new string or set of strings, check if the soundpost is still in its correct position. If it has fallen, release the tension of the strings and take the instrument to a luthier immediately.
Make sure the bridge is also properly placed. If the bridge has moved, you can still see the marks left on the violin and place the bridge above it.
5 – Replacing the strings
If everything is in order you can start the process of replacing the strings. If you are an advanced player, you should preferably change the whole set of strings, one at a time. The placement of the notes may change considerably and using a combination of new and old strings may affect your intonation.
If you are a beginner you can replace just the broken string. Never remove more than one string at a time because the lack of tension against the top may not be enough to hold the soundpost in its position.
Note: If you notice the pegs are not working well it is time for a quick repair. You can use a pencil and rub the graphite against the pegs especially in the areas that are touching the pegbox. Do not do this if the problem is slippery pegs.
Start by tucking the string in the small whole in the peg and turning the peg a few times. Hold the string firmly and let the string wind in the opposite side of its groove in the nut. After some turns – around two or three – bring the string to the other side.
This pattern will help hold the string in its correct position without unwinding so easily during the process. Put the other end of the string in the tailpiece and check the position of the bridge again. Then proceed with tuning the string.
6 – Finding the correct pitch
If you can not tune the violin by ear only, have a tuner near you. You can keep plucking the string and slowly turning the pegs until you reach the correct pitch. Be careful not to go beyond the correct pitch because the string will not stand the extra tension and will break.
7 – Adjusting the bridge
After tuning, the bridge may be a bit inclined towards the fingerboard. If that is the case, release the tension of all the four strings a little, hold the top of the bridge with the tip of the fingers of both hands and push it back to the right position.
Retune your instrument a few times until strings are stable again. Remember that for the bridge to be in the correct angle it should look as if it is a little tilted toward the tailpiece. The feet, however, should be fully touching the top of the violin.
And that is it. This is just a guide to help you remember each step. Ideally you should learn from watching an experienced player – or a luthier – and just then you should repeat each step. The process is simple and should be mastered by all players.
If you still have any doubt, you can check some videos YouTube and follow the instructions.
Last, but not the least, always keep an extra set of strings in case of emergency. Good luck!