Speaker Limiter Calculator
Calculate limiter voltage, RMS power, peak power, dBu or dBV threshold, attack, release, and protection margin for PA speakers and drivers.
Choose a starting point, then adjust the speaker rating, amplifier gain, processor output scale, and limiter timing to match the actual rig.
Voltage Ceiling
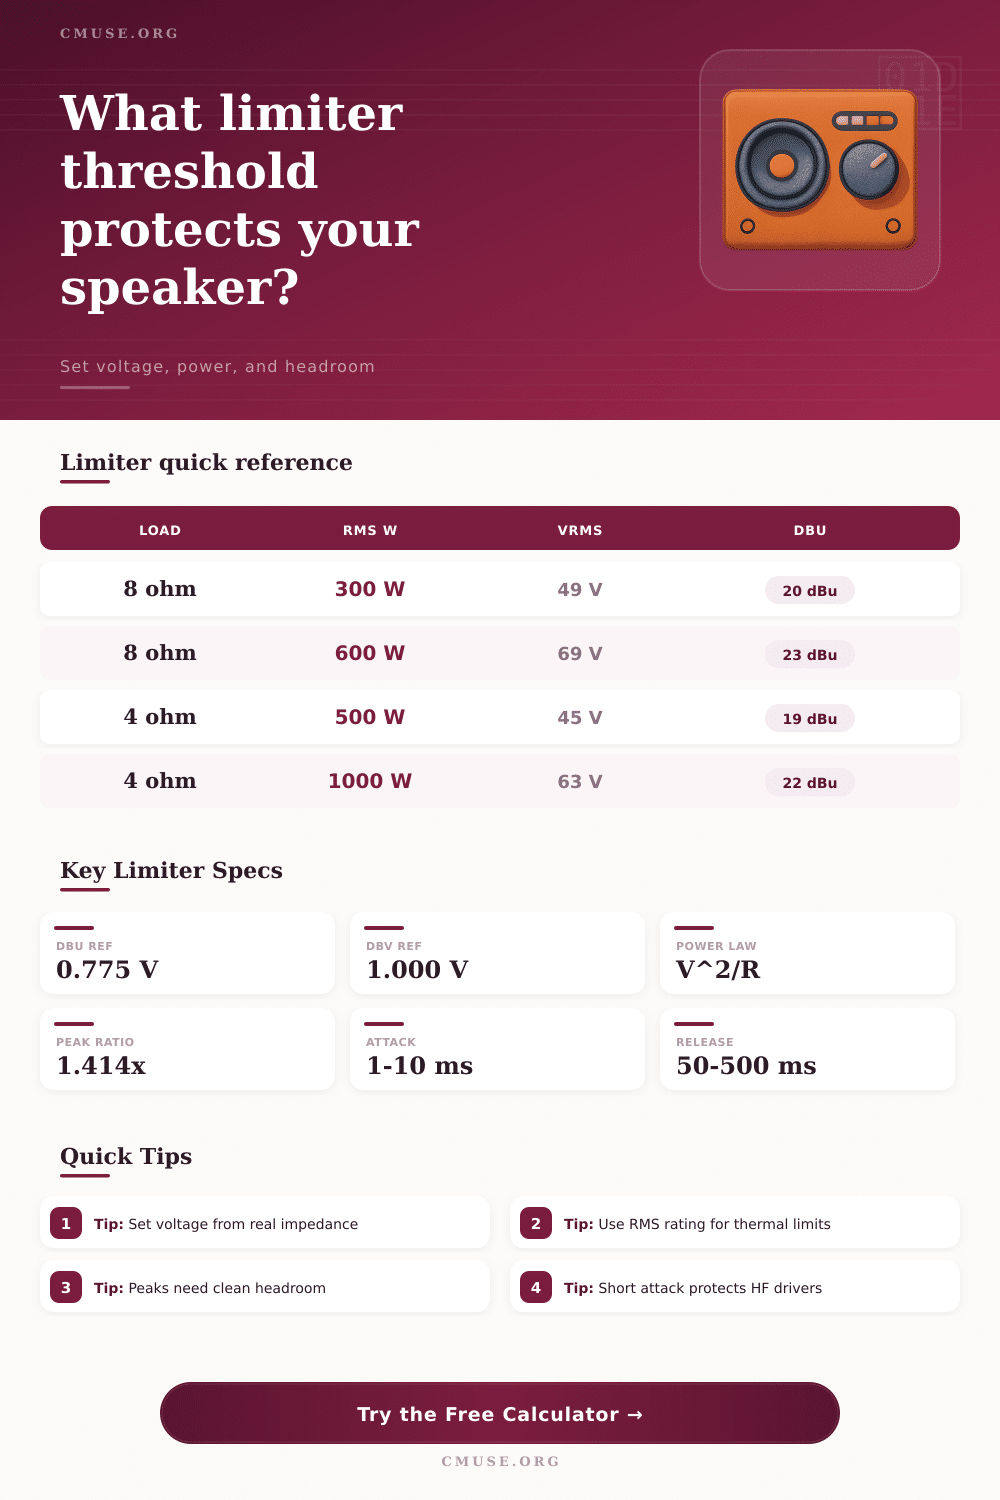
56.6 V
Speaker terminal RMS voltage
Processor Level
4.8 dBu
After amplifier gain is included
Peak Voltage
80.0 V
Sine peak equivalent
Headroom Gap
2.0 dB
Below selected RMS rating
| Threshold Unit | Reference | Formula | Use In Processor |
|---|---|---|---|
| dBu | 0.775 Vrms | dBu = 20 log10(V / 0.775) | Common pro audio limiter scale |
| dBV | 1.000 Vrms | dBV = 20 log10(V / 1.000) | Common recording and utility scale |
| Volts RMS | Direct voltage | V = speaker volts / amp gain | Useful when DSP accepts voltage entry |
| Amplifier gain | dB voltage gain | Gain ratio = 10^(gain dB / 20) | Connects processor output to speaker voltage |
| Speaker Load | 300 W RMS | 600 W RMS | 1200 W RMS |
|---|---|---|---|
| 8 ohm | 49.0 Vrms / 69.3 Vpk | 69.3 Vrms / 98.0 Vpk | 98.0 Vrms / 138.6 Vpk |
| 6 ohm | 42.4 Vrms / 60.0 Vpk | 60.0 Vrms / 84.9 Vpk | 84.9 Vrms / 120.0 Vpk |
| 4 ohm | 34.6 Vrms / 49.0 Vpk | 49.0 Vrms / 69.3 Vpk | 69.3 Vrms / 98.0 Vpk |
| 2 ohm | 24.5 Vrms / 34.6 Vpk | 34.6 Vrms / 49.0 Vpk | 49.0 Vrms / 69.3 Vpk |
| Driver Target | Attack Range | Release Range | Limiter Behavior |
|---|---|---|---|
| HF compression driver | 0.5 to 2 ms | 40 to 120 ms | Fast protection for delicate diaphragms |
| Full-range PA top | 2 to 8 ms | 100 to 300 ms | Balances peak control and vocal clarity |
| Stage monitor | 1 to 5 ms | 80 to 220 ms | Controls feedback spikes and harsh peaks |
| Subwoofer | 8 to 30 ms | 250 to 900 ms | Preserves punch while limiting heat |
| Preset Type | Typical Load | Limiter Priority | Spec Note |
|---|---|---|---|
| 10 inch vocal top | 8 ohm / 250 W | Clean vocal peaks | Moderate threshold, fast-ish attack |
| 15 inch PA cabinet | 8 ohm / 500 W | Thermal driver safety | Use 2 to 3 dB reserve for rough gigs |
| Compression driver | 8 ohm / 80 W | Diaphragm protection | Low threshold and very fast attack |
| Single 18 sub | 4 ohm / 1000 W | Peak and heat balance | Longer release keeps bass stable |
| Scenario | Speaker Rating | Starting Limit | Timing Starting Point |
|---|---|---|---|
| Small vocal PA | 250 W RMS at 8 ohm | 42.6 Vrms with 1 dB reserve | 3 ms attack / 150 ms release |
| Club full-range top | 500 W RMS at 8 ohm | 56.6 Vrms with 2 dB reserve | 4 ms attack / 180 ms release |
| Monitor wedge | 400 W RMS at 8 ohm | 46.4 Vrms with 3 dB reserve | 2 ms attack / 120 ms release |
| Single subwoofer | 1000 W RMS at 4 ohm | 56.4 Vrms with 2 dB reserve | 15 ms attack / 500 ms release |
A speaker systems may sound very cleanly at moderate volume level radiated by the speakers, but the same speaker system may sound harsh or the speaker system may fail altogether when the volume level become high. The problem that occur at high volumes is due to an amount of voltage that reaches the voice coil within the speaker. Many people focus upon the wattage ratings for speakers, but the voltage that the speaker system can handle is a more important specification.
The voltage limit will prevent the wattage levels from develop excessive heat within the speaker driver. To set this voltage limit for a speaker system, a limiter will be used. A guess as to how high the faders should be set will not be made for the mixing board; instead, you can set a voltage limit at the terminals of the speaker system.
How to Set Speaker Voltage Limits and Limiter Settings
After the voltage limit for the speakers is established, the gain for the amplifier can be determined to properly set a threshold for a processing device. A calculator will allow the user to make mathematical calculation to determine the level that should be set in the processing device given the impedance and RMS rating of the speakers, the gain for the amplifier, and the amount of safety margin that is to be set below the voltage limit for the speakers. The voltage levels will be displayed in dBu, dBV, or volts so that they can be correctly set in the digital signal processing device (DSP).
Another important task is to determine the amount of safety margin that will be established between the average volume of the speakers and the voltage limit. Setting the safety margin to zero decibel will allow the speakers to reach there full published rating for volume. However, because live audio programs will contain peaks in volume that are more greater than the average volume, it is possible to set the safety margin to between one and two decibels; this will allow the speakers to perform without sounding lifeless.
A six decibel safety margin can be used for speaker systems that are to run all day, but using a six decibel margin may waste headroom if the speakers are to be use for short outdoor live music events. The margin may be determined based off the length of time that the speakers must run, and how much the operator of the mixing board may move the faders that control the volume of the audio programs. Both the attack and the release times for the compression device are just as important as the threshold setting.
Using the wrong settings for the attack time can lead to the destruction of the compression device if one loud sound is played. Shorter attack times will be used for the high frequency range of speakers than for the subwoofer. The same rules applies to the release times.
Short release times will prevent the low frequencies of the audio mix from pumping back and forth when played, yet a too long release time will prevent the limiter from opening up after the loud sounds have passed. The type of audio programs that will be played will impact the settings of the compression device. Electronic music is typically of a greater density than bands that performs live.
Thus, live bands will provide the speaker with periods of rest between loud audio programs. Impedance is another factor in the equation. Speakers are typically rated at 8 ohms, but the actual impedance may drop to values lower than 8 ohms.
Using 8 ohms as the value to calculate the limiter settings for the speakers is not the best decision; the minimum impedance of the speaker system should be measured or the lowest impedance value published for the speakers should be utilized. The power of the amplifier is another factor to consider. An amplifier that has twice the power of the speakers may have the correct power for the speakers and the correct limiter settings.
The extra power from the amplifier will allow it to remain below clipping when the limiter is active. Using the limiter to avoid clipping for loud audio programs when the threshold is set higher than the speakers can handle can be dangerous, especially if the operator of the mixing board isnt aware of the clipping lights on the amplifier; setting the threshold of the limiter higher than the speakers can handle will be dangerous when the operator is planning to move the master fader to the encore performance of the live music acts. When mixing live music, stage monitors are another variable in the equation for the limiter settings.
The feedback that occur from live sound systems is loud and fast, yet the monitors must also provide a natural sound for the vocals that are performed at the concert. Using a short attack time will assist in the catching of feedback, but the release time for the monitor mixing board will not be as short as the attack time so as not to lower the volume of the mix when the band moves closer to the monitor speakers. The settings for both attack and release time can be adjusted for monitors using the driver target selector on the mixing board.
After all the settings have been determined for the limiter for the speaker system, it is important that the system be played to hear how it sounds and to determine if any additional adjustment should be made. The most loud audio programs should be played for the monitor system to test the settings. If the limiter is working properly and the amplifier is remaining within safe operating limits, the settings are correct.
However, if the amplifier is clipping before the limiter begins to reduce the gain, the threshold for the limiter should be lowered. Small adjustments will be made to the threshold rather than altering the safety margin by one or two decibels. Regardless of the size of the speaker system that is to be used, the voltage limit that is set at the speaker system will be the same for all speaker cabinets in the system.
By setting the voltage limit once for the entire system of speaker cabinets, by measuring the voltage with the voltage limit calculator, and by leaving the remaining settings as they are, the system will remain within safe operating territory.