Rack Unit Space Calculator
Plan audio rack height, used U, blank space, ventilation gaps, future reserve, and rear depth clearance before loading gear into a studio, stage, or broadcast rack.
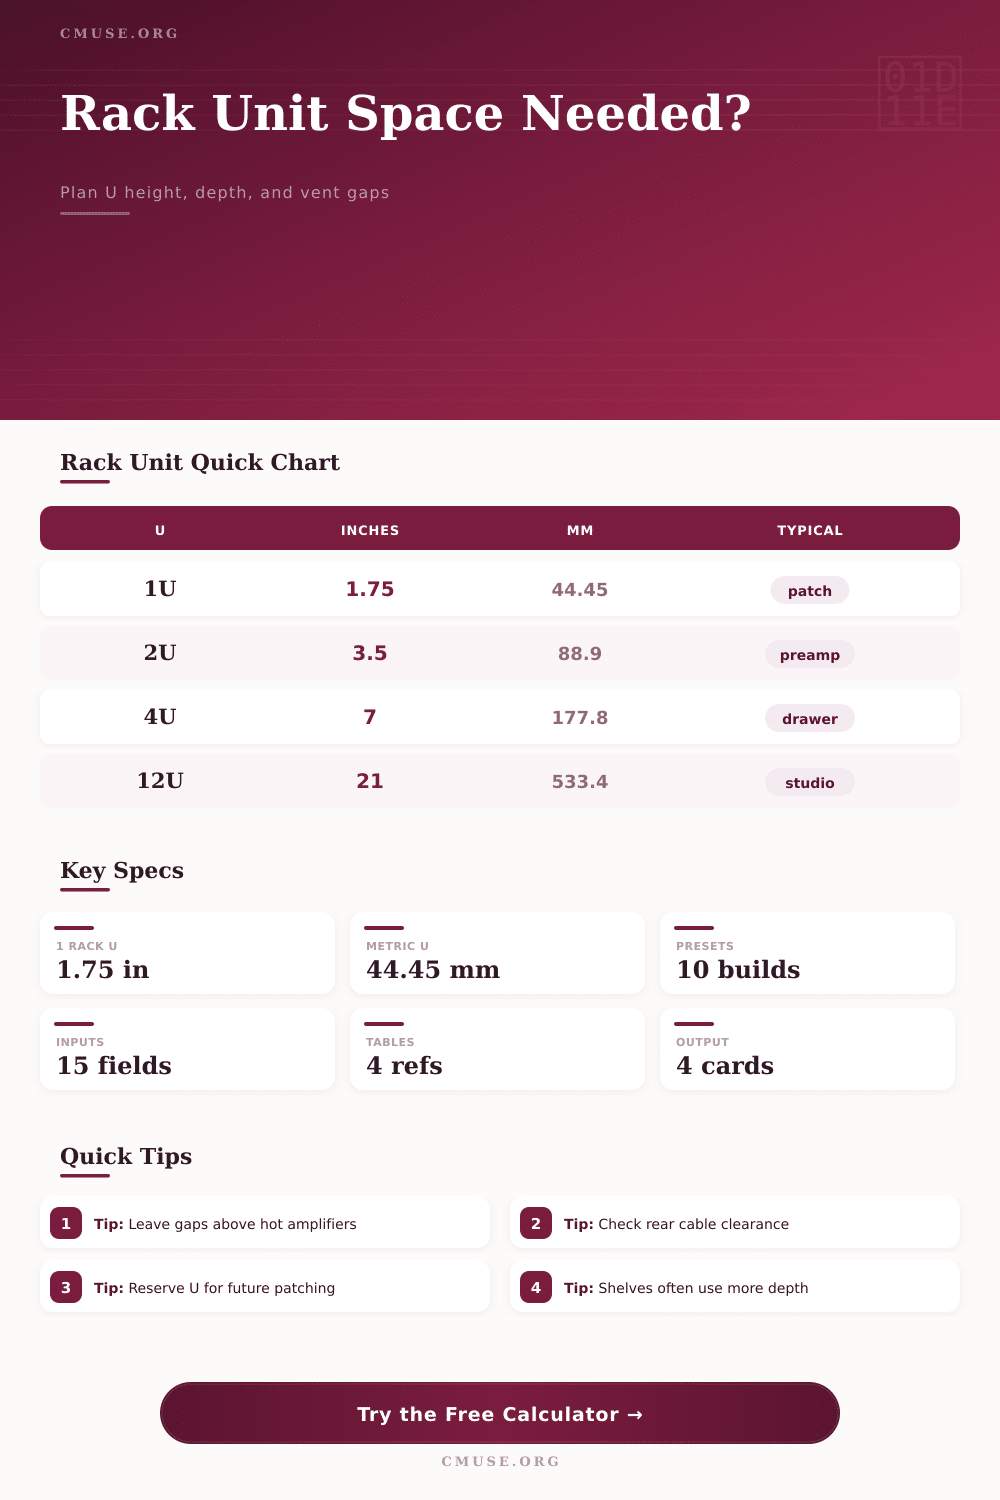
| Rack Units | Panel Height | Metric Height | Common Audio Use |
|---|---|---|---|
| 1U | 1.75 in | 44.45 mm | Patch bay, tuner, wireless receiver, compact interface |
| 2U | 3.50 in | 88.90 mm | Preamp, compressor pair, small recorder, shallow UPS |
| 3U | 5.25 in | 133.35 mm | Digital mixer stage box, converter chassis, modular I/O frame |
| 4U | 7.00 in | 177.80 mm | Drawer, power amplifier, rack synth, computer chassis |
| 6U | 10.50 in | 266.70 mm | Small guitar or fly rack with processor, power, and wireless |
| 8U | 14.00 in | 355.60 mm | Mobile DJ rack or compact live playback rack |
| 12U | 21.00 in | 533.40 mm | Podcast, monitor amp, or small studio equipment rack |
| 16U | 28.00 in | 711.20 mm | Home studio rack with patching, conversion, and reserve space |
| 24U | 42.00 in | 1066.80 mm | Recording room rack with multiple preamps and converters |
| 32U | 56.00 in | 1422.40 mm | Broadcast, machine room, or installed equipment bay |
Rack unit height is standardized by panel opening. Overall case height can be larger because road cases and cabinets add lids, feet, rails, and top clearance.
| Gear Type | Typical U | Typical Depth | Planning Note |
|---|---|---|---|
| Patch bay or blank panel | 1U | 2-4 in / 51-102 mm | Rear cable fan-out usually matters more than chassis depth. |
| Wireless microphone receiver | 1U | 6-10 in / 152-254 mm | Leave front or rear antenna clearance if mounted internally. |
| Audio interface or AD/DA converter | 1U | 8-14 in / 203-356 mm | Allow extra rear depth for DB25, optical, USB, and power leads. |
| Mic preamp or dynamics processor | 1U-2U | 8-15 in / 203-381 mm | Tube units and dense analog gear may need a vent gap above. |
| Line mixer or digital stage unit | 2U-4U | 10-18 in / 254-457 mm | Check connector orientation before choosing a shallow rack. |
| Power conditioner or PDU | 1U | 6-12 in / 152-305 mm | Rear outlets need clearance for wall-wart adapters and IEC plugs. |
| Power amplifier | 2U-4U | 12-20 in / 305-508 mm | Keep intake and exhaust paths open; avoid trapping heat. |
| Sliding shelf or rack drawer | 2U-4U | 14-22 in / 356-559 mm | Shelves often set the minimum rack depth for small accessories. |
| Heat Profile | Examples | Front U Gap | Depth / Airflow Check |
|---|---|---|---|
| Low heat | Patch bays, passive panels, tuners | 0U | Route cables cleanly; no dedicated blank gap is normally required. |
| Moderate heat | Interfaces, converters, wireless receivers | 0U-1U shared | Avoid packing vented top covers tightly against another hot chassis. |
| Warm analog | Tube preamps, channel strips, dense processors | 1U nearby | Use vented blanks when heat rises into the next unit. |
| High heat | Power amps, computer chassis, large UPS | 1U-2U each | Confirm fan intake and exhaust direction before closing the rack. |
| Mobile rack | Road case with lids and rear rails | 1U near heat | Leave service loops so lids do not press connectors inward. |
| Machine room | Installed rack with continuous operation | Per airflow plan | Keep front-to-back or bottom-to-top airflow consistent. |
| Rack Format | Common U Range | Typical Rail Depth | Best Fit |
|---|---|---|---|
| Shallow studio desktop rack | 2U-8U | 8-12 in / 203-305 mm | Patch bays, desktop interfaces, compact processors, wireless receivers. |
| Portable effects road rack | 4U-12U | 12-18 in / 305-457 mm | Guitar processors, playback rigs, small mixers, power distribution. |
| Studio equipment rack | 12U-24U | 16-24 in / 406-610 mm | Preamps, converters, patching, drawers, monitor control gear. |
| Amplifier rack | 8U-20U | 18-24 in / 457-610 mm | Power amps, DSP, speaker processing, ventilation panels. |
| Broadcast or machine rack | 24U-44U | 24-36 in / 610-914 mm | Computer chassis, routers, audio engines, redundant power units. |
| Wall-mount rack | 4U-18U | 12-24 in / 305-610 mm | Installed receivers, compact network audio, light patching, control gear. |
| Build | Rack Size | Typical Filled U | Space Strategy |
|---|---|---|---|
| Guitar effects rack | 6U | 4U-5U | Keep one space for power, wireless, or a future switching unit. |
| Mobile DJ rack | 8U | 6U-8U | Depth and rear power clearance are usually the tightest limits. |
| Podcast production rack | 12U | 8U-11U | Patch, interface, headphone amp, recorder, and future I/O fit cleanly. |
| Tour playback rack | 14U | 10U-13U | Reserve space for redundant interfaces, DI panels, and cable management. |
| Home studio rack | 16U | 11U-15U | Useful when patching, conversion, preamps, shelves, and blanks share one bay. |
| Recording room rack | 24U | 17U-22U | Plan warm analog gear with vented blanks instead of filling every opening. |
It’s not so much a geometric as a physical exercise in planning rack space. On paper, it looks easy enough: count units and stuff them in. In practice, however, a rack loaded with gear resembles an engine room. One which generate heat and requires air. Typically, it’s heavier than anticipated, too. Until your case is filled, most folks simply count units. What they fail to realize is that a densely-packed rack is little more than an insulating box waiting to overheat.
The calculator above run the numbers for you. It converts abstract U heights into real measurements in both inches and millimeters. It also checks rear depth clearances, reserve capacity, ventilation allowance, and remaining free space. This turns guesswork into a layout strategy before you lift a single device.
How to Plan Your Rack Space
The second mistake is using rack units as nothing more than a measure of volume instead of thermal zones. One and seven-eighths inches high is considered a standard unit. But that’s only half the story. Computer chassis and power amplifiers is major heat producers. That heat rises. And if you don’t leave a gap between that hot device and next when you stack it up, you’re effectively pumping warm air back into lower unit’s intake. This results in throttled performance or premature failure. You must consider ventilation gaps as active components in your build. Don’t fill those voids over hot amplifier. Those aren’t wasted spaces; they are functional exhaust ports.
The other type of trap is more difficult to imagine from the front: depth. There can be lots of vertical room in a rack, but if all of your stuff won’t fit without being squeezed, then you’re not there yet. Cables flex, connectors protrude. And don’t forget about the lid, it’s gotta fit through too. Measure how far apart are the front and rear mounting rails where equipment would sit, and then factor in thickness of actual plugs plus any bulky wall-wart adapters dangling off the back. If you’ve got big thick IEC power cords or long optical cables, you’ll notice these pinch as soon as you close the lid of your shallow rack and every time you close it after that.
The table at top of page breaks this down further, with a listing of typical depths of different types of gear so you can compare what you have to which rack profile.
Space: This is where reality intersects with discipline. You might be able to fit everything in today, but you won’t tomorrow. Insert a wireless receiver or a new interface? Pull it all apart to slide in another device? Inconvenient at best; dangerous for your cable connections at worst. Leave 10-20% of the rack empty. This makes it easier to work on stuff and leaves some wiggle-room for patching-in future needs. The calculator helps you visualize this too. Subtract what you plan to use, and it will show you exactly how much slack remains, how far away you are from being over-commited. If it’s zero, then you’re already there.
Distribution of weight is also important; this applies particularly to the bottom half of a rack that may hold server chassis and heavy power amps. Standard gear can takes up much more depth on rack shelves than might be expected. You must be careful with how things are positioned to allow for proper cable runs. Consider the center of gravity: Heavy stuff goes down and gets locked down. Lighter gear goes up to keep the rack stable. This helps when transporting it or setting it up on stage or in your studio. When you finally want to change out your stage or studio configuration again, a balanced rack will save time and be safer to handle.
Lastly, there is consistency in airflow. Whether constructing a broadcast machine room, home studio bay or mobile DJ rig, the principles is similar. Cold air is needed for hot gear. Depending on which direction the fan spins, this air comes from either in front of gear or from below. Make sure that both the intakes and exhaust path stay clear. Blank panels block vents, unless they’re specifically designed to properly channel air. It’s a small thing, but it matters when it comes to longevity. You don’t want your equipment to survive its first gig by running hot; rather, you should of want it to run cool for years of use. Proper spacing reduces noise caused by struggling fans, prolongs the life of expensive electronics and keeps things from overheating. Planning well translates into less time troubleshooting hardware failures, and more time making sound checks go smoothly or making music.
Start with an empty cabinet in mind, then fill it with purpose and make room for breath. Racks that look good are organized, meaning they were built with physics in mind from the first unit put inside.