Multiscale Fanned Fret Calculator
Work out the fan angle, perpendicular-fret slant, bass-side and treble-side fret positions, and per-string scale length for any multiscale (fanned-fret) guitar or bass build.
Nut Slant
0°
Angle at fret 0
Bridge Slant
0°
Angle at fret infinity
Perp Fret
7
Straight pivot fret
Scale Spread
0
Bass minus treble
| String | Position | Scale (in) | Scale (mm) | 12th fret (in) |
|---|
| Fret # | Bass from nut (in) | Treble from nut (in) | Offset (in) | Bass (mm) | Treble (mm) |
|---|
| Instrument | Treble scale | Bass scale | Typical perp fret |
|---|---|---|---|
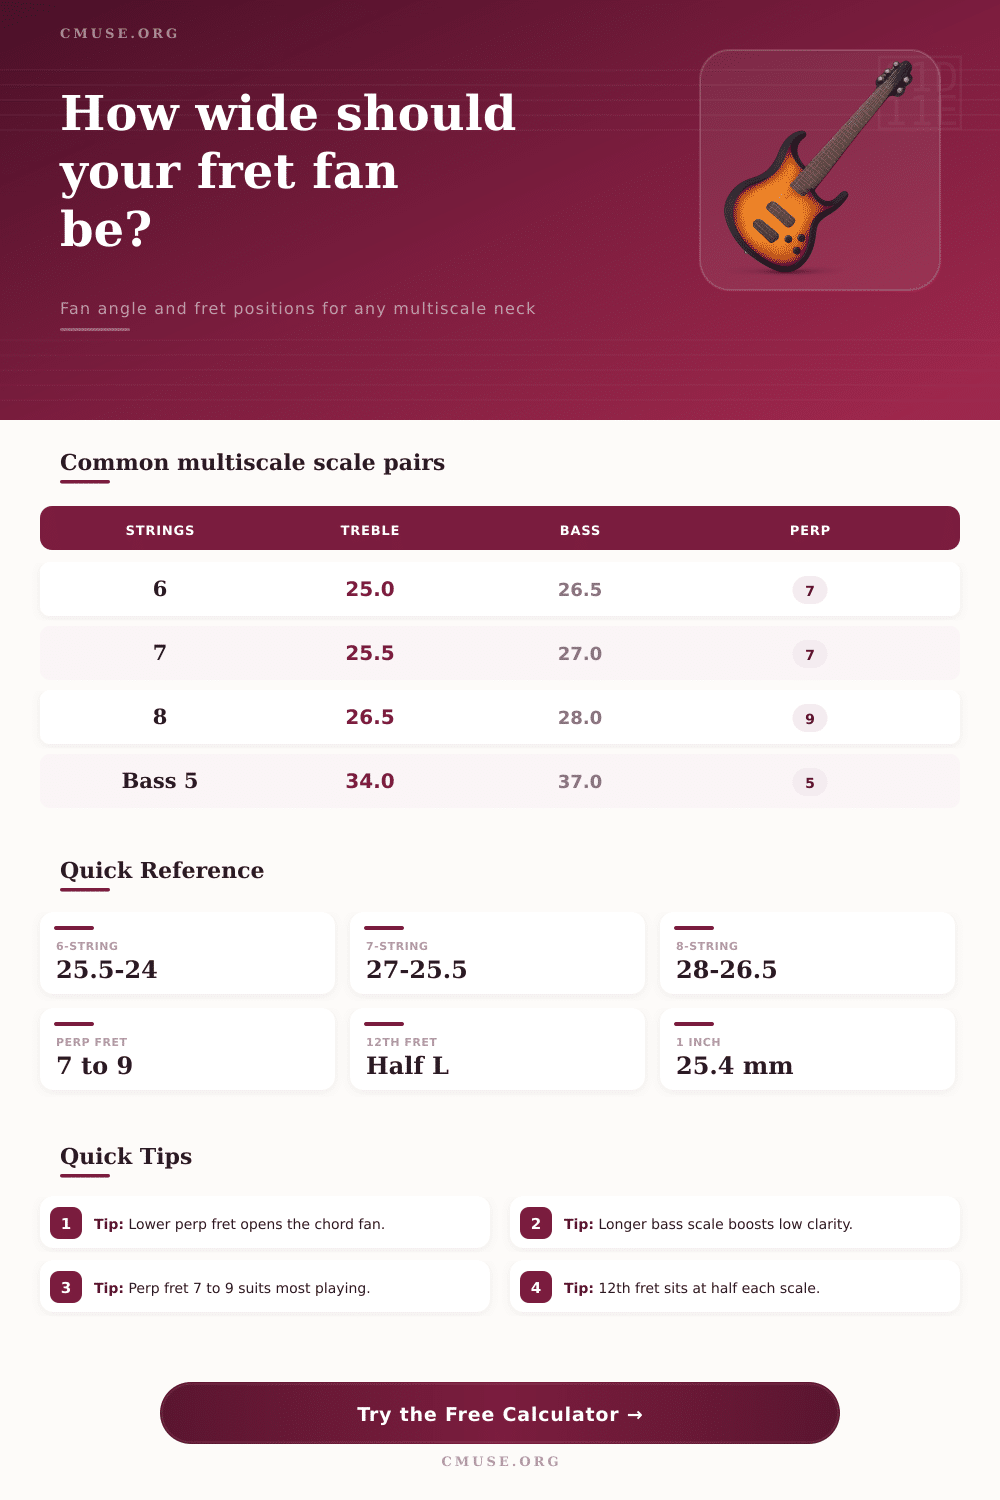
| 6-string guitar | 24.0 - 25.0 in | 25.5 - 26.5 in | 7 - 9 |
| 7-string guitar | 25.5 in | 26.5 - 27.0 in | 7 - 9 |
| 8-string guitar | 26.5 - 27.0 in | 28.0 - 28.625 in | 8 - 10 |
| Baritone | 27.0 in | 28.0 - 30.0 in | 7 - 9 |
| 4-string bass | 34.0 in | 35.0 - 35.5 in | 5 - 7 |
| 5-string bass | 34.0 in | 36.0 - 37.0 in | 5 - 7 |
| Playing style | Perp fret | Feel | Open chords |
|---|---|---|---|
| Rhythm / open chords | 3 - 5 | Straight near nut | Easiest |
| All-round / mixed | 7 | Balanced fan | Comfortable |
| Lead / mid-neck | 9 | Straight mid-neck | Mild slant |
| Extended-range / djent | 9 - 12 | Tight low end | More slant |
| Scale change | Tension effect | Tone effect | Best for |
|---|---|---|---|
| Longer bass scale | Higher tension | Tighter, clearer lows | Low tunings |
| Shorter treble scale | Lower tension | Slinkier bends | Lead playing |
| +1 in on bass side | ~10% more tension | Less floppy low B/F# | 7 / 8-string |
| Equal scales | No fan | Standard feel | Drop tunings only |
A common beginning point for most musician is standard scale length. It is easy, comfortable, and good enough for playing in E position and feeling good under your fingertips. For anything lower than B however the even tension begins to push back at you. Your high strings is too short to be comfortably bent and your bass string are now all floppy and loose.
This is where fanned frets comes from. By giving the high strings less tension and the low strings more, they can be played more easy. This allows them to work together as one instrument instead of having different tensions fighting each other. It is not simply a way to stretch out a neck but it is a way to balance tension on all strings to make them feel coherent.
How to Choose Your Multiscale Guitar Settings
A multiscale neck use a single point of reference called the perpendicular fret. It’s the only fret on the entire board that has no slant at all; each other fret are slanted relative to this one point. The placement of this point is perhaps most important decision you’ll make when designing a multiscale neck. Putting pivot point too close to body makes bottom end of fretboard awkward for rhythm work, whereas placing it too far up the neck cause your open chords to feel stretched out and skewed in first position. What you’re effectively doing is determining what portion of the fretboard stays neutral as the rest tips. After plugging in your desired pivot point, the calculator above figures out the rest for you. There’s no need to calculate those angles by hand yourself.
Consider your style of playing as well. Do you spend much of your time plucking at the nut on set of low open strings? Or perhaps you’re more of a jazz player and spend a lot of time close to the nut playing chord? Then you’d prefer to have that perpendicular fret closer to home. Keeping it in a position like fifth or seventh fret will keep the fan nice and gentle where you spend most of your time with your hands. This maintains classic chord shapes without stretching your fingers uncomfortably.
However, if you like to use sweep picking techniques further up the neck or generally spend your time a bit higher up, you might consider moving that pivot point up to ninth or even twelfth fret. This will open out the fan nearer the body and still allow for angles to be managed in the area you primarily play in.
But not just in angle, going from note to note also alter string spacing. They fan out as you go further down the neck. At the nut, it may be standard spacing but by the time you get to bridge it’s quite a bit more. This can help avoid unintentionally muting next string while palm muting heavily or performing fast alternate picking runs. On the flip side, though, your picking hand need to travel a little farther across on the lower strings. If you’ve played both fanned and straight scale guitars before, you’ll immediately feel the difference here. It’s a subtle thing but it factors into your muscle memory.
If you take a moment to consider what it does for the actual fret positions you’ll notice that basically every string now has custom scale length. So on the bass side it may be a twenty six inch scale but then next one over is maybe twenty seven, and so on. Now you have tension that harmonizes throughout all six strings. It tightens up the low end but doesn’t make high end feel like piano wire. It gives you clarity in the lows and flexibility in the highs all at once. That’s the whole point of multiscale design.
The process of building one adds up really fast so precision measurement is key. An imperfection at the nut will show up as a noticeable gap in fret position by the time you reach twelfth fret. The preset settings (for example: six string, seven string) can confirm that your custom settings is matching what is already known. The other thing worth double-checking is whether offset at the octave marker falls where you think it should of. Even though math may be right, too big a slant here will skew your feeling about the intonation.
At the end of the day, a multi-scale guitar configuration is as much a matter of preference than it is one of physics. No one solution fit all. For some players, they want something very slight, something that doesn’t dissapears at all on their fingertips. Others are more than happy to have extreme angles that make the most sense from a tension standpoint. To determine your sweet spot, go ahead and play around with several scale spreads and perpendicular fret placement before cutting any wood. Play around with a few using the tool and notice how numbers change. Keep tinkering with it till geometry lines up with your playing style and not the other way around. After you get those figures locked down, the rest of the build becomes second nature.