LUFS to dB Calculator
Measure the gain change needed to hit a loudness target, then check true peak headroom for streaming, broadcast, podcast, film, and music delivery.
LUFS describes loudness, while dB describes the gain move. This calculator shows the exact shift, then predicts the new true peak and safety margin after normalization.
Each preset fills the loudness targets, peak ceiling, buffer, and program profile used by a real delivery scenario.
| Delivery target | LUFS | Ceiling | Use case |
|---|---|---|---|
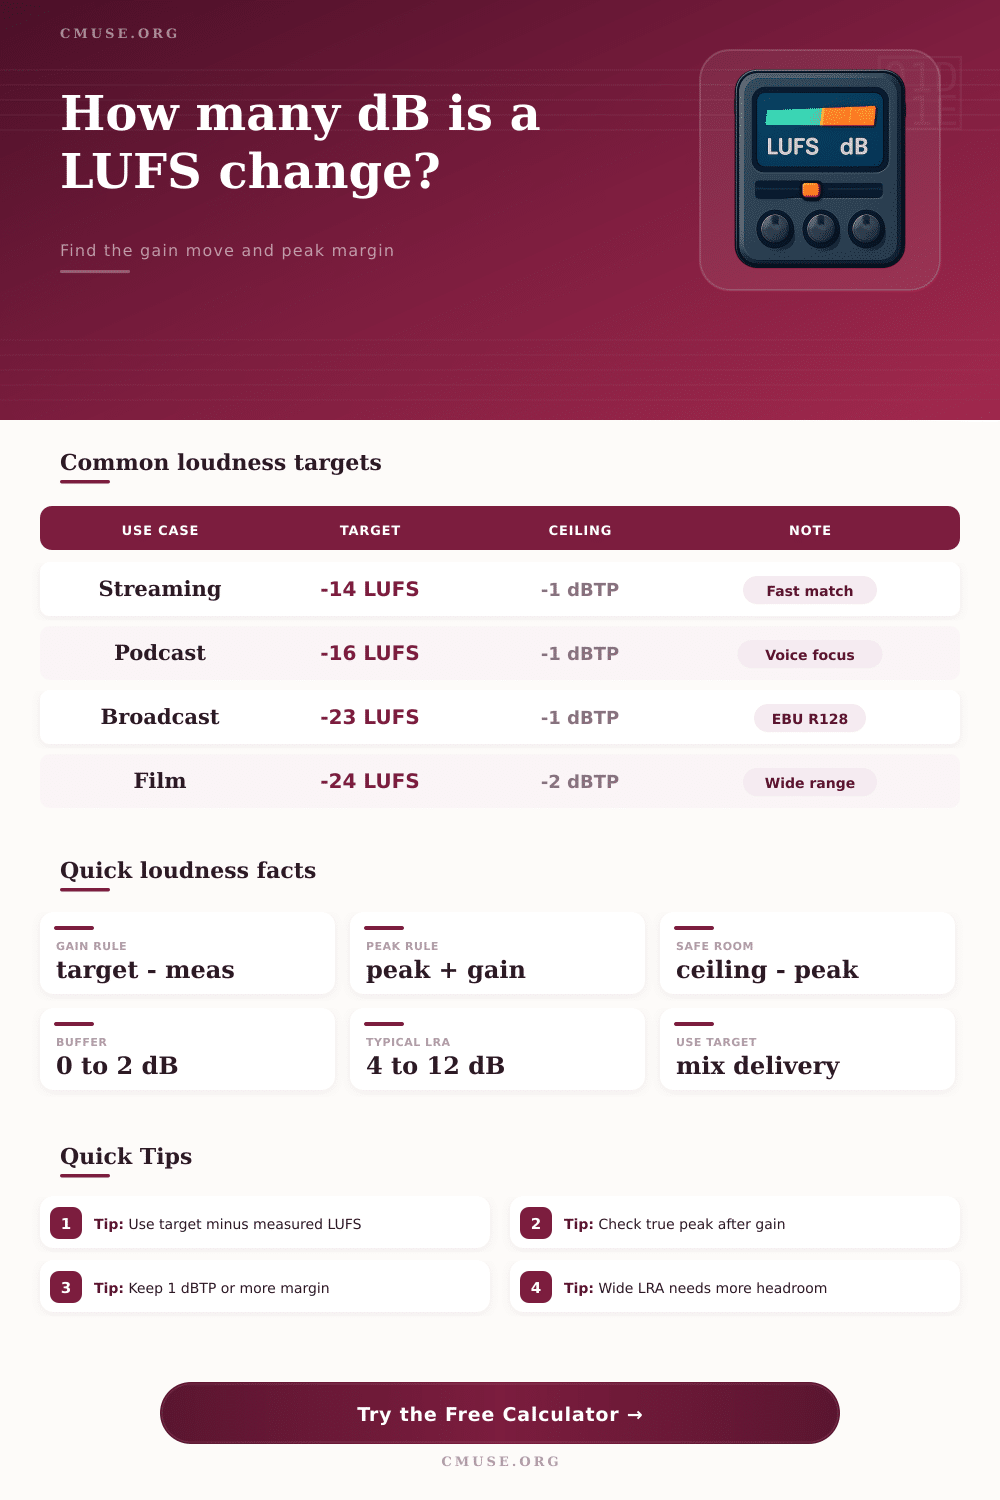
| Spotify style | -14 LUFS | -1 dBTP | Music streaming |
| Podcast voice | -16 LUFS | -1 dBTP | Spoken word |
| EBU R128 | -23 LUFS | -1 dBTP | Broadcast delivery |
| Film mix | -24 LUFS | -2 dBTP | Cinema and post |
| Measured | Target | Gain change | Result |
|---|---|---|---|
| -18 LUFS | -14 LUFS | +4 dB | Raise level |
| -14 LUFS | -14 LUFS | 0 dB | No move |
| -10 LUFS | -14 LUFS | -4 dB | Lower level |
| -23 LUFS | -16 LUFS | +7 dB | Big boost |
| Ceiling | Buffer | Best for | Risk |
|---|---|---|---|
| -1.0 dBTP | 1.0 dB | Streaming | Low |
| -2.0 dBTP | 2.0 dB | Film and post | Very low |
| -0.5 dBTP | 0.5 dB | Club masters | Medium |
| -3.0 dBTP | 2.0 dB | Dynamic music | Very low |
| Metric | What it means | Shown as | Why it matters |
|---|---|---|---|
| LUFS | Perceived loudness | -14 LUFS | Delivery match |
| dB | Gain change amount | +3.5 dB | Move to target |
| dBTP | True peak ceiling | -1.0 dBTP | Stop clipping |
| LRA | Dynamic spread | 6.0 dB | Room planning |
Measure integrated LUFS for release targets, then confirm the true peak after any gain move.
If the peak margin is tight, lower the ceiling or use a little less normalization.
Integrated LUFS measure the loudness of audio over time. Streaming platforms uses integrated LUFS to ensure that all audio tracks plays at the same volume. While many use peak limiting to control audio peaks, LUFS does not account for human ears perception of loudness.
As the human ear does not perceive loudness more similar than audio meters perceive electrical peaks, streaming platforms use integrated LUFS to normalize the audio. Audio normalization ensure all tracks are at a certain target level. If the audio track is too loud, the audio platform will lower the track’s volume.
Measure and Fix LUFS, True Peak, and Loudness Range
If a track is too quiet, the audio platform will increase the track’s volume. True peak measures the highest voltage level in an audio signal. True peak is important because when the user converts audio to lossy formats like MP3 or an AAC files, inter-sample overshoot can happen.
Inter-sample overshoot can lead to audio clipping if the true peak levels are too close to zero. A true peak ceiling of -1 dBTP or -2 dBTP are used to provide a safety buffer to avoid clipping. The true peak of a track will move the same amount as the gain adjustment to meet a LUFS level target.
The true peak must be calculated after adjusting the gain so that it does not go below the safety buffer. Loudness Range (LRA) measure the difference between the quietest and loudest sounds in a track. Loudness range is important for determining headroom for you audio peaks.
A low LRA value indicate a small difference between quiet and loud sections in a song. A high LRA value indicate a significant difference between quiet and loud sections. For example, pop music may have a low LRA value, but classical music may have a high LRA value.
For tracks with a high loudness range, extra headroom must be planned in your mix to accommodate loud portion of the song that may come close to the true peak ceiling after loudness normalization. Depending on the type of audio program you will be using, the target LUFS and headroom will change. For podcasts, the target LUFS will be -16 dB, with a tighter ceiling for audio peaks as speech does not contain many loud sound.
For film audio mixes, the target LUFS will be -24 dB, with more headroom for audio peaks as film audio contain a variety of volumes from whispers to orchestral music. If there isnt enough headroom for the film audio in your mix, the loud portions will clip once the audio platform apply normalization to the track. To streamline your audio program workflow, you can measure the audio levels early in your program.
Bounce a pre-master of your audio to calculate the integrated LUFS and true peak level of your audio. By noting these measurements, you can compare them to the specifications required by the audio platform. If the audio levels are too loud for the target loudness specification, apply gain reduction prior to the final limiter in your audio program.
Applying gain reduction prior to the limiter is better than use a limiter to squash the audio. This gain reduction method will preserve the audio transients. Finally, re-meter your audio to confirm that the integrated LUFS and true peak of your audio match the audio platforms requirements.