LUFS Gain Adjustment Calculator
Calculate the exact dB gain change needed to move measured integrated LUFS to a delivery target, then check true peak ceiling, codec margin, short-term loudness, and platform normalization.
🎯 LUFS Target Presets
⚙ Loudness Measurement Inputs
Calculation breakdown
📌 Current Loudness Result Cards
📊 Streaming Music Loudness Targets
These values are practical normalization references. Services can change playback behavior, so use them as mastering targets and always check each platform's current delivery documentation.
| Platform | Typical loudness | True peak ceiling | Primary mode | Result from current file |
|---|
📺 Broadcast And Film Loudness Targets
| Standard or medium | Integrated target | Peak rule | Measurement anchor | Gain from current file |
|---|
🎙 Podcast, Social, And Spoken Word Targets
| Medium | Common target | Peak ceiling | Best use | Normalization note |
|---|
🎶 Music Mastering Loudness Ranges
| Mastering intent | Integrated range | Peak approach | LRA tendency | When to choose it |
|---|
🧮 Platform And Medium Comparison Grid
This grid compares the current adjusted file against several destinations so you can see whether it will be turned down, left alone, raised, or limited.
📋 Detailed Platform Comparison Table
| Destination | Target | Playback change | Post-normalized loudness | True peak status | Export note |
|---|
OK. You’ve mixed it. Everything sounds great on the master fader. But now you want to release it to a distributor. How do you know if files will sound as loud as they’re supposed to be on all those streaming service? What’s your loudness range (LRA)?
The primary consideration when delivering music today is called integrated loudness. This measurement describe the overall perceived volume of song through time. It is not just the loudness of the kick drum.
How to Check Loudness for Streaming
The math is simple: subtract measured loudness from the desired target loudness. That number is how much more or less you should of raise or lower the level. The math is done for you by the calculator, but that’s where most engineers gets hung up. Understanding what the numbers represent.
The provided text does not define what LUFS stands for. LUFS is also a measure of integrated loudness. The name itself implies that it’s an average of perception, taking into account how our ears process sound. So this isn’t a raw RMS reading.
So if your mix read -18 LUFS and you wish to send it at -14, then you’re going to apply +4db gain. That sounds simple enough. But what about your real peak ceiling? Your audio must remain below -1dBTP so it doesn’t distort as it gets encoded by whatever platform you’re sending it through.
Because you are already starting at -2dBTP, adding gain bring it to +2dBTP. You’ve just broken the delivery spec in a heartbeat and run up against the wall. And that’s where the catch with managing loudness comes into play.
Because you have to manage your dynamic range to accommodate the gain increase, you can’t simply turn everything up. You have to manage the dynamic range as well. And that’s what this tool does for you: it tells you how much limiting (dynamic control) you will need in order to maintain peak levels below the ceiling and get average up enough.
It even takes into account a safety margin for codecs. Since these are lossy compressors (like AAC or MP3), they sometimes push a little too far over peaks. Half a dB of headroom makes sure they don’t subtly clip between samples which destroys a mix. Small thing, big time.
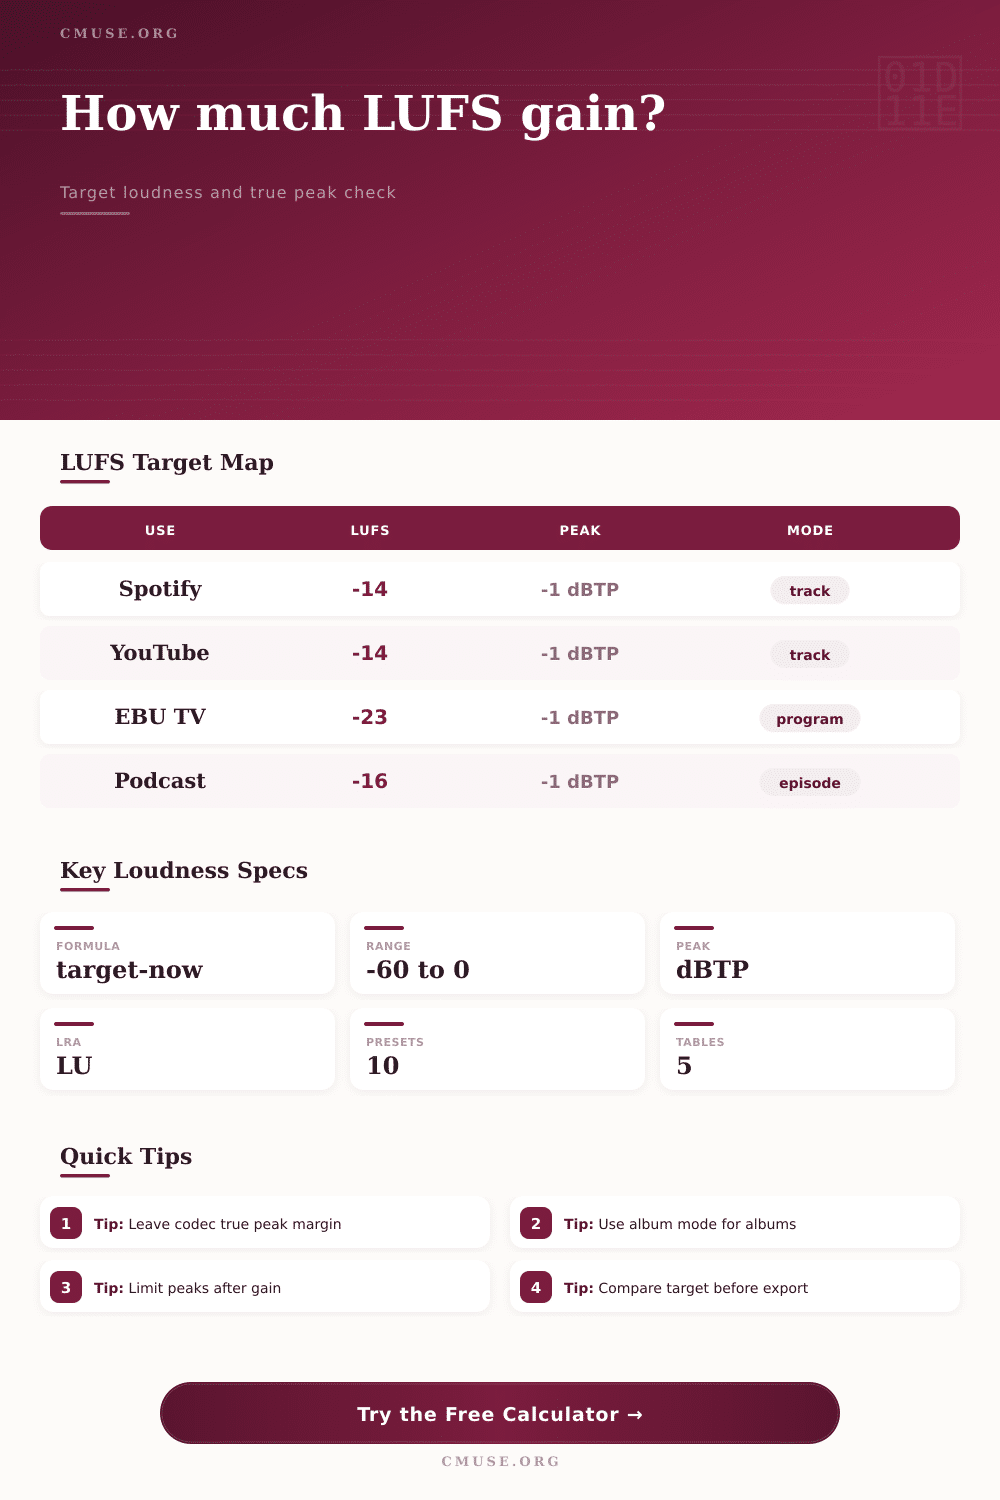
Normalization differs from platform to platform. Music tends to move toward minus fourteen LUFS on Spotify and YouTube. Podcasts often aim for minus sixteen LUFS, which is a bit quieter, with a wider loudness range. European broadcast TV follow the EBU R128 standard; way low at minus twenty-three LUFS.
So if you master at minus fourteen and post to a platform that expects minus sixteen, what happens? The service turns it down to match their expectation, and guess who’s going to end up quieter then everyone else?
The reference tables on the page spell those targets out nicely enough, just remember: it’s about consistency. Pick your target based off the type of content you’re creating; don’t pick it based on how loudly you want your song to be.
Dynamic range also matters. Narrow dynamic range tends to sound always loud and fatiguing, while wide dynamic range sounds alive and engaging. To assist in predicting what normalization will feel like, the calculator takes into account your current loudness range, or LRA.
Normalization will make the track swing noticeably between loud (chorus) and quiet (verses) if your LRA is quite wide. It will feel consistent if your LRA is narrow. This doesn’t mean one is better than the other, that depends on your artistic intent as well as the genre.
Narrow range is helpful for club music to keep its impact on big systems; wide range is typically required for acoustic recordings where instruments naturaly decay over time.
As you work through an album, consider it a whole instead of separate parts. Don’t push every song for the same LUFS value. Push the anthems up a notch. Push the softer songs down a notch. You can see how this balance works in the calculator’s album mode. It protects you from making the classic error of pushing all your songs to one random target number. You want cohesive flow, not all the same level.
When everything yell the loudest at once, the listener doesn’t get the ride, you take away their journey.
Lastly, always measure using a true peak meter. A sample peak meter like the ones found on most computer music software don’t account for the overs that happen between digital samples. A true peak meter simulates the reconstruction filter of the digital-to-analog converter your listeners use and displays actual peaks that will reach their speakers. Clipping doesn’t just happen when your DAW says it does, so if you’re ignoring true peak you could be clipping on other playback devices.
Use the tool to verify your adjusted peaks. Are they too high? Then raise limiting or turn down the gain. It’s a tradeoff between fidelity and level. For most listeners, a little lower will be forgiven; distortion won’t.
Remember mastering is all about making choices that hold up to the conversion process. Keep the peaks in safety, nail your target loudness and leave the rest to the platform.