Loop Length Calculator
Convert BPM, bars, meter, sample rate, playback rate, and trim padding into exact loop time, sample length, and sync-ready values.
🎵Loop presets
🎚Loop settings
📊Calculated spec grid
📐Reference tables
| Formula | Use it for | Calculation | Example |
|---|---|---|---|
| Tempo pulse | Beat timing | 60 / BPM | 120 BPM = 0.5 s |
| Quarter note | DAW grid math | Pulse / tempo note factor | Dotted-quarter 90 = 444.44 ms |
| Bar length | Loop duration | Quarter seconds x beats x 4 / denominator | 4/4 at 120 = 2 s |
| Sample count | Audio export | Seconds x sample rate | 8 s at 48k = 384000 |
| Loop type | Typical bars | Common BPM | 4/4 duration |
|---|---|---|---|
| Drum fill | 1 to 2 bars | 100 to 160 | 1.5 to 4.8 s |
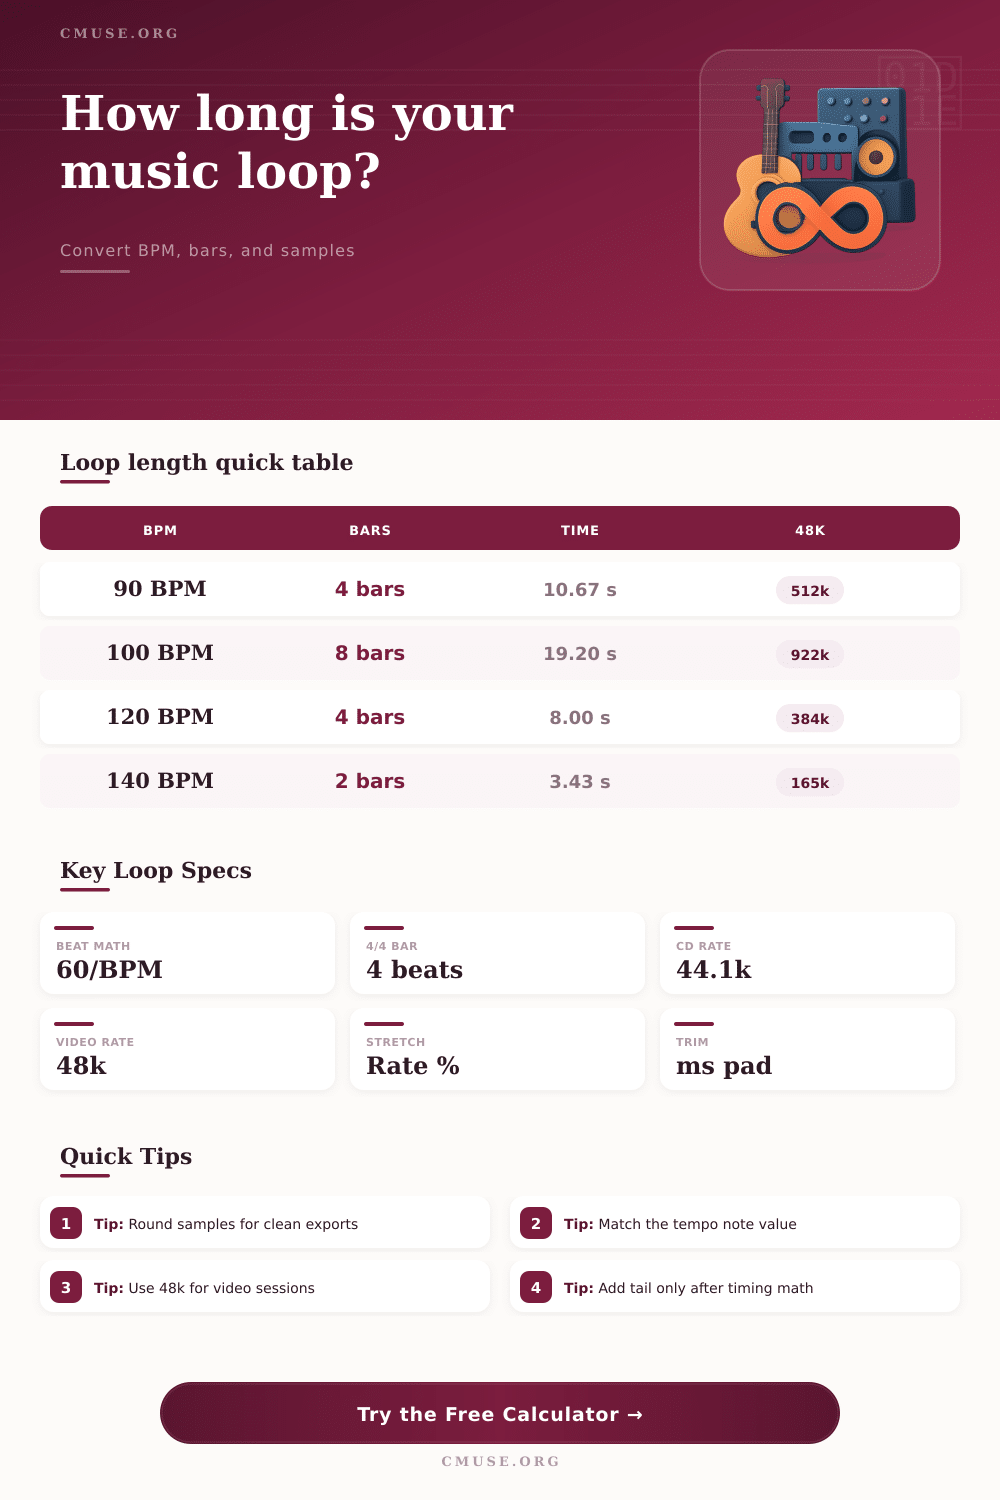
| Groove loop | 4 bars | 90 to 130 | 7.38 to 10.67 s |
| Verse bed | 8 bars | 70 to 110 | 17.45 to 27.43 s |
| DJ intro | 16 to 32 bars | 120 to 128 | 30 to 64 s |
| Sample rate | Best fit | Samples in 1 second | 8-second loop |
|---|---|---|---|
| 44.1 kHz | Music release | 44,100 | 352,800 samples |
| 48 kHz | Video and games | 48,000 | 384,000 samples |
| 96 kHz | High-res editing | 96,000 | 768,000 samples |
| 192 kHz | Special capture | 192,000 | 1,536,000 samples |
| Meter | Beat note | Bar formula at quarter BPM | At 120 BPM |
|---|---|---|---|
| 4/4 | Quarter | 4 x quarter note | 2.000 s |
| 3/4 | Quarter | 3 x quarter note | 1.500 s |
| 6/8 | Eighth | 6 x eighth note | 1.500 s |
| 5/4 | Quarter | 5 x quarter note | 2.500 s |
⚙Loop format comparison
| Target format | Timing priority | Sample choice | Recommendation |
|---|---|---|---|
| DAW clip | Bars and beats | Project rate | Keep exact sample count after tempo math |
| Sampler one-shot | Start transient | 44.1 or 48 kHz | Add no tail unless release is needed |
| Game loop | Seamless cycle | 48 kHz | Round to whole samples and test loop point |
| Video stem | Frame alignment | 48 kHz | Check frames after BPM conversion |
All sample results use whole-sample rounding because audio files cannot contain fractional samples.
A successful loop will be one that perfectly aligns with the timing of the rest of the musical arrangement. A loop must align with the timing of the musical arrangement because if it dont align with the timing of the musical arrangement, the groove will drift away from the intended musical arrangement. In order to ensure that a loop aligns well with the musical arrangement, a person must understand several variables that relate to the musical arrangement, such as the tempo, meter, sample rate, playback speed, and trim padding of that musical arrangement.
The first variable that a person should understand is the tempo. The tempo will indicate the BPM of the arrangement, such as 120 BPM. At this tempo, each quarter note will take half a second to playing.
Make Loops Match the Song
If a person changes the tempo, however, the length of each quarter note will change as well. Calculators is available to calculate the duration of each musical note at a given tempo if the person enters the BPM and the note value into the calculator. The second variable that a person should understand is the meter.
A person can use a meter of 4/4 for example. Another example of a meter is 7/8. Because these meters is different than each other, the length of a bar will be different in each example.
For instance, a bar in 4/4 at 120 BPM will be two seconds in length. However, at 7/8 at 120 BPM, the bar will have a different length. Calculators will keep the time signature visible so that a person can ensure that the meter is the same as the musical arrangement.
The third variable to understand is the sample rate, which is important for digital audio projects. Digital audio files use a sample rate to represent the sounds in the audio file. For instance, 44.1 kHz is the sample rate for CD audio file, while 48 kHz is the sample rate for video and game audio files.
Although the difference between these two rates may not be audible to human ears, the number of samples that represent a certain length of time will be different for each sample rate. If a person chooses the wrong sample rate when exporting their audio file, for instance, there will be a mismatch between the exported audio file and the video or game software to which the person is to distribute it. The mismatch will occur due to the difference between the sample rate of the audio file and the sample rate of the video or game software.
The calculator also allows a person to convert the seconds value into samples at the sample rate that the person selects. The playback rate and trim padding for the loop are the final two variables to calculate for the length of the loop. If a person decides to change the playback rate to, say, 95% of the original playback rate, the length of the loop will increase in relation to the playback rate.
Similarly, if a person adds trim padding to the loop, such as adding a tail to the loop, the number of samples that the loop will contain will change. Therefore, the person must account for these two variables when calculating the length of the loop to ensure that it remains on the grid. Many errors occur due to a person treating one variable as fixed while another variable can change.
For example, a person may calculate the length of a bar at one tempo, but then export their audio at a different sample rate. Additionally, crossfading loops causes the loop to drift in relation to the grid because changing the length of a loop changes its sample count. The tables located on the page can help a person to understand these relationships between variables.
A person can select their working tempo and sample rate for their project. After selecting the variables that will remain fixed for their project, a person can use the loop calculator to resolve the remaining variables. Using this loop calculator will remove the friction that can occur due to a loop that is not perfectly calculated to the specifications of the project.
A correctly calculated loop will remain in place on the grid and require no manual corrections. However, if a person incorrectly exports a loop at the wrong sample rate, the loop will require manual corrections after it is exported. Finally, another use of the loop calculator is when a person begins to work on new projects.
If a person creates a drum fill for one project, but wants to use that same loop for a new project, the person can re-enter the original loop span into the loop calculator. By doing so, the musical identity of the loop will remain the same, but the technical length of the loop will be updated to match the new tempo for the new project. Thus, by entering these values at the beginning of creating a loop, the loop will have the correct timing, sample count, and frame count to be used within an video editing session.
Its important to remember that you’re should of checked the sample rate first. Youll find that many people makes mistakes with the timing, which is why the calculator is so helpful. The modulern approach to mixing is based off these exact principles.