Keyboard Split Point Calculator
Choose a practical split note for stage piano, arranger chords, organ layers, synth bass, pads, and MIDI controller zones.
Calculation Breakdown
| Zone | Physical Range | Keys | Sounding Range | Role | Status |
|---|
| Split note | MIDI | Typical use | Why it works |
|---|---|---|---|
| C2 | 36 | Keyswitch bank | Keeps articulations away from melody range |
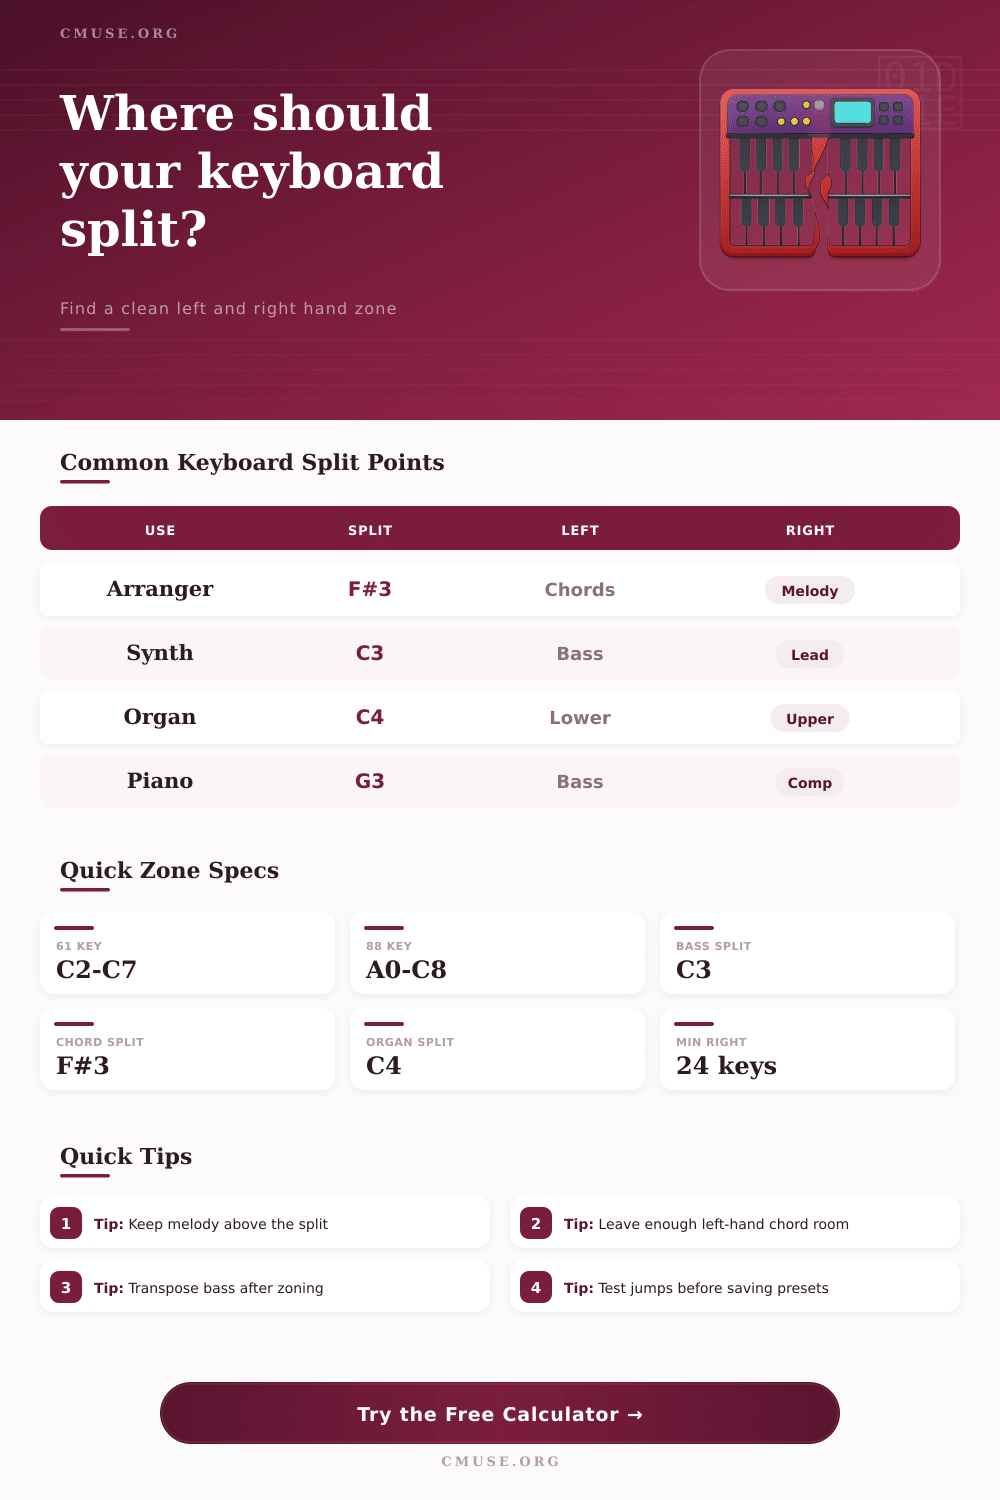
| C3 | 48 | Synth bass split | Leaves one octave of bass on many compact boards |
| F#3 | 54 | Arranger chords | Common boundary for left-hand chord recognition |
| G3 | 55 | Piano bass + comp | Gives right hand room without starving bass motion |
| C4 | 60 | Organ style split | Separates lower and upper manual style parts |
| F4 | 65 | Pad under lead | Lets left hand hold chords near middle register |
| Keyboard | Common MIDI range | Practical split zone | Best split jobs |
|---|---|---|---|
| 25-key mini | C3-C5 | 8-12 left keys | Triggers, bass/lead sketches |
| 37-key compact | C2-C5 | 12-18 left keys | Small synth parts, DJ zones |
| 49-key controller | C2-C6 | 16-24 left keys | Synth bass + lead, pads |
| 61-key stage board | C2-C7 | 24-32 left keys | Arranger chords, worship layers |
| 73-key stage piano | E1-E7 | 28-38 left keys | Electric piano, organ, bass |
| 76-key workstation | E1-G7 | 30-40 left keys | Combos, sequencing, live splits |
| 88-key piano | A0-C8 | 36-48 left keys | Piano bass, layered orchestration |
| Profile | Anchor split | Left zone priority | Right zone priority |
|---|---|---|---|
| Arranger chords + melody | F#3 | Chord recognition and bass roots | Melody above the arranger boundary |
| Piano bass + comping | G3 | Walking bass and shell voicings | Comping above middle register |
| Synth bass + lead | C3 | One or two octaves of bass control | Lead range with pitch wheel phrases |
| Organ lower + upper | C4 | Lower manual chords | Upper manual drawbar lead |
| Worship pad + piano lead | F3 | Held pads and soft roots | Piano melody and arpeggios |
| Orchestral keyswitch bank | C2 | Articulations or triggers | Playable instrument range |
| Note | MIDI number | Common name | Split meaning |
|---|---|---|---|
| A0 | 21 | Lowest piano A | 88-key lower edge |
| C2 | 36 | Low C | Controller lower edge / keyswitch area |
| C3 | 48 | Bass boundary | Useful compact-board split |
| F#3 | 54 | Arranger split | Popular auto-accompaniment boundary |
| C4 | 60 | Middle C | Central visual landmark |
| C8 | 108 | Highest piano C | 88-key upper edge |
When you’re stepping out onto a stage and suddenly realise that the split point on your keyboard is just one semitone too high there’s a particular sort of panic that descends. You reach out with your left-hand for a bass note, only to fire up a melody patch. It all falls into a heap of mud. Everyone do it at least once.
Where you draw the line between your hands can make the difference between appearing lost and looking like a pro. You want a clear boundary. It shouldn’t force you into cramped chord shapes, and it shouldn’t require awkward jumps between rhythm section (on the left) and the soloist (on the right).
How to Find the Right Keyboard Split Point
After plugging in the size of your keyboard and choosing a performance profile, the calculator above do all the math so you don’t have to guess if a split is even possible given your 61-key keyboard. Most stage keyboards falls within a range from forty-nine to eighty-eight keys. This is what defines your physical world.
Does that mean you have enough real estate on a compact controller to play a full-blown bass line on the left-hand side with still enough space on the right to weave some intricate melodies? The tool visually demonstrates precisely where this trade-off occurs by displaying how many keys you’ll have left in either zone as you draw the dividing line. So it makes you face up to the fact that you’re going to starve one hand or suffocate another.
There’s an exception: Arranger keyboards follow their own logic. Typically they requires the split at about F-sharp three. This is where their chord recognition engines assume that some voicings will stay above that note and others below. Raise the split higher and you’re likely to lose space for accompanying patterns under your left hand; drop it further down and the keyboard may misunderstand what you play.
The reason the reference tables are important with this tool is that they remind you that F-sharp three isn’t simply a random pitch, but a typical dividing line set over decades of keyboard design. Go against that and you’ll be up against the programming of your own keyboard.
For the organ player, this presents a whole other dilemma. To match upper and lower keyboard split of a traditional tonewheel organ, there is an even split at C4 (middle C). That way, the right-hand can perform drawbar leads and the left-hand can tackle chords as accompaniment. That’s how organs have been designed to be played for seventy years so it makes perfect sense.
For the pianist, however, this may not work. Splitting at G three provides enough range for the left hand to play shell voicings and walking bass lines. It also opens up higher register for solos and comping. It’s all about reach and comfort. Consider your physical reach as well. Not all hands is created equal. Perhaps yours is one of those extra-long ones. Setting your split too high on the keyboard results in having to stretch to play those bass notes. It gets tiresome after a while. Before the encore, you’re already tiring out.
With the calculator, you can decide how much range you want to give your left hand. Bumping that figure higher will move the split position downward so your thumb has more space to wander around when it reaches low end of piano. However, something has to give. For each key you dedicate to your bass hand, that’s a key removed from your melody hand. What works best for you depends on your playing style.
Another wrinkle to consider is transpose settings. Maybe your bass lines are sounding thin in their native range? Drop ’em an octave or two and they’ll gain some presence and weight. The beauty of this tool is you can preview that shift before you commit to it on stage. Small tweak but makes all the difference in how your mix feels. Raising the split point a bit might give you more room to play with chords while still keeping low-end power, because the bass has been dropped an octave. Synergy like that is difficult to achieve by ear when doing a soundcheck.
Another source of confusion surrounds the location of middle C. For some players, middle C must remain within the right-hand area. It’s their home base. For others, it doesn’t matter where middle C lands as long as the zones are balanced. With this calculator, you can set your preference and let the computer do all the work. You’ve decided to retain middle C in the right hand? No problem! The calculator will then shift the divide-point down slightly to allow for this rule change. It avoids any accidental overlap with your mental image of the keyboard around areas you wish to divide.
At the end of the day, getting your split point wrong can cause real panic and messy sound. It’s something you shouldn’t even be conscious of once it’s set right. Your hands should naturaly know where it is. It’s something you shouldn’t even be conscious of. Your hands should naturaly know where it is. On stage you don’t want to be worrying about geometry, you want to be thinking about dynamics and phrasing.
A few minutes working it out at home will pay off later when you’re confident in how your instrument is set up to work with your body and your style. That peace of mind is priceless.