Inter-Sample Peak Calculator
Estimate reconstructed true peak, dBTP margin, limiter ceiling pressure, codec overshoot allowance, and required attenuation for streaming, broadcast, CD, and mastering exports.
Load a practical delivery scenario. Each preset sets sample peak, estimated inter-sample rise, limiter ceiling, sample rate, meter oversampling, codec margin, processing gain, and safety tolerance.
Inter-Sample Peak Breakdown
True Peak Estimate
dBTP = sample peak + ISP rise + gainReconstructed peaks can land above sample peaks when the waveform is filtered between stored samples.
Headroom To Target
Headroom = ceiling target - dBTPA positive value means the estimate sits below the required true-peak ceiling.
Codec-Safe Estimate
Codec dBTP = dBTP + codec gapLossy encoding and platform transcodes can raise reconstructed peak level after export.
Needed Attenuation
Trim = max(0, codec dBTP - target + guard)The recommended trim includes filter margin and meter tolerance for a practical safety buffer.
| Delivery Path | Typical Ceiling | Suggested Codec Gap | Calculation Note |
|---|---|---|---|
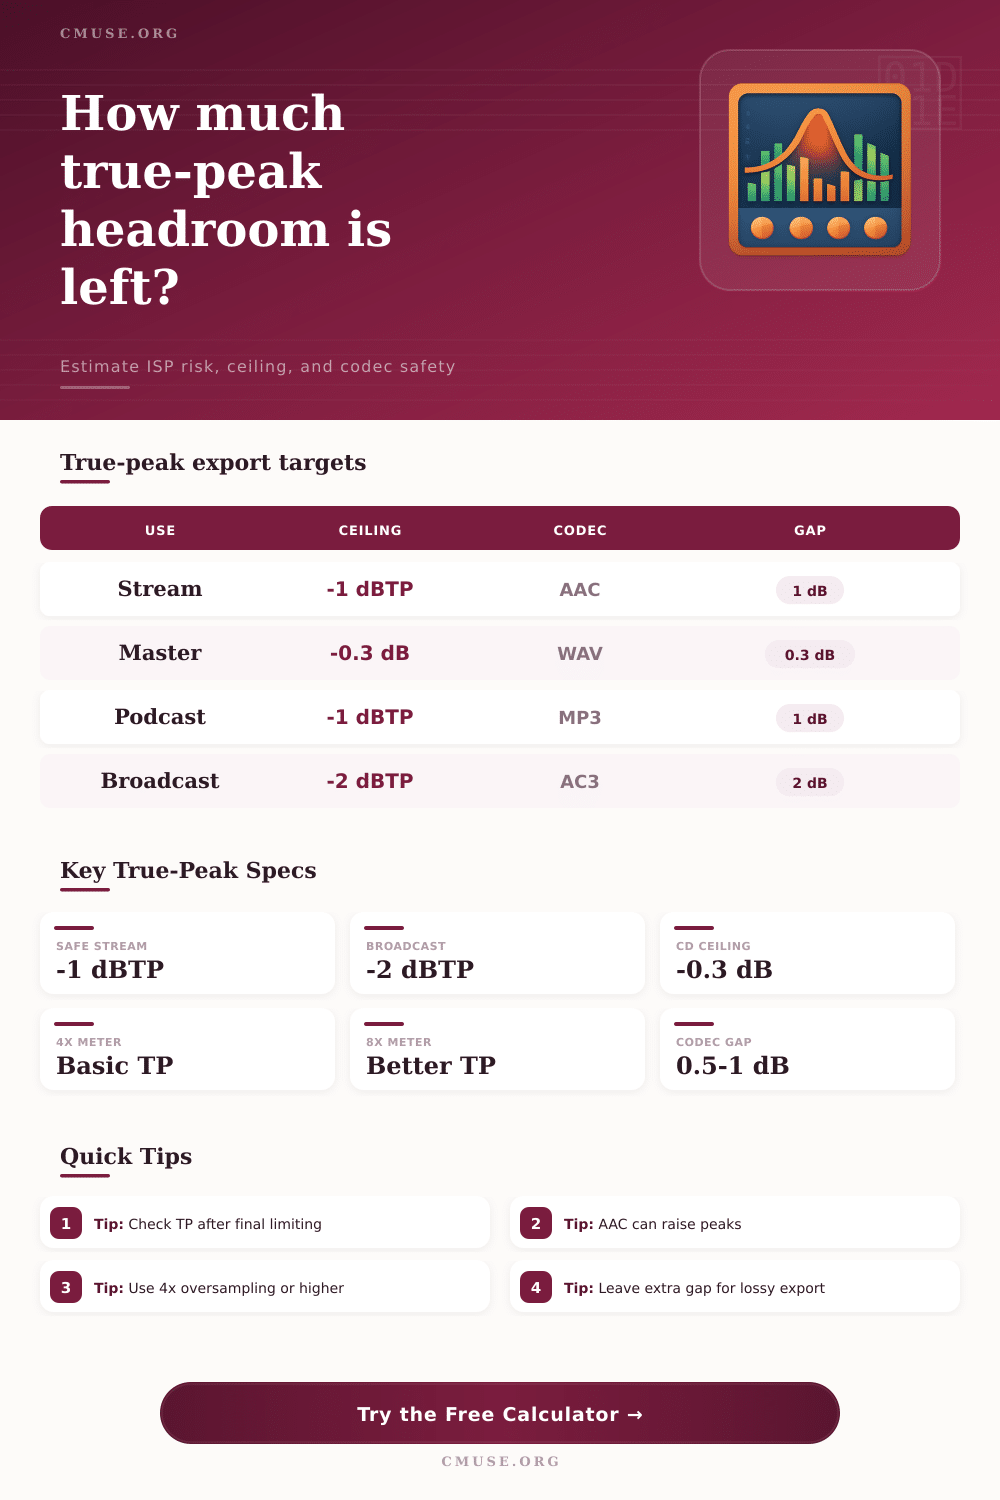
| Streaming music master | -1.0 dBTP | 0.5 to 1.0 dB | Useful when the service may transcode to AAC, Opus, or another format. |
| Broadcast or post mix | -2.0 dBTP | 0.3 to 0.7 dB | Commonly paired with strict loudness delivery checks. |
| CD or direct WAV release | -0.3 dBFS | 0 to 0.3 dB | Sample peak may pass while the reconstructed waveform clips a DAC. |
| Podcast distribution | -1.0 dBTP | 0.5 to 1.2 dB | Spoken-word platforms often re-encode, so leave a wider gap. |
| Game audio asset | -1.0 dBTP | 0.4 to 1.0 dB | Looped assets may be converted to platform-specific codecs. |
| Meter Mode | What It Sees | Typical Use | Risk Note |
|---|---|---|---|
| 1x sample peak | Stored sample values only | Fast channel metering | Can miss inter-sample overs by more than 1 dB. |
| 2x oversampled | Basic interpolation points | Quick mix checks | Better than 1x but still rough for final masters. |
| 4x oversampled | Common true-peak estimate | Delivery screening | A practical baseline for many true-peak meters. |
| 8x oversampled | Finer reconstruction detail | Mastering checks | Good choice when peaks sit within a few tenths of target. |
| 16x oversampled | Very fine interpolation | Critical QC | Helpful for dense limiting and codec preview passes. |
| Export Path | Starting Allowance | Higher-Risk Material | Calculator Setting |
|---|---|---|---|
| PCM WAV or FLAC | 0.0 to 0.2 dB | Hot sample-rate conversion | Use 0.1 dB unless a codec follows later. |
| AAC or M4A | 0.5 to 1.0 dB | Bright, dense, clipped masters | Use 0.7 dB for a cautious platform upload. |
| MP3 | 0.5 to 1.2 dB | Low-bitrate podcast or music files | Use 0.8 dB when the encoder is unknown. |
| Opus | 0.4 to 1.0 dB | Speech with hard limiting | Use 0.6 dB for general web playback. |
| Unknown platform transcode | 0.8 to 1.5 dB | Multiple encode passes | Use 1.0 dB or more for upload safety. |
| Project Type | Sample Peak | ISP Rise | Recommended Ceiling |
|---|---|---|---|
| Dynamic streaming master | -1.4 dBFS | 0.2 to 0.5 dB | -1.0 dBTP with codec allowance checked. |
| Dense loud single | -0.8 dBFS | 0.6 to 1.4 dB | -1.0 to -1.5 dBTP if transcoding is likely. |
| Broadcast mix | -2.4 dBFS | 0.2 to 0.6 dB | -2.0 dBTP after loudness normalization. |
| Podcast episode | -1.5 dBFS | 0.2 to 0.8 dB | -1.0 dBTP with extra MP3 or AAC preview. |
| CD premaster | -0.3 dBFS | 0.2 to 0.9 dB | Lower the limiter ceiling when dBTP exceeds 0. |
Balance dynamics and frequencys for hours until it sounds good to you. Export the file as a WAV file. Check the peak levels. The peaks sits safely at minus one dBFS.
You think it’s done but when that file hits Spotify or Apple Music, it go through a conversion process which may clip the loudest peaks of the file. So instead of having clear, clean, undistorted vocals or a snare drum, you now has some slight distortion. Why? Digital audio isn’t just about numbers stored in the file; it’s about what happens when the numbers is played back by a DAC. A DAC draws a smooth curve between the numbers. Sometimes, these curves overshoot the highest sample. This create a true peak above zero dB even though the file itself did not.
Why True Peak Matters for Your Music
When you enter your specific situation into the calculator above, the math are calculated for you. We take your measured sample peak and add an estimate of how much more will rise during inter-sample based off your meter oversampling and limiter settings. This tells us where we predict the reconstructed waveform will land before it is sent to a streaming service or codec.
Most engineers realize that their sample peak meters don’t convey loudness well; they’re actually worse at hiding clipping risk. Hard limiters also has the potential to produce a cluster of dense samples just shy of 0 dBFS. It looks good to a traditional meter, but it sounds like high frequency wave waiting to tear through the roof to someone listening to the reconstruction filter. By accounting for the needed headroom and codec lift, the tool attempts to help you see this hidden danger.
To get a sense of how inter-sample peaks work, consider the fate of your file once it’s off your computer. An MP3 or AAC encode will look at a short block of audio and apply its internal compression algorithm with all its accompanying filtering. In the process, it elevate peak levels by a few tenths of a decibel. If your master is already at a minus one dBTP target, this will push it into clipping range. That’s why streaming services frequently suggest minus one dBTP; their pipelines adds compression and gain when converting from the master. Leave ’em less room and you invite error. The table on the page explains this well in terms of different delivery paths.
The correct setting of oversampling in your DAW is also important; far more so than many realize. The reason is that a one-time sample peak meter only measures discrete data points, and has no way of seeing anything inbetween those points. True-peak detection generally use four-times oversampling, as that is a good balance between catching any significant overshoot while not using to many CPU resources. Finer resolution, such as eight- or sixteen-times, can be useful if you’re mastering something quite dense, like contemporary hip-hop or pop music. You can tweak that variable on the calculator to see how much headroom you have with various metering assumptions.
The other important variable in the equation is codec allowance. Using a lossy codec like MP3 will add some form of artifact that will move the transient energy up. This process can inadvertently raise peak levels by several tenths of a decibel. A lossless format such as FLAC barely impacts peak levels, which means you can get away with a narrower ceiling. Half a decibel extra margin for safety is prudent if your content will be distributed over the internet and used as an MP3 for things like podcasting or general web use (which hasn’t gone away yet). On the flip side, if your delivery is into broadcast or film, that’s a whole different set of rules. Broadcast demands minus two dBTP for instance, which allows for loudness normalization at the receiving end and other processing chains.
Understanding what you’re really measuring is the key. Unless your meters support it, you won’t be able to see inter-sample clipping in your DAW. You’ll only discover it afterwards, either when listeners complain about unpleasant sounding distortion on their devices, or when a plugin analyser flags it upon export. Prevention is much more effective here than cure.
A trim of zero point four decibel? Don’t dismiss this as nothing. Drop the ceiling of your limiter by that number and then re-export. Human ears can barely notice the increase in perceived loudness, yet there’s a huge technical gain in safety. Delivering good audio is a matter of managing risk. You want the track to be as loud as possible compared to other tracks, but not at the cost of quality. Chasing an absolute zero dBFS level by over-compressing is a bad move that assures a point of clipping somewhere further down the line. Giving yourself smart headroom and understanding the behavior of codecs allows you to ensure a clean sounding mix anywhere. That true peak isn’t just a tech spec, it’s there to protect your dynamic range. Respect it and your audience will hear exactly what you meant, without any digital artifacts that weren’t ever part of your vision.