Guide Tone Line Calculator
Build smooth jazz guide-tone lines from chord symbols by tracking the 3rds and 7ths, scoring semitone motion, and checking the playable range.
Preset use: Load a common jazz, blues, minor, rhythm changes, or modal progression, then adjust the chord symbols, range, and movement limit for your part.
Calculation Breakdown
| Chord | Lower Tone | Upper Tone | Movement From Previous |
|---|---|---|---|
| Dm7 | F4, chord 3rd | C5, chord 7th | Start pair |
| G7 | F4, chord 7th | B4, chord 3rd | 0 + 1 semitone |
| Cmaj7 | E4, chord 3rd | B4, chord 7th | 1 + 0 semitone |
| Chord Quality | Lower Shell Option | Upper Shell Option | Voice-Leading Use |
|---|---|---|---|
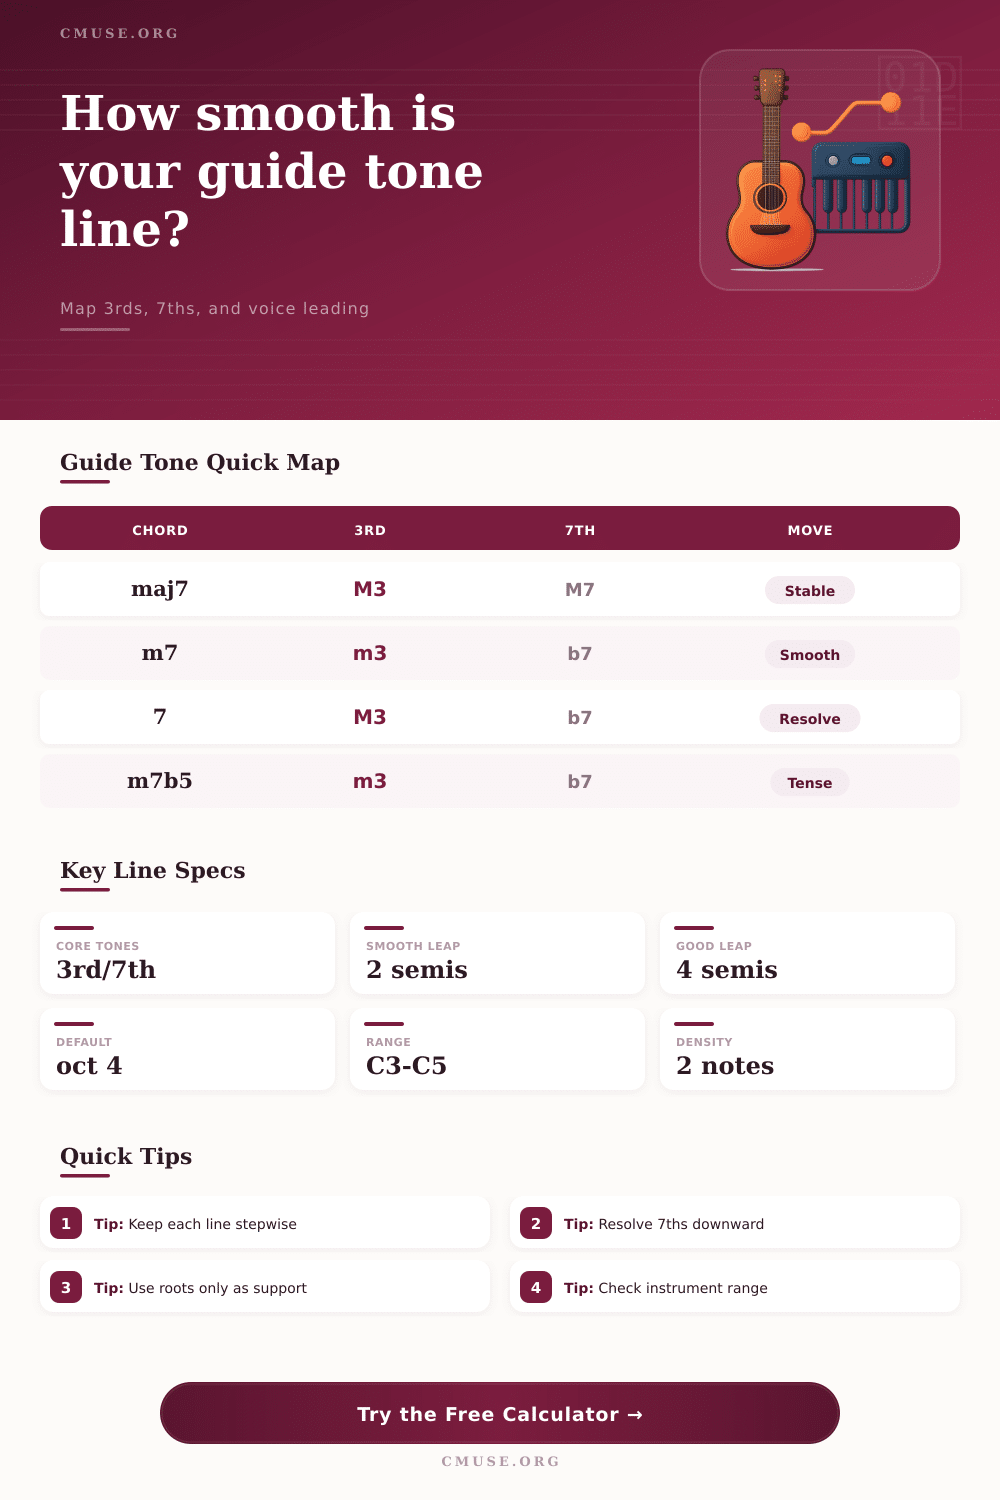
| Major 7 | Major 3rd | Major 7th | Resting color for tonic major chords |
| Dominant 7 | Major 3rd | Minor 7th | Defines tension before resolution |
| Minor 7 | Minor 3rd | Minor 7th | Smooth pre-dominant or modal minor color |
| Minor 7 flat 5 | Minor 3rd | Minor 7th | Half-diminished ii in minor progressions |
| Diminished 7 | Minor 3rd | Diminished 7th | Symmetric passing dominant substitute |
| Major 6 | Major 3rd | Major 6th | Lighter tonic shell without the major 7th rub |
| Movement Per Line | Semitone Size | Arranging Result | Calculator Status |
|---|---|---|---|
| Common tone | 0 | Stable and connected | Excellent |
| Half step | 1 | Classic guide-tone resolution | Excellent |
| Whole step | 2 | Smooth melodic shift | Very good |
| Minor third | 3 | Audible color change but still compact | Good |
| Major third or fourth | 4 to 5 | Playable leap that may need shaping | Watch |
| Tritone or wider | 6 plus | Strong jump unless intentionally arranged | Flag |
| Range Profile | Written Working Range | Best For | Guide Tone Placement |
|---|---|---|---|
| Piano middle register | C3 to C5 | Left-hand shells and arranger sketches | Compact two-note voicings |
| Guitar comping | E3 to G5 | Four-string chord grips and shell movement | Avoid low muddy 3rds |
| Tenor sax written | C4 to C6 | Section guide lines and etudes | Keep lines singable |
| Trombone staff | F2 to Bb4 | Low brass inner harmony | Prefer close lower motion |
| Alto sax written | G3 to Eb6 | Lead sheets and section parts | Middle staff reads clearly |
| Bass clef shell | E2 to C4 | Bass-clef piano or low arranging | Use wider spacing when needed |
| Progression Type | Chord Example | Expected Guide Motion | Useful Result |
|---|---|---|---|
| Major ii V I | Dm7 G7 Cmaj7 | One common tone, one half-step fall | Clean cadence shell |
| Minor ii V i | Bm7b5 E7 Am6 | Chromatic pull into minor tonic | Minor key outline |
| Turnaround | Cmaj7 A7 Dm7 G7 | Mostly half and whole steps | Comping loop clarity |
| Backdoor cadence | Fm7 Bb7 Cmaj7 | Shared color tones into tonic | Softer dominant arrival |
| Jazz blues | F7 Bb7 F7 C7 | Alternating thirds and sevenths | Blues form anchors |
When you write a jazz arrangement or think of a comping part for a band, you must decide which two note will go into the harmony from one chord to the next chord. The 3rd and the 7th notes of the chords is the most important because these notes carry out the majority of the work of the chord voicings. All other notes, such as the root of the chord, color tones, and decorative notes, will be played on top of these essential 3rd and 7th notes.
If you can think of the guide tones for a chord progression, the rest of the jazz arrangement will be easyly for you to understand. Tension between the two guide tone lines should remain minimal so that it sound good to the musicians playing the guide tones. One of the method to achieve this is to use a half-step resolution between the 7th of the chord and the 3rd of the following chord since this mimic the way that dominant chords work in jazz harmony.
Write Smooth Jazz Chord Lines with 3rds and 7ths
Another method is to use a common tone by having both guide tones stay on the same note since using a common tone give the musicians and the listeners a moment of rest. Each of these methods works well and will create an easily playable guide tone line for the musicians in the band. Many musicians learn how to use the guide tones by experimenting with different chords on the piano.
One of the easiest ways to learn the guide tones is to play a ii V I progression and observe that the 7th of a dominant chord move downward when resolving to the tonic chord of the progression. This same movement can be practiced in different keys within the same range for the pianist. The calculator on this page can perform the mathematical calculation for you once you enter your chord symbols and the limitation for your range.
The calculator will find the semitone distance between the guide tones and ensure that the distance between any two guide tones does not go beyond your threshold. Additionally, the calculator will present the guide tone line to you within the comfortable register for your instrument since a trombone chart that sound good on paper may not be playable on a trombone. The settings on the page will allow you to fine-tune the mathematical calculation for the guide tone line to your specific situation.
You can set the octave for the guide tones to start at a specific location within your range. You can also switch the preference for which line, the 3rd or the 7th, will start at the lower note since such a preference will affect how musical and smooth the guide tone line sound. The resolution priority will allow you to change the preference between common tones and half-step resolutions; none of these settings on the page are permanent setting that the musicians who use the calculator will retain.
Instead, these settings can be changed to find a guide tone line that is both playable and musical for a band whose members have a specific range. The guide tones will have some parts that the calculator will not see. A written line of guide tones will sound good when written on the page but may sound awkward when the other musician in the band begin to comp.
Depending on if there is a drummer or a bassist playing with the arrangement, the guide tones will sound differently. Thus, arrangers will use the guide tone line as a starting point and will hear the guide tones with the full band before they finalize the bands arrangement for the performance. The math of the guide tones will create a foundation for the band’s arrangement; however, the ear of the arranger is required to add any other musical element to the progression.
At times, the chord progression might occur at a fast rate. For ballad chords, there will be four beat per chord for the guide tones to land. For the more popular rhythm-changes bridges, there will be a chord every two beats for the guide tones to move to the following chord.
The calculator will show this density of the chords in the result of your guide tone calculations so that you can understand how fast the arrangement will play. The preference of which guide tone line resolves to what note at what speeds is up to you and your understanding of the band members’ range for the arrangement. The reference tables on this page will allow you to see the different guide tone line choice for each chord type so that you can make an informed decision.
These tables are not rules but recommendation for the types of guide tones to use. For example, for a major-7 chord, the major-3rd note will be voiced either below the major-7th or the major-7th will be voiced below the major-3rd. This same principle can be used for any chord type on this page.
Once you are comfortable with the voicing of each of the chords, you will naturaly begin to think about how to create a guide tone line instead of thinking about voicing the chords. One of the most common mistake that arrangers will make is that they will try to make every portion of the chord progression sound interesting. The guide tones work best when there is minimal movement between the two guide tone line.
A tritone leap between the 3rd and the 7th of a chord may look cool for the musicians on the page but will look awkward for the musicians playing it. The flagged leap will allow the arranger to see any leap movements between the guide tones so that they can be corrected. A leap between guide tones will only be necessary for specific musical phrases but will likely be a sign that one of the voices should of have use step sequences to move between the chord tones.
The benefit of using this calculator for guide tones is that once you have played several tune with this calculator, you will begin to hear the guide tone line in your head before you write the guide tone line on the page. After you play several tunes with the guide tone line created by the calculator, you will begin to remember which direction the 7th of a dominant chord will move. Thus, the calculator will remain a tool for confirmation of the guide tone line that you have created in your head.
You can and should still use the mathematical calculation that the calculator provides you to ensure that the result matches what you hear in your head in your mind when you hear the song in your head. When the math and music match for the band and the arranger, the two tasks will no longer be seen as separate task.