Graphic EQ Calculator
Estimate fixed-band gain moves from target curve, room dimensions, headroom, and common audio problems.
🎧Preset Starting Points
🎛Calculator Inputs
Recommended Graphic EQ Moves
📊Calculated Slider Table
| Band | Gain | Primary reason | Listen for |
|---|
🔍Graphic EQ Spec Grid
🎼Frequency Role Reference
| Range | Typical role | Useful move | Common risk |
|---|---|---|---|
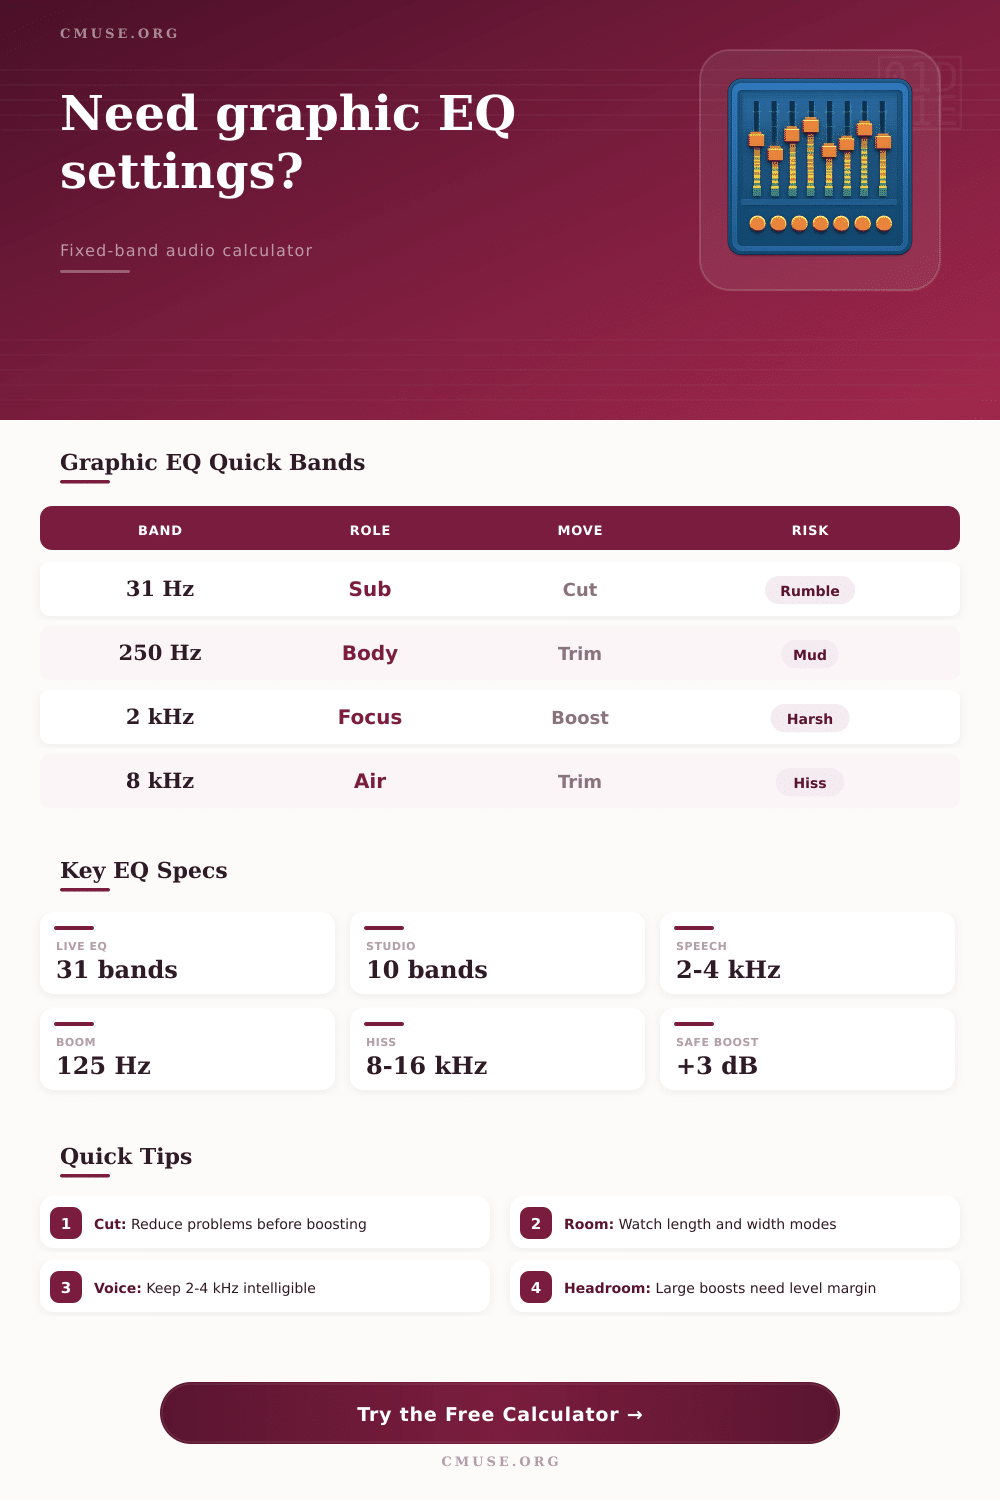
| 20-63 Hz | Sub energy and rumble | Cut for noise control | Thinness if overcut |
| 80-160 Hz | Bass weight and warmth | Small boost for fullness | Boom in small rooms |
| 200-500 Hz | Body, box, and mud | Cut for cleaner mixes | Hollow sound if cut hard |
| 630 Hz-1.6 kHz | Mid definition | Trim nasal buildup | Recessed instruments |
| 2-4 kHz | Speech and attack | Boost for intelligibility | Harsh fatigue |
| 5-8 kHz | Sibilance and edge | Cut for smoother vocals | Dull consonants |
| 10-16 kHz | Air and hiss | Boost only with headroom | Noise emphasis |
🎚EQ Format Comparison
| Format | Band spacing | Best use | Adjustment style |
|---|---|---|---|
| 7-band | Wide musical bands | Cars, compact stereos | Broad tone shaping |
| 10-band | Octave centers | Playback and simple studio checks | Fast tonal balance |
| 15-band | About 2/3 octave | Small venues and rehearsal rooms | Moderate problem solving |
| 31-band | 1/3 octave ISO centers | Live PA and room response work | Precise but still broad |
📏Common Project Sizes
| Project | Room size | Likely focus | Typical EQ limit |
|---|---|---|---|
| Vocal booth | 5×5×8 ft | 125-250 Hz buildup | 3-6 dB cuts |
| Home studio | 10×12×8 ft | 47-70 Hz modes | 3 dB boosts |
| Practice room | 8×8×8 ft | Shared 70 Hz mode | 6 dB cuts |
| Small stage | 20×16×10 ft | Low-mid clarity | 6 dB cuts |
| DJ booth | 6×4×8 ft | Upper bass control | 3 dB boosts |
💡Calculation Tips
A graphic equalizer allow you to adjust the frequency of an audio signal. Graphic equalizers is often used to correct the way in which a room may affect the sound of that audio signal. Many people tend to experience issue with their rooms exaggerating certain frequencies in the audio signal, which cause that audio to sound incorrect.
If a room exaggerate a certain frequency of an audio signal, the room is changing the way that you hear that signal. To combat this problem, you can use a graphic equalizer to remove those problematic frequency from the audio signal, allowing you to hear the audio signal as it was meant to sound to the original producer. A graphic equalizer is different than a parametric equalizer in that a graphic equalizer has fixed frequency, but a parametric equalizer allow the users to select the exact frequencies that it will attenuate (or enhance).
How to Set Up a Graphic Equalizer for Your Room
Using the graphic equalizer, you will have to make some compromise in the event that the problematic frequency is in between the two slider on the graphic equalizer. For instance, if the problematic frequency is 62 Hz, but there are only sliders for 50 Hz and 80 Hz on the graphic equalizer, you will have to choose the two most close sliders on the graphic equalizer. This tool takes into account the dimensions of the room to calculate these frequencies, thus allowing you to avoid guessing which frequencies to adjust on the graphic equalizer.
The dimensions of the room are important when setting up the graphic equalizer because the dimensions of the room will determine the standing wave in the room. Standing waves will cause the volume at certain frequencies in the room to be higher than others. Standing waves occur when the sound wave travels from the speaker to the wall of the room, reflected off of that wall, and colliding with the original sound wave being played from the speaker.
As a result, the frequencies will reinforce each other and create standing waves. The volume of the frequencies will increase in the room. In order to calculate where these standing waves will occur, the tool require the dimensions of the room, specifically the height of the ceiling and the length of the room.
Many people make the mistake of boosting the frequencies when using a graphic equalizer. However, you should avoid this altogether, since boosting the frequencies reduce the headroom available in the system. If the headroom is reduced, digital clipping and amplifier distortion can occur.
Digital clipping and amplifier distortion are two undesirable outcome for most audio systems. It is better to simply cut the problem frequencies with the graphic equalizer, rather than boosting other frequencies to compensate for the problems in the system. For instance, if the bass frequencies in the audio signal are too boomy, you should remove the boomy frequencies with the graphic equalizer, rather than boosting the frequencies of the treble signal to balance the mix.
A graphic equalizer often has the option to use a target curve. This target curve determine the frequencies that will be emphasized in the audio. You can choose various target curve, each with its own characteristic, depending upon the type of audio signal that you are processing.
For instance, if you are working with speech signals, the most important frequencies are the 2 kHz to 4 kHz range. The human ear is most sensitive to the 2 kHz to 4 kHz range when listening to speech. By using a podcast booth, you would want to find a balance between the requirement for clarity in speech, and the flaws in the acoustics of the room itself.
The target curve can help you find the appropriate balance between the clarity of the audio signal and the stability of the audio signal. The resolution of a graphic equalizer will depend upon the number of band in the graphic equalizer. The more bands, the more resolution that equalizer provides.
For instance, a 31-band graphic equalizer provides high resolution, and is often used in live sound system in large venues. A 10-band octave graphic equalizer is often sufficient in a small home studio, however. It is better to purchase a graphic equalizer that match the resolution with the audio hardware that you own.
For instance, you will not need high resolution from a graphic equalizer in small room with various echoes, compared with a large, treated studio. Finally, you must use your ears to make the last adjustment to the graphic equalizer. A calculator will never replace the use of your ears to properly adjust the frequencies to your liking.
However, you can use the estimate that are provided by the graphic equalizer to complete the majority of the work with the equalizer. The remaining fine-tuning can be performed using your ears. Your ears may catch certain problem with the room and its furnishing (and curtains!) that the graphic equalizer cannot account for.
Thus, you must use your ears to listen properly to the room to set the graphic equalizer correctly. By using the measured approach to setting up your graphic equalizer, you will find that your room will no longer adversely impact your music signal.