Fretboard Radius Calculator
Find the active board radius, center-to-edge arc rise, saddle height curve, and bridge mismatch for guitar, bass, and compound-radius neck setup.
Calculation Breakdown
| String Position | Offset From Center | Rise From Outer | Target Height |
|---|
| Radius | Metric Equivalent | Typical Instrument | Setup Character |
|---|---|---|---|
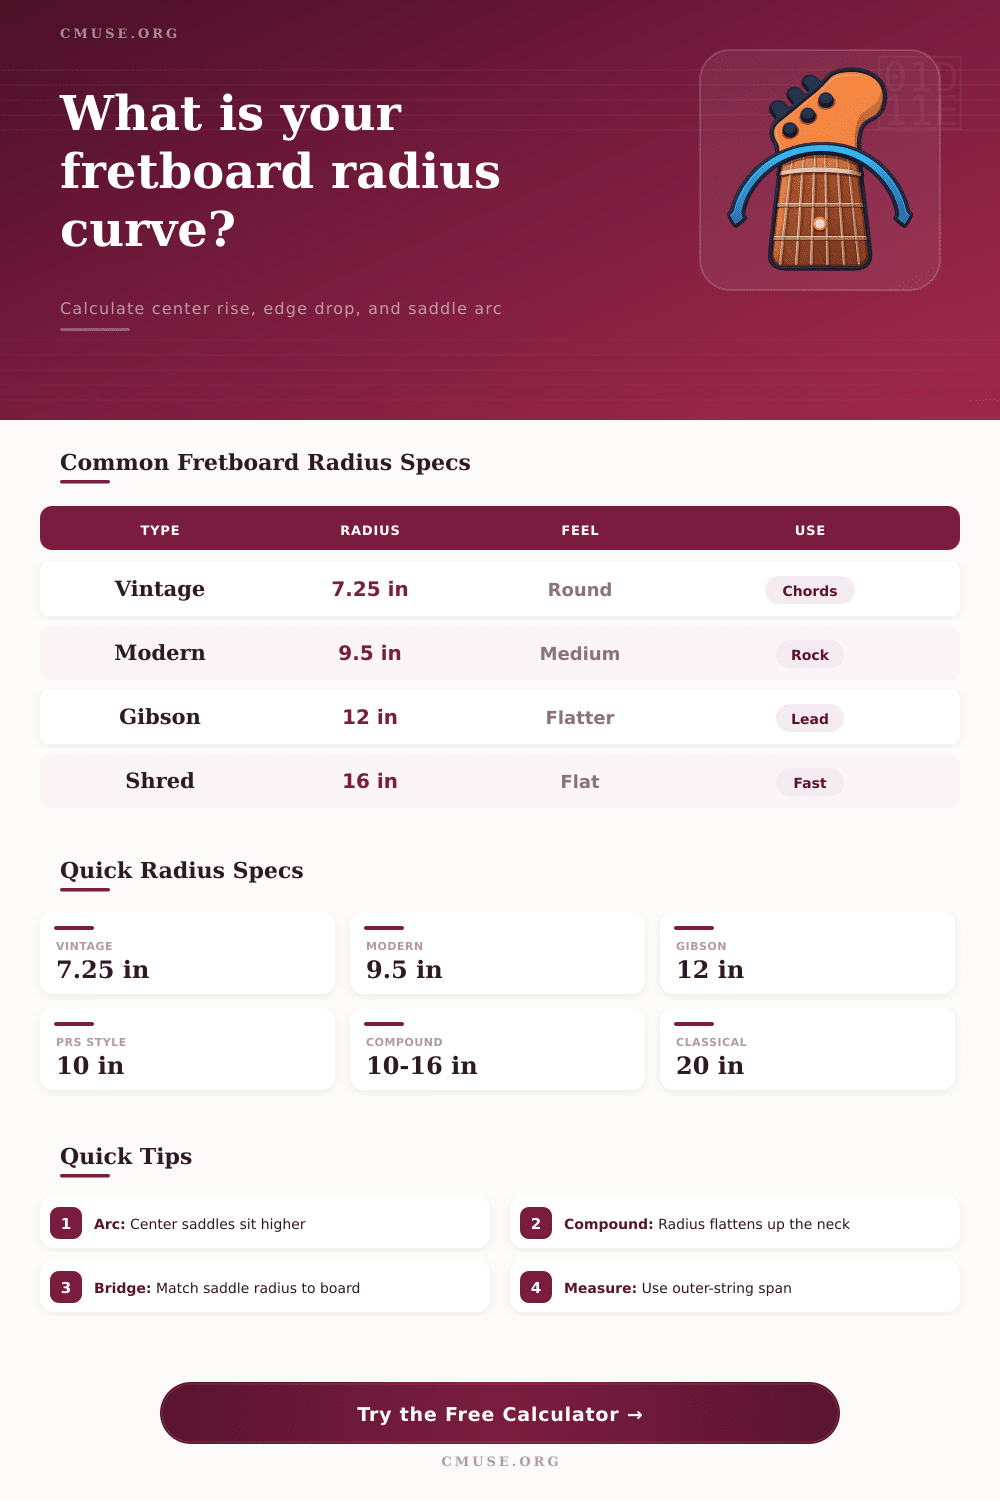
| 7.25 in | 184 mm | Vintage-style electric guitar | Round chord feel, higher bends |
| 9.5 in | 241 mm | Modern Fender-style guitar | Comfortable all-round setup |
| 10 in | 254 mm | PRS-style electric guitar | Medium arc, stable bends |
| 12 in | 305 mm | Gibson-style electric guitar | Flatter lead feel |
| 16 in | 406 mm | Modern shred or acoustic guitar | Low action, fast upper-fret work |
| 20 in | 508 mm | Classical or very flat board | Wide string span, low arc height |
| Board Type | Typical Radius | Bridge Match | Best Use |
|---|---|---|---|
| Vintage single radius | 7.25 in | 7.25 in saddle arc | Open chords, traditional feel |
| Modern single radius | 9.5 in | 9.5 to 10 in saddle arc | Mixed rhythm and lead |
| Gibson-style single | 12 in | 12 in saddle arc | Bends, slides, lower action |
| Compound electric | 10 to 16 in | Set near checked fret radius | Round lower frets, flat upper frets |
| Flat classical | 20 in or flatter | Very flat saddle line | Wide fingerstyle spacing |
| Preset | Scale | Radius | Span Used | Action Target |
|---|---|---|---|---|
| Vintage Fender-style 7.25 | 25.5 in | 7.25 in | 2.05 in | 0.070 in |
| Modern Fender-style 9.5 | 25.5 in | 9.5 in | 2.06 in | 0.062 in |
| PRS-style 10 | 25 in | 10 in | 2.03 in | 0.060 in |
| Gibson-style 12 | 24.75 in | 12 in | 2.00 in | 0.063 in |
| Compound 10 to 16 | 25.5 in | 10 to 16 in | 2.08 in | 0.058 in |
| Four-string bass 10 | 34 in | 10 in | 2.50 in | 0.090 in |
Tighten down some new strings on your guitar. Notice that the high E string vibrate way off the fretboard, while the low E hovers dangerously near the fretboard. Adjust the saddle to correct the high string, only to find the B string is now buzzing out of control. Almost every player falls into this set up trap at one time or another.
It isn’t a matter of using a different set of strings, nor is it typically a matter of how you play. Its geometry. More precisely, it’s the misalignment between the straightness of the string height on each of the six strings against the curved surface of your fretboard.
How to Set Up Your Guitar Strings Correctly
Almost all basses and electrics has not been built with a flat fretboard. They are a cutout from a circle. And that curvature have a name, a radius. The lower the number, the more pronounced the rounding effect; the higher the number, the flatter it feel under your fingers. An old school 7.25 inch radius is quite rounded. This promotes a chordy type of playing, but makes it harder to do big bends without fretting out. A new 16 inch radius approach flat. This is preferred by lead players who want their strings bent hard and also want the lowest possible action everywhere.
Knowing about this curve is the beginning of a good set-up. The saddles in your bridge should matches this same arch for even string height from fingerboard end to end. If you look at your strung-up fretboard from above, you’ll notice how strings line up against a straight edge. The G and B strings falls below the center, while the low E and high E strings rest higher.
The distance between each of those strings is referred to as the rise (or sagitta). That’s fancy talk for “it looks like some crazy math, but it’s actualy just simple geometry.” This geometry dictate if your middle strings will float or buzz. Once you enter your exact string spacing and scale length into the calculator above, it does all the math for you. It saves you from having to try to eye-ball a curve with a ruler.
Just know that depending on where along the neck you measure the rise, it can be wildly different than. A common misstep for many player is measuring the width of the bridge saddle or even the nut. The first can vary widely depending on your hardware, while the second is usually narrower than the part of the fretboard you actualy play on. A better measurement for determining your setup arc are at the 12th fret. You will get an accurate reading on the height of your action by measuring the span between strings at the 12th fret. Enter that into the tool and add your desired action for outer strings. It will then tell you exactly how much higher to raise your center saddles compared to the outside ones.
Things gets further complicated with compound radius necks. Here’s what that means: They begin with a rounded profile closer to the nut (for comfort when voicing chords) and then taper towards the body for better bending ease. As you move along the neck, the radius change. So one static bridge adjustment may not be quite right for all of the fret positions. Generally speaking, you’re looking to match the arc of the saddle to the fret (typically between 12th, 17th fret), where you most critically check your action. That fret is where you’ll typically find the best match between the necks actual radius and the desired playing style.
If you look at the reference table on the page, it illustrates the general relationship between common playing styles and saddle arcs by board type. The other thing that frustrates folks is called bridge mismatch. Maybe you put on a neck that has a 12-inch radius and your bridge has a fixed 9.5-inch radius. The result is that your outer strings will be closer to the fretboard than your center strings. So now what? This mismatch force a compromise. Do you want your outer strings buzzing or do you want your center strings feeling floaty? Catching that problem early lets you file the saddles accordingly. Or you could of select hardware that matches before wasting an hour turning screws that is fighting each other.
Finally, a well-adjusted guitar is one where you honor its actual shape instead of trying to force it into some theoretical perfect flat state. If it has a curve, you don’t just ignore it. Knowing how the fretboard radius relate to saddle height adjustments eliminates guessing when adjusting your guitar. The result is an even playing surface where both your low E and high E string is felt equally reachable. It becomes a balanced surface for your hands to naturaly respond to. When the geometry meets up with your technique, the guitar vanishes; all that’s left is the music.