Flared Port End Correction Calculator
Estimate how port diameter, flare radius, wall thickness, end count, box volume, tuning target, and air speed change the effective acoustic length of a loudspeaker vent.
Calculation Breakdown
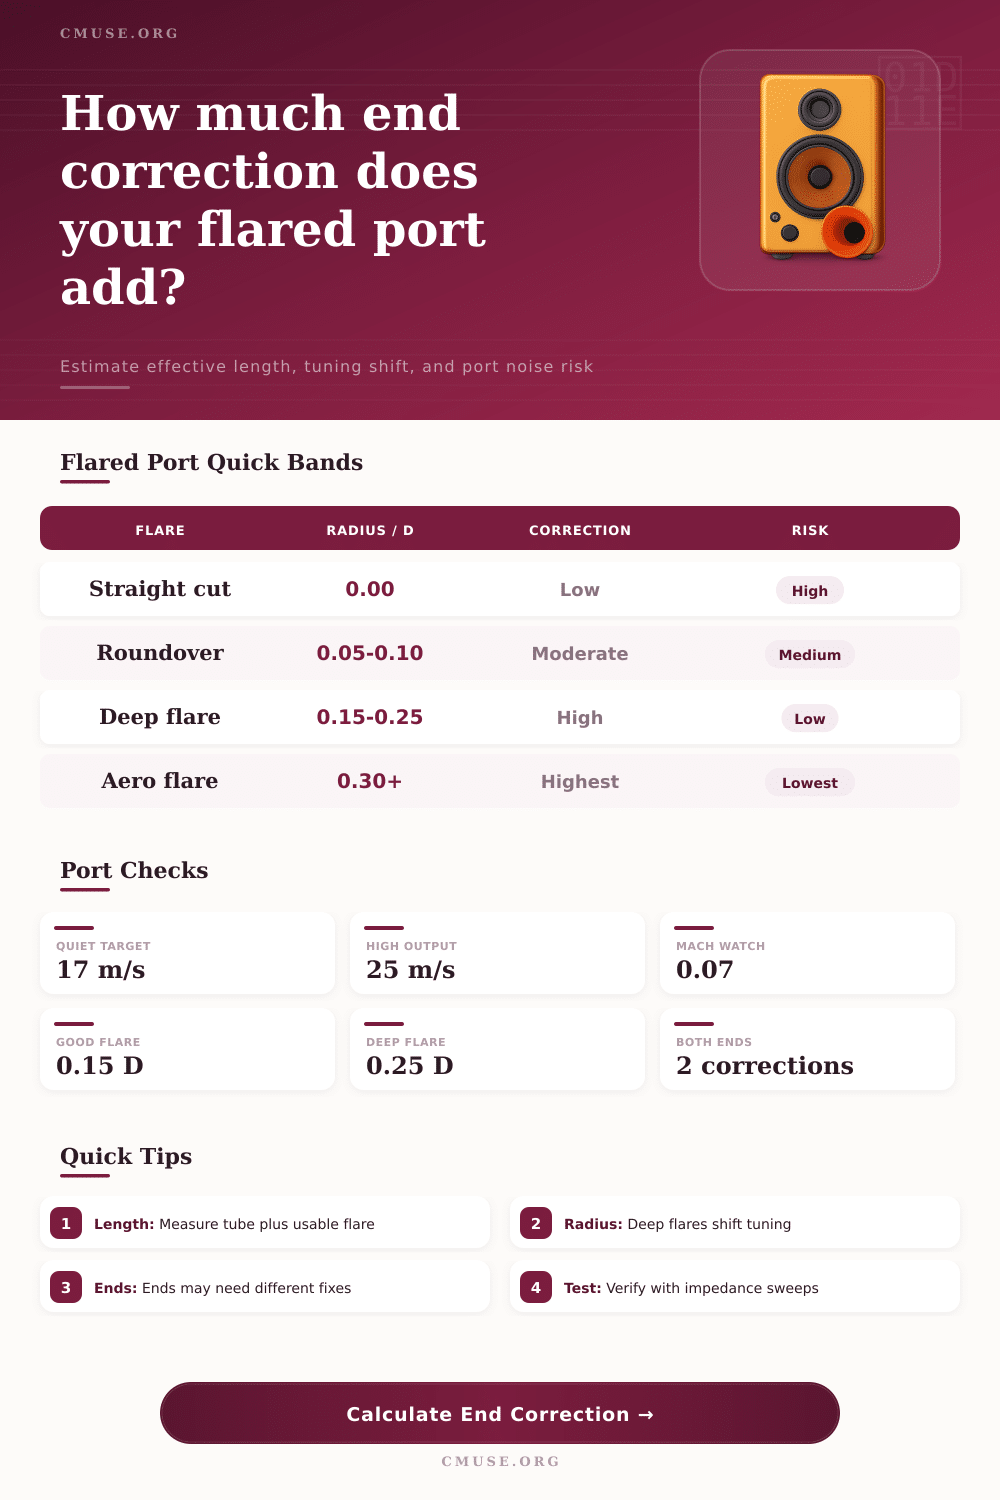
| End Style | Base Coefficient | When To Use | Typical Effect |
|---|---|---|---|
| Plain free end | 0.61 radius | Unflanged tube end away from panels | Shortest correction, highest edge noise risk |
| Flush baffle / wall loaded | 0.85 radius | Port exits through a broad baffle or cabinet wall | More acoustic mass than a free tube end |
| Small flare or roundover | 0.74-0.90 radius | Softened edge with radius below about 0.12 D | Moderate correction and better noise margin |
| Deep flare / aero lip | 0.96-1.18 radius | Molded bell or large roundover above about 0.15 D | Largest correction, strongest turbulence reduction |
| Near panel or slot-like mouth | 0.95 radius | End is close to a wall, grille, or corner boundary | Extra loading can lower the final tuning |
| Physical Length Change | Effective Length | Estimated Fb | Delta Vs Target |
|---|
| Risk Band | Velocity Guide | Mach Guide | Flare Response |
|---|---|---|---|
| Low | Under 17 m/s | Under 0.05 | Small flare is usually enough for music duty |
| Watch | 17 to 25 m/s | 0.05 to 0.075 | Deep flare, larger area, or lower drive is recommended |
| High | 25 to 34 m/s | 0.075 to 0.10 | Aero flare helps, but area is usually the better fix |
| Severe | Above 34 m/s | Above 0.10 | Redesign the vent before cutting the enclosure |
| Preset | Diameter | Flare Radius | Ends | Typical Use |
|---|---|---|---|---|
| Bookshelf 2 in Port | 5.1 cm | 0.5 cm | One small flare | Compact two-way speakers |
| Studio Monitor 3 in | 7.6 cm | 1.0 cm | One baffle, one flare | Nearfield monitors and small subs |
| Hi-Fi 4 in Aeroport | 10.2 cm | 2.2 cm | Both ends corrected | Home subwoofers and woofers |
| 18 in Sub Aero | 20.3 cm | 5.1 cm | Deep flares both ends | High-output low tuning cabinets |
Sometimes you get everything just right building a subwoofer box only to find that it sound like mud and booms. More often than not, it’s not your driver. It’s usualy the length of the port. You got the box volume right and measured tube properly, but something is still off. The amount of air moving through the vent doesn’t match actual physical length of the tube.
That imaginary piece of air that extends beyond mouth of the vent is known as end correction and more then any other thing, this is how DIY’rs destroy their bass response. That’s what the physics is… Simple, but also counter-intuitive: Air doesn’t stop right when the wood or plastic run out. Instead, it oscillates outward as a blob that extends just past opening.
Why Your Subwoofer Box Sounds Wrong
This extra weight increase the system’s effective mass. This also means a straight cut tube behave more like a short weight, increasing the tuning frequency. That air blob take shape differently with a rounded lip, flare, etc. Plug in your numbers and the calculator compute all of the math for you. This saves you from having to guess at added length these curves provide. It converts abstract coefficients into concrete change in physical length.
Flare radius, Flaring a mouthpiece increase its effective depth. So if you can get away with something more shallow, you’ll have less distance for the air to correct itself. But a large, deep molded bell flare expand that area considerabley. It’s not all looks, either; it’s about managing turbulence. Air moving rapidly out of a vent will shear off those hard edges and create noise. You hear that chuffing sound? It’ll ruin a clean bass reproduction.
A good flare rounds out the air flow path. So you need less velocity to push same amount of air through. The flaring chart in the tool estimate how much turbulence risk you’re taking on at different peak air velocities.
It also matter quite significantly how much wall material the tube must go through to get outside. Most folks will note the tube measurement but neglect fact they have a cabinet wall to go through. That portion of the wall become part of the tube. You can enter the wall thickness at the exit lip into the calculator so it adjust accordingly. A thicker wall forces air to conform to a tighter boundary. This increase the effective tube length and raises frequency. It’s a minor geometric adjustment, but one which could of causes enough change to make the resonant frequency miss the mark completely.
The other often-ignored factor is temperature. Sound waves travel quicker through warmer air than cooler air. So if you tune a subwoofer in a warm room but then use that sub in a cool garage, its tuning frequency move lower on the scale. You can enter the ambient temperature into the calculator and find out how the predicted resonance holds in both a stuffy or freezin’ room.
That’s what differentiates a true engineering estimate from a guess. All of these points are good, but they only act as indicators when combined to show overall effective length. There is no reason to remember the coefficient for a flanged vs unflanged end, for example; you simply know that each variation in form create a different acoustic load. If the flare is deeper, then the physical tube need to be shorter to achieve same tuning target. If compensation isn’t made, then the resulting box will tune lower than desired, potentially creating problems with output or excessive driver excursion.
The chart on the page spells all this out nicely and illustrates how various types of ends affects the outcome. Making speakers is about juggling forces you don’t see. Pressure waves that you can’t see and the air mass out of the port that you can’t feel but can sense and anticipate. Take into consideration the wall thickness, the flare, the temperature and the physics becomes the music.
The next time you make a port tube, think about how it doesn’t end just because the wood ends. It ends where the air says “this far,” and then we go back the other way. It is this thought that makes a loud speaker into a musical one.