Whenever the design of the studio for musical practice or simple recordings is made, the most crucial factor that is ensured is that the walls, ceilings, and floors get the right insulation age. One cannot get the perfection of soundproofing and noise cancellation unless certain factors are considered.
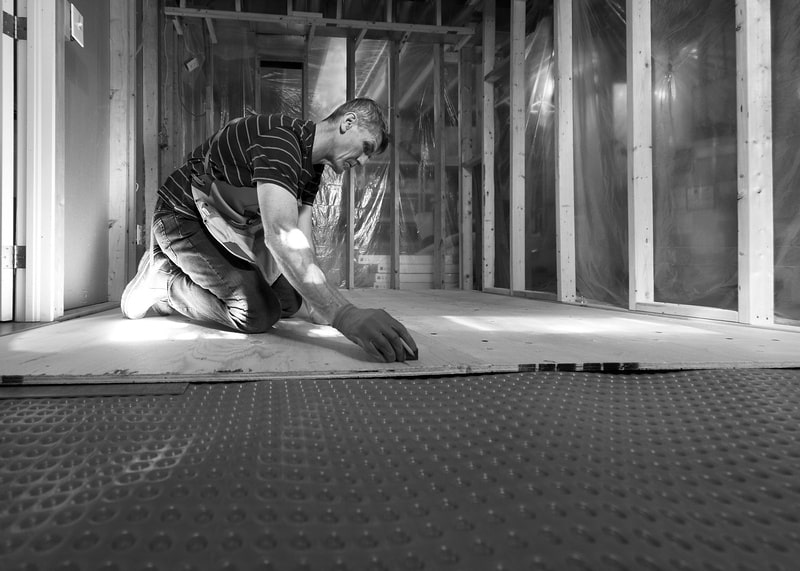
To record the best music, it is also mandatory for the studio environment to be the best. Dricore subfloor is something that you can get in your studio for the walls, ceilings, and flooring. It is installed under the surface of the walls so that the walls are made soundproof perfectly.
The installation process of the Dricore subfloor is pretty simple. Besides, it doesn’t require any maintenance either. This article will address these problems and look for practical solutions.
Dricore Subfloor Problems
- Size Problems
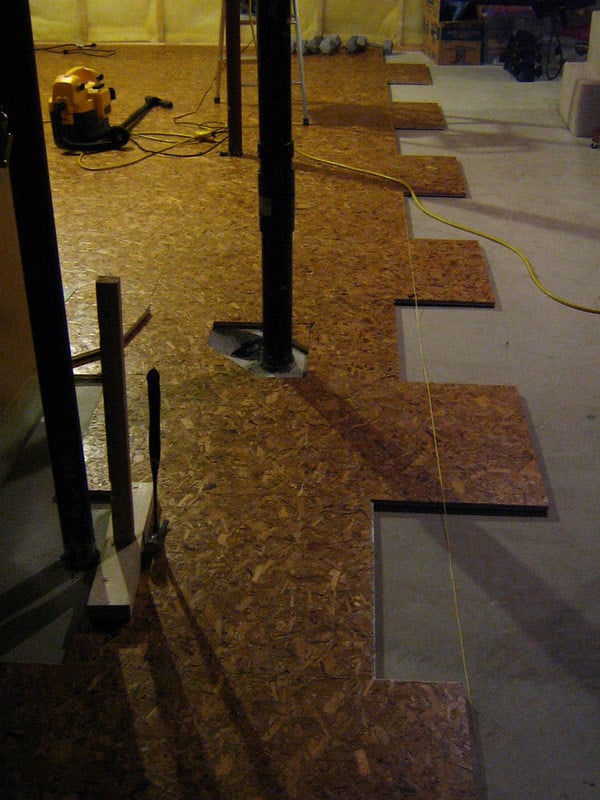
There are pre cut sizes for the decor supplier pieces. As far as the customization on these pieces is concerned, there is no room for it. Hence it poses a problem because every place is different and requires customization accordingly. The first thing you need to do is ensure that the installation is done correctly.
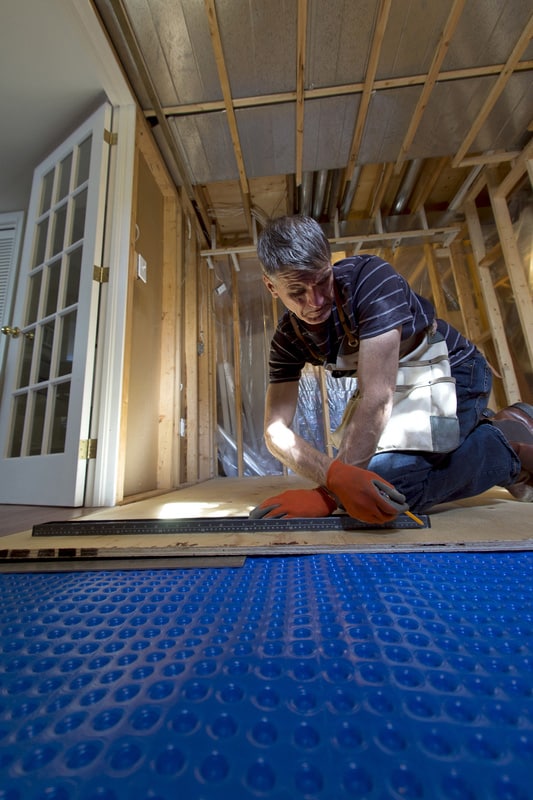
If there are size-related problems, you can resolve them by getting precise cutting and accurate installation. Being extra careful is a necessity in these situations because the entire wall or the whole floor set can get affected by a minor mistake.
- Installation Issue
When you are dealing with the Dricore subfloor, it is common to encounter installation issues. Neither the mounting of the subfloor is done on the concrete, nor can they be screwed on the floor or the wall panels. This is why you can make it work only if you are precise and accurate to the point.
- Maintenance
This system requires high maintenance. Otherwise, it can cause issues for you. When the maintenance of the Dricore subfloor is concerned, it is not something you can take lightly.
- Panels Slipping
There is no tying or fastening of the panels of the Dricore subfloors. Their installation is done with some glue applied to the concrete. As a result, the slipping of the panel is expected. This can pose plenty of problems for you if you live in an area with a lot of heat.
- Bouncy Dricore
Most users install Dricore throughout the basement so they can walk around without putting on shoes. In some homes, too much roughness in the concrete floor prevents it from getting cleaned or painted. The Dricore doesn’t turn out to be great all the time. The floor’s unevenness can cause many bouncy spots to develop.
The bad news is that it can’t be told where exactly the floor will be bouncy unless the installation is complete. Some users try tapcons, but it is of no use. The reason is that it is not only ineffective, but it also pulls strength. If you try a powder-actuated gun, it can cause the fasteners to stick out all over.
Cutting the head will defeat the purpose because it can cause the board to pull up. You can resolve this problem by getting your hands on a couple of cinder blocks and getting them stacked in the bouncy areas. In this way, the floor stays down. After you finish this, you can throw a few tapcons all around.
The tapcons might pull out, so the PL premium must be used on the threads first. It prevents the pulling out of the tapcons. While the cinder blocks are in place, let the tapcons sit overnight. An important thing to remember here is that while you take this measure, you should also proceed to the next spot side by.
When trying to fix the problem yourself, you must know that a fix is the one spot that will cause the bounciness to move somewhere else. The flat slab is possible from the use of tapcons here and there. Therefore, if you have chosen the tapcons, you will have to use them for the entire floor.
Moving on to the shims, it cannot be told where they are needed unless you do the entire floor. Just like the tapcons, they also come with a chain effect. Experts recommend that the entire basement be laid down with self-leveling cement before you carry out the installation.
Do not try to remove the tiles in the middle because you might end up damaging the floor as it’s OSB. Trying to remove an entire floor without damaging the tiles is a huge job. There is more steadiness to the floor when the outside walls are framed on the top.
If you intend on putting the shelving units back up, there might be a risk of them falling over. If you inject some concrete and step on it once, some flattening might occur. There is another solution where you can use a foam-based product that gets hard. It can stick to the bottom and cause enough stretching to restore the proper height.
However, some experts don’t really recommend the foam because it can cause expansion and raise the floor. Besides, there is not much spread of it. Therefore, the use of self levelers is recommended. With the help of the self-leveler, the open areas under the panel have seeped around.
Users might worry about using a self-leveler because the drilling of holes is done while walking on the leveler. As a result, there is a chance of it not working its way high enough. Therefore, the holes should be pre-drilled. Leveler is like syrup, so you can add more of it in the hole if needed.
For the better spreading of the leveler, strike the dricore with the rubber mallet so that the dricore vibrates well. Then wait for it until it sets. Make sure the proportions are measured. The ratios must be the same as that of the full bag. There is no need to mix a full bag unless you know the exact working time needed.
The use of cold water gets you more time because of the slow setting. Another important thing to remember here is that the dricore space does not need to be entirely filled. Only the part touching the existing concrete floor needs to be filled. The drying is better and faster when it is not completely filled.