Calibration Offset Calculator
Calculate the correction to add to audio readings for SPL calibrators, DAW line-level references, tuner pitch checks, loopback latency tests, and microphone sensitivity offsets.
Load a common studio or measurement scenario, then adjust the readings to match your gear. The calculator keeps the sign explicit so the same offset can be entered into a meter, DAW, analyzer, or notes log.
Calibration Breakdown
offset dB = reference dB - measured dB
offset dB = 20 x log10(reference V / measured V)
offset cents = 1200 x log2(reference Hz / measured Hz)
offset samples = offset ms x sample rate / 1000
94 dB
Common 1 Pa SPL calibrator level
20 log
Voltage and microphone sensitivity ratio
1200
Cents in one octave for pitch offsets
48 smp
One millisecond at 48 kHz sample rate
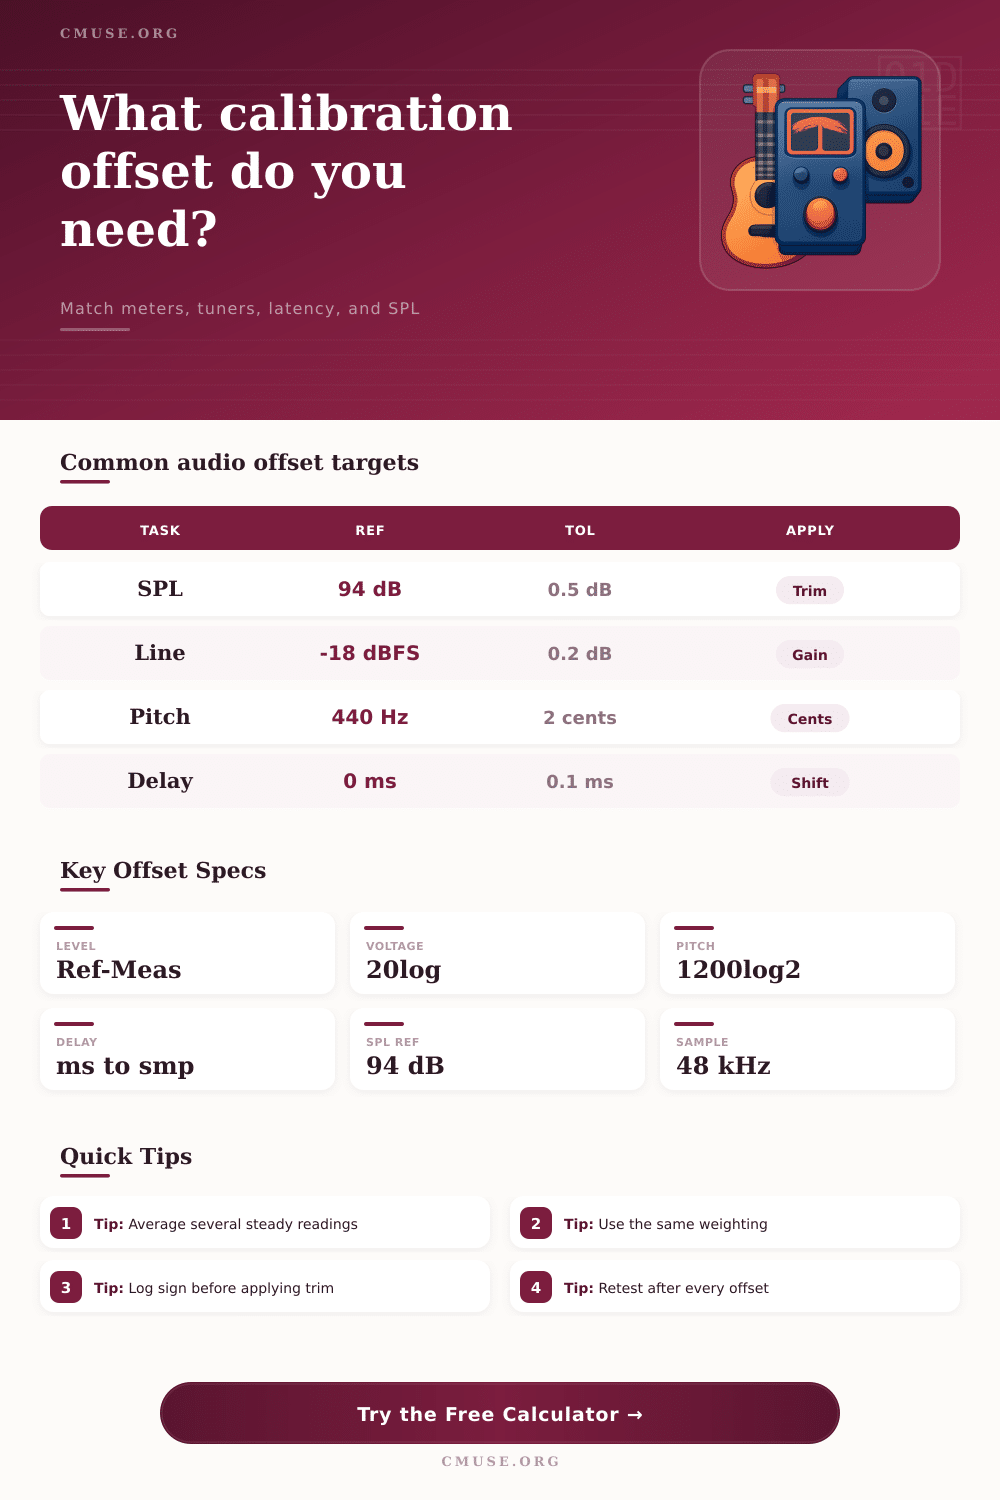
| Calibration task | Typical reference | Useful tolerance | Offset unit |
|---|---|---|---|
| SPL Acoustic calibrator on measurement mic | 94 dB SPL at 1 kHz, sometimes 114 dB SPL | 0.3 to 0.5 dB for room measurements | dB added to meter or mic calibration field |
| Line DAW or interface reference tone | -18 dBFS or -20 dBFS sine tone | 0.1 to 0.25 dB for repeatable gain staging | dB trim on input, output, or analyzer channel |
| Pitch Tuner check against a reference oscillator | A4 = 440 Hz or local session pitch | 1 to 3 cents for instrument setup checks | Cents added to the tuner calibration value |
| Delay Loopback or acoustic time alignment | 0 ms for loopback, known arrival for speaker tests | 0.02 to 0.10 ms for phase-sensitive work | Milliseconds, samples, or track delay compensation |
| Measured result | Reference result | Additive offset | Meaning |
|---|---|---|---|
| 93.4 dB SPL | 94.0 dB SPL | +0.6 dB | The meter reads low, so add positive calibration gain. |
| -17.6 dBFS | -18.0 dBFS | -0.4 dB | The channel reads hot, so reduce the calibration trim. |
| 441.1 Hz | 440.0 Hz | -4.3 cents | The tuner reads sharp relative to A4 reference. |
| 3.18 ms | 0.00 ms | -3.18 ms | Subtract measured latency or enter matching delay compensation. |
| Mode | Input values | Core formula | Best use |
|---|---|---|---|
| Level offset | dB SPL, dBFS, LUFS, or dBu readings | Reference minus measured | Sound meters, DAW meters, analyzers, RTA matching |
| Voltage ratio | RMS volts from meter and reference spec | 20 log10 of reference divided by measured | Interface input trims, output calibration, test benches |
| Pitch offset | Reference Hz and measured Hz | 1200 log2 of frequency ratio | Tuners, synth oscillators, piano stretch checks |
| Timing offset | Target ms and measured ms | Target minus measured, converted to samples | Loopback latency, speaker timing, track delay offsets |
| Project | Reference | Typical reading | Correction target |
|---|---|---|---|
| Home studio SPL calibration | 94 dB SPL C-slow | 93.5 to 94.5 dB SPL | Within 0.5 dB after entering mic offset |
| Interface gain staging | -18 dBFS 1 kHz sine | -18.3 to -17.7 dBFS | Channels matched within 0.2 dB |
| Guitar tuner verification | A4 at 440 Hz | 439.5 to 440.5 Hz | Within 2 cents for setup work |
| Playback loopback test | 0 ms round-trip residual | 2 to 12 ms depending on buffer | Compensation stored in samples or ms |
A musician hits a note on his or her guitar and the tuner tell them it’s flat. They believe what they see until they notice that reference pitch could be out by a few cents. Such a minor mistake lead to arguments among musicians over intonation, as well as sound engineer chasing phantom noise in their meters. Often calibration offsets makes all the difference between a clear mix and a muddy mix. Having accurate gear are more important than having expensive gear.
Loudness is the most obvious of all metrics, and it’s where most audio pros begin: What number should my meter show if I play a 94-decibel tone into my mic? If you get 93.5 instead, your whole measurement session will be skewed low until you take that gap in account.
Why Calibrating Your Audio Gear Is Important
With the calculator above, all you have to do is plug in what you saw (your actual reading) plus your reference value, and it’ll do the math for you. No need to try to do mental arithmetic while concentrating on sound quality. Enter what you know, what you see… and the tool say “add this amount of trim” or “subtract this.” And it keeps the sign clear so you don’t accidental double the error.
Clarity counts when you’re setting up for a long recording session where repeatability matter. Another issue that creeps its way into recorded music without being noticed is pitch drift. It’s possible that one of the synths’ oscillators may have been tuned just a little sharp compared to an A4 at 440 hertz. When it comes to layering with other instrument later, the phase will suffer.
While loudness is measured in decibels, pitch offsets are measured in cents. Cents are actualy extremely small fractions of a semitone. Even something as small as three or four cents between different voice within a chorus can cause them to sound out of tune. Knowing what it is means you know how to adjust your tuner or determine if perhaps your source instrument has become old. Get everything retuned to a given standard and the harmonics begins stacking on top of each other properly rather than fighting against each other.
Latency can also cause its own headaches with timing offsets especially if you are working on a digital audio workstation that requires live monitoring. A three-millisecond delay on your loopback test is no good. It should of been zero, so just how many samples do those three milliseconds translates to? At whatever your sample rate is, you’ll want to figure out exactly how many samples that amounts to so you can compensate correctly via software plug-ins or your mixing console. The answer will vary depending on your sample rate, but at 48kHz, there are generally around 144 samples per millisecond. Know what that equates to and you can add delay compensation precisely to your mix. Phase alignment matter a lot for both low frequencies and the overall stereo image.
Let’s get more specific about what we’re hearing and look at voltage ratios. Mismatched voltage levels between your recording device and your interface mean you’ll either be distorting, losing dynamic range, or both. Converting those voltage differences into dBs (decibels) is something you don’t want to do manually as it can be easily miscalculated. Using proper gain structure ensure that your signal hits the sweet spot of converter without clipping or getting buried in the noise floor. This shields your recordings from avoidable technical imperfections.
Consistency is the name of the game when it comes to accurate calibration. If you start with one set of time constants, then change to another during testing, you’ve got problems. Likewise, if you mix and match between an A-weighted fast response and a C-weighted slow response, you’ll be creating errors that will be hard to follow up on down the road.
By taking a handful of consistent readings from a quiet environment, you can average them together to filter out any random fluctuation due to meter stability issues or other environmental noise. This little exercise give you more confidence in whatever number you end up with as your offset. This moves you from an educated guess to a solid starting point for everything else you’ll do afterward.
Maintaining integrity in sound involve continual adjustment. This isn’t something you do once; it’s something that catches little bits of drift over time and prevents them from ruining important recordings. It might be compensation for interface latency, tuning a tuner, or adjusting the sensitivity of a mic… whatever it is, you’re after the same thing. You want your tools to mirror what’s coming in as close as possible. And if you trust your ears, you have to trust your measurements first.
When your meters and tuners matches what they should be matching, you can quit doubting your readings and go back to concentrating on the music. It is worth spending a couple of minutes running through the calibration for that peace of mind.