Pedalboard Size Fit Calculator
Check whether a planned pedalboard physically fits your pedals, patch cable gaps, row spacing, risers, expression pedals, switcher, and power supply footprint before drilling, taping, or rewiring.
Load a realistic board scenario, then adjust exact dimensions, cable gaps, row count, top-mounted hardware, and power supply placement to test the fit.
Layout Breakdown
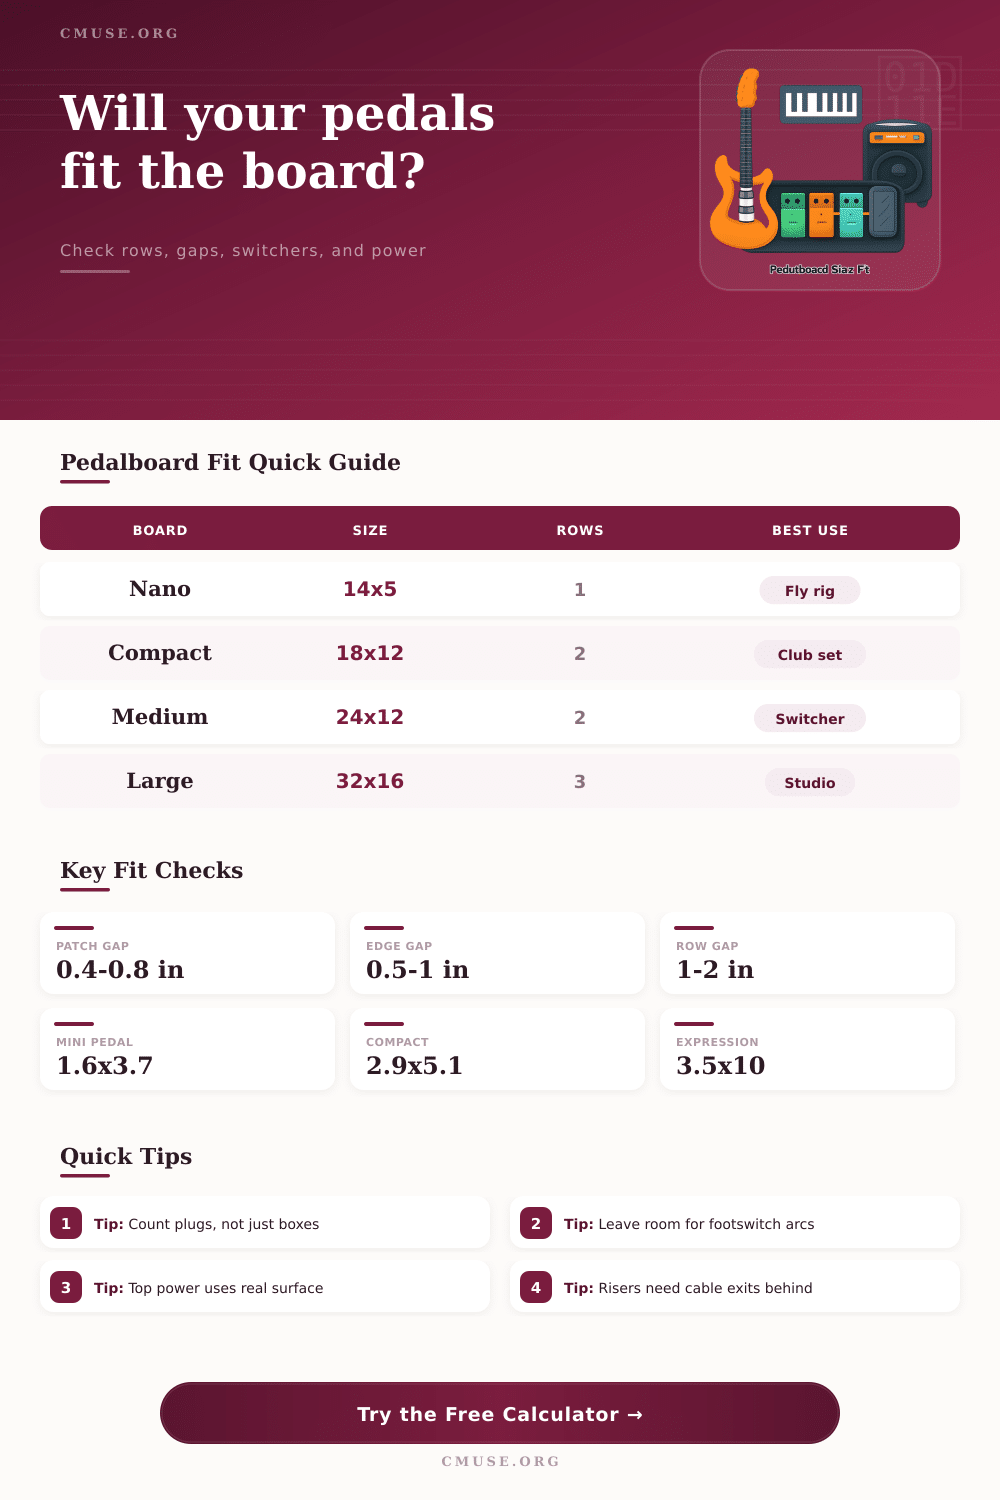
0.4-0.8 in
Typical Side Cable Gap
1-2 in
Practical Row Gap
10-11 in
Volume Pedal Depth
5-8%
Real Cable Flex Margin
| Pedal Type | Typical Width | Typical Depth | Fit Note |
|---|---|---|---|
| Mini | 1.6 in / 4.1 cm | 3.7 in / 9.4 cm | Works well in tight single rows, but side plugs can erase the width advantage. |
| Compact | 2.9 in / 7.4 cm | 5.1 in / 13.0 cm | Good planning default for Boss-style, MXR-style, and common stompbox enclosures. |
| Double-Wide | 4.7 in / 11.9 cm | 5.7 in / 14.5 cm | Delay, reverb, amp-in-a-box, and loop pedals often need extra hand clearance. |
| Expression | 3.5 in / 8.9 cm | 10.0 in / 25.4 cm | Depth is usually the constraint; avoid hiding knobs directly behind the treadle. |
| Board Class | Common Size | Typical Rows | Practical Layout |
|---|---|---|---|
| Nano / rail | 14 x 5 in / 35.6 x 12.7 cm | 1 row | Three to five compact pedals with low-profile cables and no treadle pedal. |
| Compact two-row | 18 x 12 in / 45.7 x 30.5 cm | 2 rows | Six to eight compact pedals, one small utility, and underside power. |
| Medium switcher | 24 x 12.5 in / 61 x 31.8 cm | 2 rows | Eight to ten pedals plus a front loop switcher when cable gaps are managed. |
| Large session | 32 x 16 in / 81.3 x 40.6 cm | 3 rows | Large ambient, MIDI, stereo, or wet-dry rigs with expression and top utilities. |
| Layout Item | Minimum | Comfortable | Why It Matters |
|---|---|---|---|
| Side-jack patch gap | 0.35 in / 0.9 cm | 0.55-0.85 in / 1.4-2.2 cm | Right-angle plugs, jack nuts, and strain relief widen the real footprint. |
| Top-jack patch gap | 0.15 in / 0.4 cm | 0.25-0.4 in / 0.6-1.0 cm | Top jacks save width but still need cable bend room behind the pedal. |
| Row-to-row gap | 0.75 in / 1.9 cm | 1.25-2.0 in / 3.2-5.1 cm | Back-row plugs and front-row footswitches need separate operating space. |
| Case edge clearance | 0.25 in / 0.6 cm | 0.5-1.0 in / 1.3-2.5 cm | Soft cases, handles, hinges, and rails can steal usable perimeter space. |
| Preset | Board Size | Hardware Mix | Main Constraint |
|---|---|---|---|
| Nano Fly Rig | 14 x 5 in | 3 mini, 2 compact, underside power | Single-row width and side plug clearance. |
| MIDI Switcher Rig | 28 x 14 in | Switcher, compact pedals, large delay, expression | Front controller width and expression depth. |
| Wet-Dry Stage Board | 32 x 16 in | Stereo pedals, switcher, top power, riser | Buffered surface fill and row-to-row service room. |
| Acoustic Mini Board | 18 x 8 in | DI/preamp, tuner, reverb, small switch | Keeping the preamp accessible without a second row. |
That’s where pedalboard planning comes into play. “I’m going to build this rig out and I’ll just pick up a new pedal.” You come home, there isn’t any room and now what? Cables is all knotted together and that cool little pedal won’t fit. Planning will save your sanity. You won’t have a right angle jack blocking that one foot switch you need in a moment of stage panic.
When you input your measurements into the calculator above, the rest of math happens for you. No more guesswork in the spatial layout department, just some good old fashioned tone. That’s why I think the number one mistake people make is measuring only the metal boxes. That’s the width of the thing. You look at that and think, “okay, that’s all I gotta do.”
Why Planning Your Pedalboard Is Important
No, the devil are in the head end of the cables. In real life, those right-angled plugs sits out a bit from each other, taking up more lateral space then you’d imagine. What the tool does is let you move the space between pedal according to how big your connectors are. And if you’re using giant pancakes, suddenly there’s much more space needed. It is a little detail, but it make all the difference in whether it’ll fit together or if you’re going to end up with some jumble of conflicting strain relief issues.
Measure what goes on floor, not the footprint on the schematic in the manual. Many folks gets burned by depth, especially when working with expression pedals. When looking at a volume treadle, it’s easy to think “I can handle this” until you notice they requires heel-to-toe space that towers over the compact stompbox next to it. Mini/compact/large/expression pedals occupies very different amounts of real estate so the calculator separates them to match. Sure, you may have found a narrow enough expression pedal to slip into a slot, but at ten inches deep, it’s going to gobble up a whole row of space.
Squeeze something else right behind it and now you’re backtracking trying to reach the knobs and switches on your front line units. That’s what the row gap setting is for: ensuring there’s some actualy space for feet to engage and plugs to exit without kicking their neighbor.
But there’s also the invisible stuff. Power supplies and switchers takes up precious space. They’re not magic. A front-facing power brick takes up prime pedal space; an underslung one robs you of depth in useable board length. With the tool, you can turn them off and on and get a sense of their effect on your layout.
Running a MIDI switcher on the front row means everything must wrap around it and will dictate the width of that whole row. That approach result in burying what should of been your go-to tools way out back, which forces you into a contortion act just to hit the loop button.
Included on the page are some usable examples of what would be considered a realistic footprint for different sized boards. And while a nano rail may sound enticing, if you add two pedals with side jacks, it becomes physically impossible to connect them. There are also presets available for things like a full studio rig or a blues club setup. These gives you a place to start tweaking without making the all-too-common mistake of thinking a twenty-four-inch board will hold everything just because it’s twenty-four inches wide.
At its most basic level, planning is a matter of managing limits. You’d like to have this, but it needs to be reliable and accessible. Running the numbers in advance prevents purchasing pedals that won’t fit into your current infrastructure or buying boards that are too small for what you need which can become an expensive habit. It’s a solvable puzzle rather than a potential disaster. Gear set up shouldn’t require brain surgery. Measure twice, cut once. Keep cables happy.