Saddle Break Angle Calculator
Estimate the string angle over a saddle, tuned string tension, downward saddle load, bridge rotation moment, and contact pressure from real guitar, bass, and ukulele measurements.
Choose a common setup, then adjust the measured string path. Heights are measured from the bridge top or soundboard plane to the center of the string where it leaves each contact point.
Calculation Breakdown
17.2°
Rear Segment Angle
0.7°
Speaking-Side Angle
420 psi
Contact Pressure
0.8 lb
Estimated Tuning Drag
1. Rear Segment Angle
Find the string drop from saddle crest to anchor exit, then divide by the horizontal setback.
rear = atan(drop / setback)
2. Break Angle
Add the rear angle to the small speaking-side approach angle estimated from action and scale.
break = rear + front
3. String Tension
Estimate tuned tension from unit weight, scale length, and frequency using the standard string formula.
T = UW x (2LF)² / 386.4
4. Saddle Downforce
Convert the turning angle into vertical load at the saddle and scale it for a full set.
F = 2T x sin(angle / 2)
| Break Angle | Typical Feel | Downforce Share | Setup Watchpoint |
|---|---|---|---|
| Under 5° | Very light bearing pressure on the saddle crown | About 9% of string tension | Sitar buzz, weak contact, and unstable piezo output are more likely |
| 6° to 9° | Moderate pressure for many classical and low-saddle instruments | About 10% to 16% of string tension | Check that each string remains seated during hard attack |
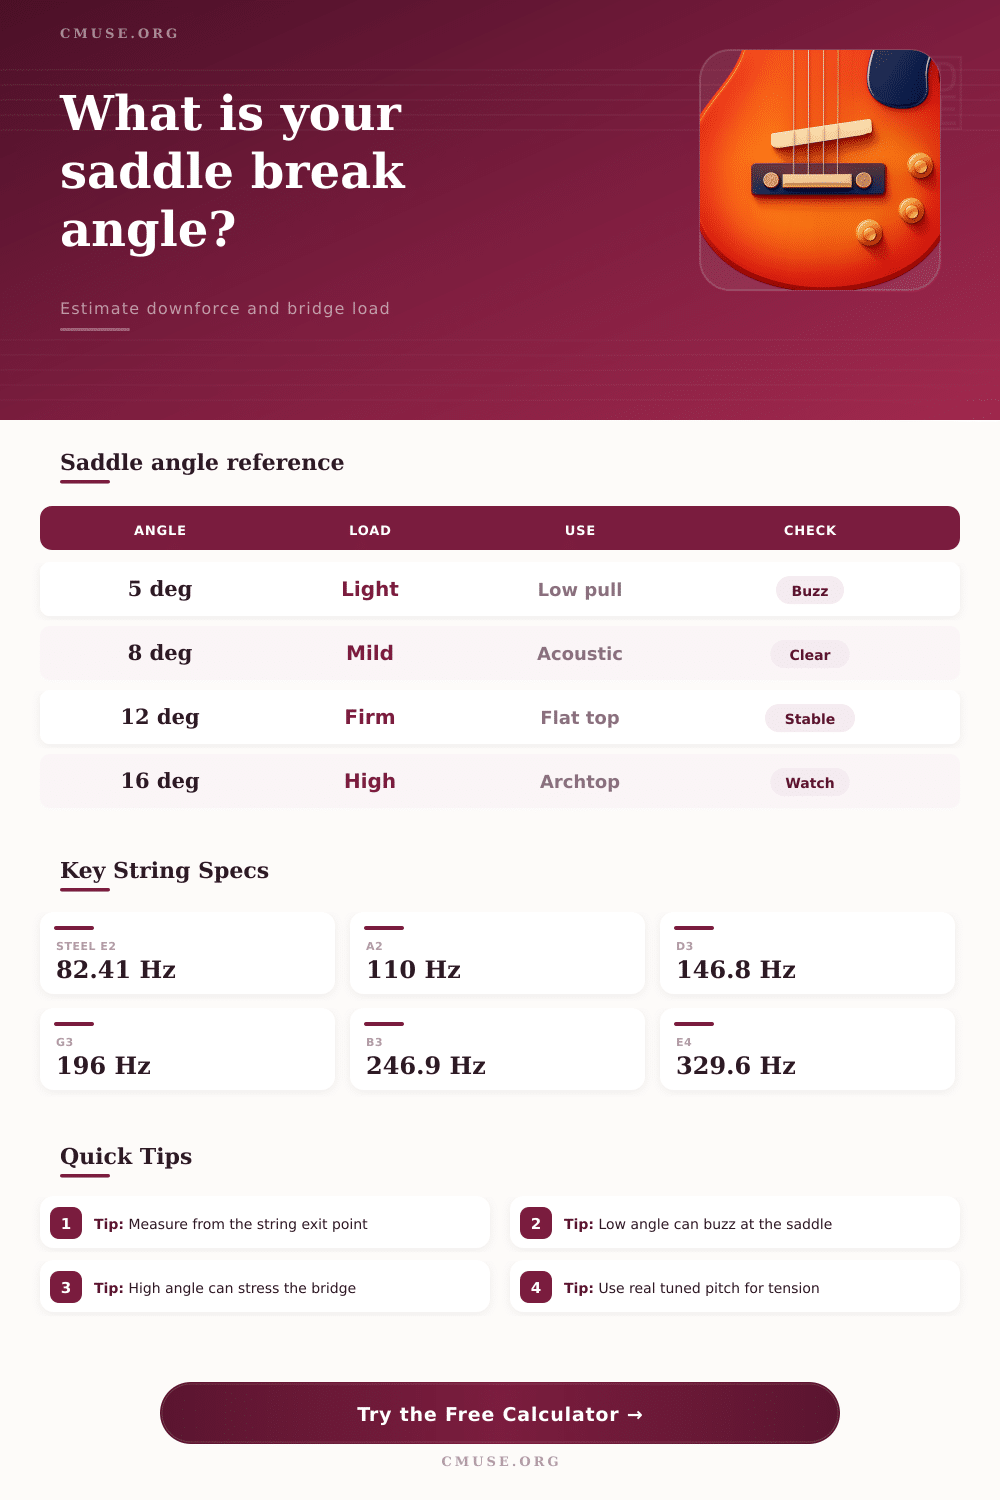
| 10° to 14° | Firm acoustic saddle loading with clear string witness points | About 17% to 24% of string tension | Common steel-string target when bridge geometry allows it |
| 15° to 18° | Strong bearing pressure often seen on tailpiece or archtop layouts | About 26% to 31% of string tension | Watch saddle lean, bridge slots, and top rotation |
| Over 18° | Very high local pressure at the crown | More than 31% of string tension | Consider bridge, saddle, or tailpiece geometry before adding more angle |
| String Type | Density Model | Best Use | Load Note |
|---|---|---|---|
| Plain steel | Solid high-carbon steel core | Treble guitar strings and unwound mandolin strings | Diameter closely predicts tension because the string is nearly solid |
| Nickel roundwound | Steel core with nickel wrap allowance | Electric guitar and bass sets | Outer gauge includes air gaps, so the calculator uses a wrap factor |
| Phosphor bronze wound | Steel core plus denser bronze winding | Steel-string acoustic wound strings | Usually produces higher load than same-gauge nickel wound strings |
| Nylon or fluorocarbon | Low-density synthetic treble | Classical guitar, ukulele, and folk instruments | Lower tension can still need enough angle to hold clean contact |
| Paired mandolin course | Plain steel doubled after one-string estimate | Mandolin and octave-course instruments | Course count matters because two strings share one saddle area |
| Instrument | Typical Setback | Usual Angle Zone | Practical Check |
|---|---|---|---|
| Steel-string acoustic pin bridge | 0.9 to 1.3 in behind saddle | 8° to 14° | Slot ramps and saddle height both change the final angle |
| Classical tie-block bridge | 0.45 to 0.80 in behind saddle | 6° to 12° | Tie style changes the actual exit height behind the saddle |
| Electric hardtail bridge | 0.25 to 0.90 in after the saddle | 5° to 13° | String-through holes usually increase the rear angle |
| Tune-o-matic with stop tailpiece | 1.4 to 2.4 in to stopbar witness point | 8° to 16° | Stopbar height changes pressure without changing action |
| Archtop floating bridge | 2.5 to 5.0 in to tailpiece contact | 10° to 18° | High angle can make the bridge feel locked but raises top load |
| Electric bass bridge | 0.45 to 1.4 in behind saddle | 6° to 14° | Large gauges create meaningful downforce even at moderate angles |
| Preset | Scale And String | Break Angle | Load Character |
|---|---|---|---|
| Steel Acoustic Low E | 25.4 in, .053 E2 | About 18° | Firm low-string bearing load on a pin bridge |
| Classical Tie-Block G | 25.6 in, .040 G3 | About 13° | Moderate downforce with lower synthetic tension |
| Tune-O-Matic D | 24.75 in, .026 D3 | About 8° | Stopbar height gives adjustable bearing pressure |
| Archtop Floating G | 25 in, .024 G3 | About 11° | Tailpiece distance spreads load over a longer afterlength |
| Bass Bridge E | 34 in, .105 E1 | About 13° | High absolute downforce even with a normal angle |
Tighten your guitar string but it goes flat once more. Not only is it due to tension but also to geometry. There’s insufficient downward force on that string to hold it against saddle so it attempts to slip out from under the saddle. At the crown of the saddle this becomes a tug-of-war for friction.
The amount of pressure between the saddle material and the string are determined by the angle of the string. If that angle is correct then it will keep the instrument in tune when strummed hard. Otherwise, within minutes you’re hearing dissonance.
How String Angles Help Your Guitar Stay in Tune
These are the sort of physics our calculator does for you. It’s all about your particular instrument’s measurements. You input what it is, and the tool doesn’t make you guess. It takes into account height of the string as it emerges out the back towards the pin holes or tail piece. Then it measures that against the string height at the saddle. That is length of the rear segment; this segment creates an angle if there is any horizontal distance. Add that to the angle generated by action height and you have the total break angle.
This figure indicates just how hard the string pushes down on the saddle. If not hard enough, the string will vibrate up against the saddle and not pivot cleanly. This results in instability or buzz.
The obsession of most players is string tension. Are they too light? Are they too heavy? String tension act horizontally. Break angle provides vertical grip.
If your bridge has a near-level exit point behind it relative to the saddle, then a string with huge tension may still have almost no down force at all. That’s what you’ll find quite often on low-profile-bridge electric guitars. The hole for the string sit just above the line of the saddle. Those guitars can sometimes sound loose or be difficult to tune. The calculator helps us understand how much load is really pressing in the slot. Friction prevents slippage.
However, setting it too high creates other issues. When you’re using a really tall saddle or cranking up height at the tailpiece, you have a lot more angle going on. That means a lot more downforce, which feels great; more volume and sustain, because now string is contacting the bridge more forcefully. But it’s also working against the bridge plate as a lever. Over time, that amount of downward pressure will tend to tilt the bridge back. In fact, on an acoustic instrument it could literally raise the feet off the soundboard.
The range charts in the tool indicate what’s considered safe depending on the type of instrument being used. For instance, a typical flat-top acoustic guitar typically desires somewhere in the neighborhood of eight to fourteen degrees to maximize both volume and structural integrity. Because the tailpiece system is configured to handle this torque, an archtop with a floating bridge may be able to easily accommodate fifteen degrees. Knowing where to stop gives you the opportunity to improve tone without compromising your instrument’s structure.
The subtler aspect is that material used for the strings has an influence too. Though it might appear from a measured diameter on paper that a thick wound phosphor bronze bass string has a similar diameter to a plain steel treble string, they act very differently. The construction density allows the calculator to calculate tension accurately which in turn feeds into the downforce calculation. Then you can compare the load distribution between a steel-string electric versus a nylon classical set-up.
A nylon string relies on exact angles as its lack of metallic bite in the string make it less stable. Small adjustments in height affect tuning stability more with nylon strings. Before you change anything, measure it. I’ve heard many luthiers suggest lowering the action by shaving off saddle height and never looking at new break angle. Chances are you’ll end up with a more comfortable instrument…but also a buzzing nightmare if you take away too much. You should of checked first. That buzz is caused when friction has been reduced below some critical threshold.
The beauty of this tool is that you can virtually try all these adjustments. For example, you will know exactly what happens to your bridge moment and downforce if you drop your saddle thirty thousandths of an inch. You do not need expensive trial-and-error on real instruments. Tweak the numbers around until the math tells you there’s a well supported, stable string path. Guesswork becomes geometry.
To conclude, A good set-up is unobtrusive. Understanding these angles and forces is essential for control/setup. Only the notes ring true and stay in place. Whether it’s the new electric bridge that seems unpredictable or the old acoustic that has settled into its sound over decades, knowing how these loads, distances, and heights interact will allow for control. The instrument will become responsive instead of resistant.
We’re no longer fighting against physics; now we’re working with it. And that’s what people chase. That pitch is steadfast and unfailing. It all begins with the string bending across that little chunk of bone at the bridge.