Compression Driver Throat Calculator
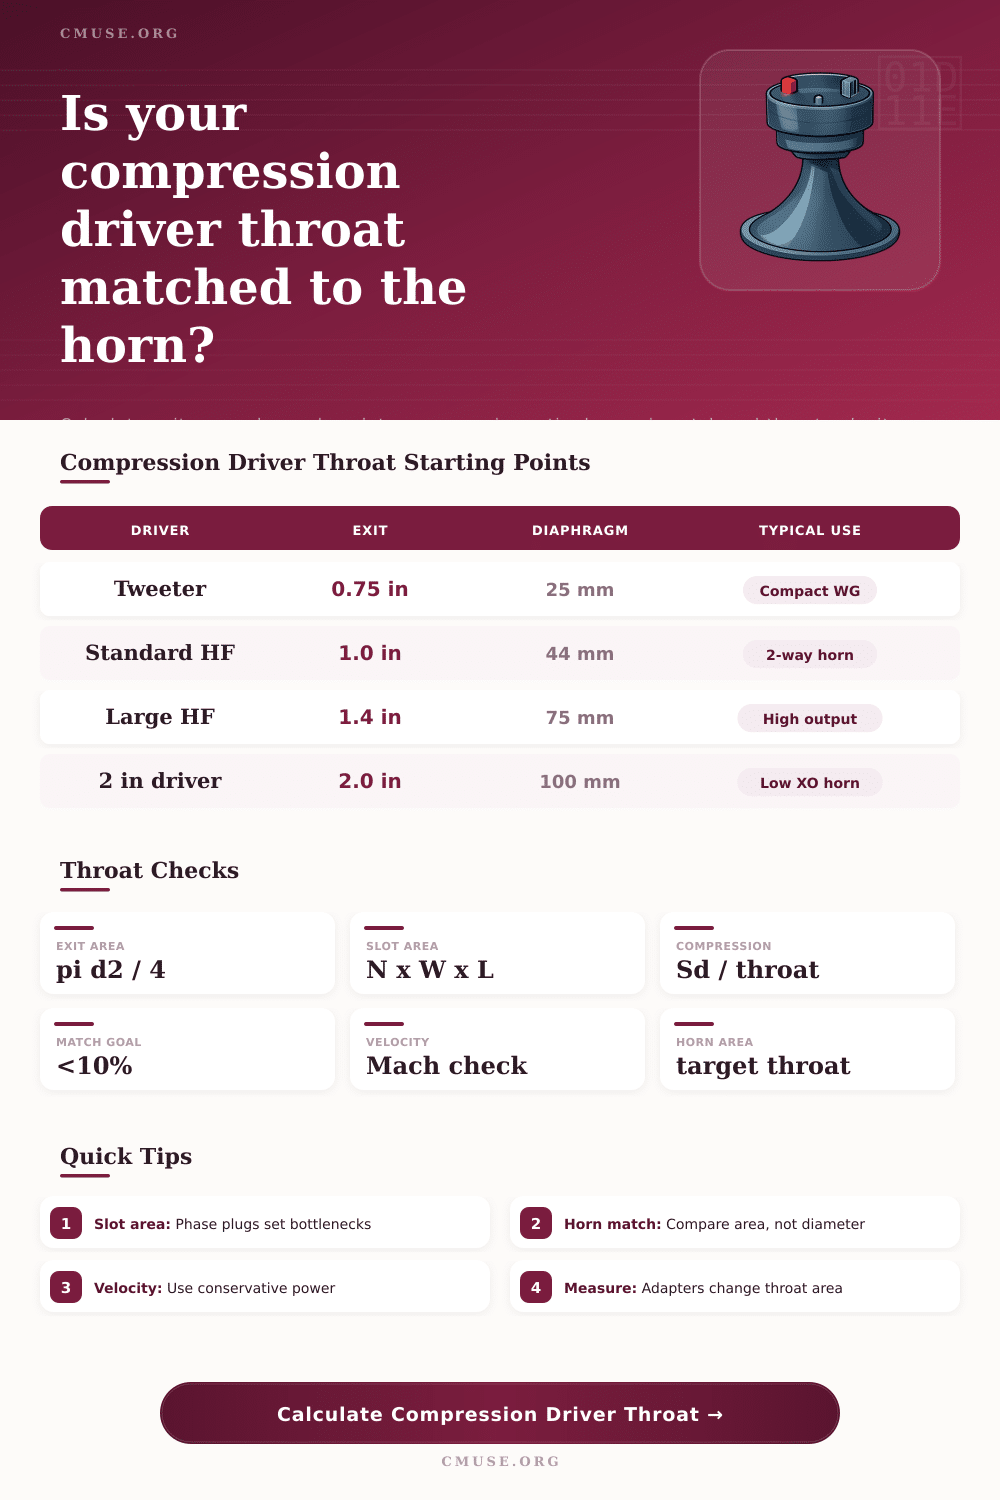
Estimate the acoustic bottleneck between diaphragm, phase plug, driver exit, and horn throat, including compression ratio, open slot area, area mismatch, and velocity risk.
Driver Presets
Inputs
Calculation Breakdown
| Nominal exit | Diameter | Area | Mismatch vs horn | Comment |
|---|
| Change | Open area | Effective throat | Compression | Velocity check |
|---|
| Horn throat | Horn area | Area mismatch | Step effect | Practical note |
|---|
| Preset | Exit | Diaphragm | Slots | Typical check |
|---|
Take a phase plug for instance; if the phase plug chokes off the air flow as it exits the driver frame, then all your handwork on creating just the right horn throat go to waste. It is a real bummer, but it is an easy mistake for the DIY speaker builder who reads the catalog, sees the exit diameter, and think that is the whole story.
The actual size of acoustic throat is not necessarily what you physcially perceive. Typically, it is determined by smallest cross-sectional area along its path. This might be combined area of narrow slits in the phase plug, rather than the round opening behind the chassis.
How to Measure Your Speaker Throat Size Correctly
This way, after plugging in your dimensions into the calculator at the top of this page, it do all the math for you so you don’t have to guess at the conversions and coefficients, while helping you visualize exactly where the bottleneck is. But when you get to the part of entering data, make sure to closely note the lengths and widths of the slots. They’re almost always going to be less than the stated exit diameter would indicate, and they represents the overall amount of open area available for air to physically flow through. This means that, while it may appear robust on paper with a lot of slot, if those slots are narrow then it’s basically like having a bunch of much tighter constrictions. So measure the clear path…don’t trust what’s on the box.
Another throwaway phrase that’s used is “compression ratio,” like it’s some measure of quality and higher numbers is better. Not necessarily. On one hand, more compression makes for a more sensitive system. On the other, it increase particle velocity in the throat, causing nonlinear distortion when pushing the driver hard. The model calculates this velocity by accounting for both efficiency settings and power input. This provides a kind of reality check. Will my design be able to reproduce cleanly under load, or am I going to force air through a straw at supersonic speeds relative to its wavelength? More compression are good to get louder, but too much is bad because you’re compressing the air and distorting it.
Many designs falter here because they match the throat of the driver to a horn throat that doesn’t realy match what the driver puts out. By making the horn opening much larger than the actual output area of the driver, you are creating an abrupt step change which reflect the high frequencies right back into the compression chamber. This causes standing waves and peaks in the response which no equalizer will be able to completely correct without robbing you of power headroom.
The reference table on the page shows the percentage mismatch, so you can tell whether the adapter or gasket is adding more loss than you’d like. Three percent may not seem like much but remember, it move the whole frequency response up and makes your driver sound harsh when played at lower volume levels. Because their preset buttons correspond to industry standard midrange and tweeter driver sizes, it’s a good place to start but in the real world, things don’t always line up perfectly with theory. Mesh screens block flow in an unpredictable way. Gaskets grow thick over time. The adapters themselves reduces the effective diameter of components and make them narrower too. By taking the parts into account, the adapter loss field let you know how those components really behave in the box instead of simply what they were supposed to do based off the schematic.
Temperature is another important factor regarding these acoustic interactions. This is because it changes the speed of sound, which in turn change its wavelength and how it vibrates for a given slot length. So having a hot amp in a closed environment can significantly alter your tuning, especially on the higher end. A little overlooked detail that most folks don’t think of but ties right back to the release of energy from the phase plug into the horn flare with or without smoothness.
Ultimately, building a compression driver system is about controlling flow restrictions rather than having the largest possible output area. Your goal should of be to make a smooth transition from diaphragm motion to acoustic radiation with no reflective steps or swirling currents. The calculator provides a number for you to aim at but your ears will confirm whether you have achieved it or not. If you listen back and find there is that tight clear treble without any fatigue or edge then you know you got the throat geometry correct. It all boils down to how much room you provide for the air to move freely from start to finish.