Quarter Wave Resonator Calculator
Calculate resonator frequency, physical tube length, end correction, wavelength, open and closed boundary behavior, harmonic series, damping bandwidth, decay time, and temperature sensitivity.
Resonator presets
Inputs
Calculation breakdown
Quick design checks
Harmonic table
| Mode | Frequency | Wavelength | Tube fraction | Series | Damped bandwidth |
|---|
Temperature sensitivity
| Temperature | Speed of sound | Frequency for this tube | Length for target | Shift from target |
|---|
Open and closed condition comparison
| Condition | Open ends | End correction | Fundamental | Harmonic pattern | Best use |
|---|
Resonator grid
| Target | Closed-open length | Open-open length | Closed-closed length | Wavelength | Practical note |
|---|
Preset reference table
| Preset | Frequency | Length | Diameter | Condition | Damping |
|---|
Imagine this scenario: You’ve got a hollow tube that you’d like to make sing at some frequency. Seems like simple geometry but then again, air weighs something and heat causes air molecules to move faster or slower based off temperature. If you leave one end open, the wave tricks itself into believing that the tube’s length is greater than what it realy is. That’s when you know that intuition isn’t enough and it’s time for physics.
For example, a quarter-wave resonator is based on the idea that a column of air closed on one end vibrate optimally when its length equals a quarter-wavelength of the desired sound. Once you enter your dimensions, the calculator do the math. You won’t have to fumble around wondering which conversion factor to use or how many times to include coefficient in equation. It transforms abstract acoustics into something tangible you can measure and build.
How to Build Air Resonators
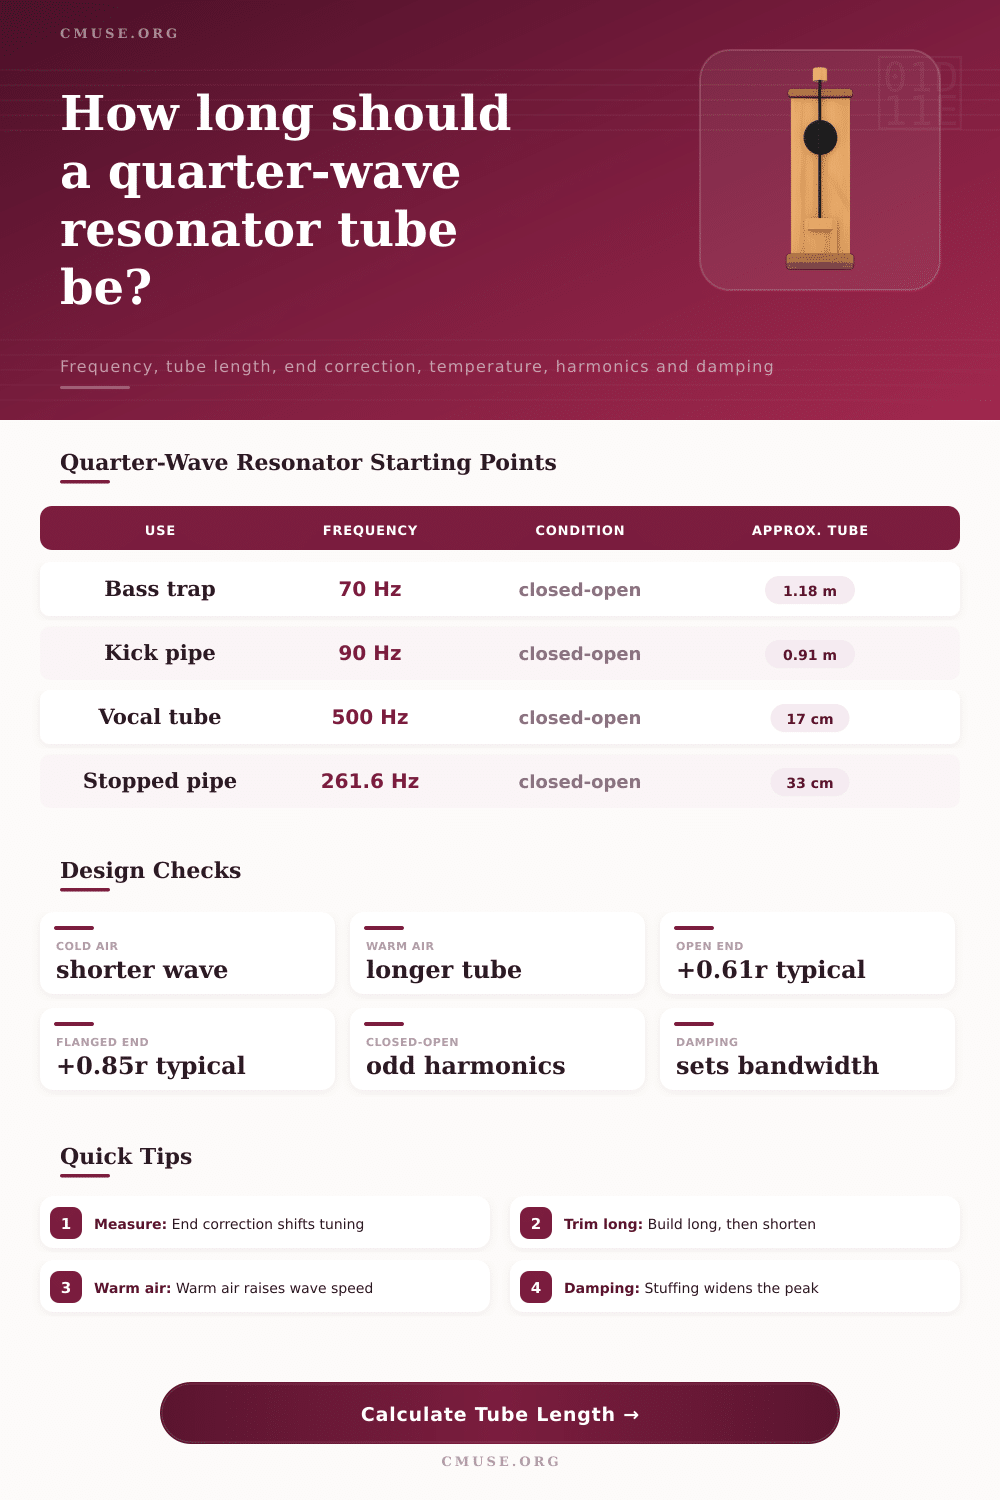
Typically you will use one or the other: the desired resonating frequency, which is the normal case in bass trapping design, or how much physical length you can work with. Enter your number into the calculator and it will tells you what tube dimension you need. Or, feed it the length of the PVC pipe you want to create a resonator out of, and the app will output its resonant pitch.
This is important, because when you’re making a resonator you typically go through many version. Rarely do you cut it perfectly the first time. It’s good to begin somewhat overlong, then trim it down until it hits the mark. Cutting a tube short make the resulting resonator higher pitched by a predictable amount. Adding length means you have to glue several tubes together which introduces its own acoustic complexities.
The calculator also allows you to specify air temperature; interestingly enough, this has a significant impact on tuning accuracy. Because warmer air carries sound more quickly then cool air, as the room warms a given length of pipe resonates at a slightly higher frequency. You may have noticed that on a hot day organ pipes sounds sharp while they’re flat in the cold; that’s because of temperature changes affecting sound travel time along the tubes.
If you care about accurate acoustics, you need to take into account the temperature drift. The standard relationship between temperature and speed applies here. Otherwise, your calculations may be off by a few hertz. That’s probably no big deal if you’re designing a duct silencer, but it will make a musical instrument cry.
The most frequent cause of inaccuracy among DIYers is end correction. What happens with an open end isn’t what you might think. In reality, the open end doesn’t act like a hard boundary where the pressure drop to nothing precisely at the physical edge. Rather, there’s a certain amount of air outside the tube that contributes inertial mass and acts to extend the column of air by a measurable amount.
The tool will make standard adjustments depending on if the end is left flanged (against a wall) or unflanged (in free space). A flanged end has less air going around the opening so adds more effective length than an unflanged one. Choosing the wrong adjustment factor change your target frequency enough for you to notice.
This is where people make mistakes. They’ll measure their pipe, overlook the air hanging past the open end, and then scratch their head when it’s sounding flat.
The bandwidth and Q-factor describe the sharpness or breadth of the resonance. A higher Q (lower bandwidth) indicates that the pipe will resonate with a very narrow band of frequencies. If it has been filled with things like mesh or other dampers inside its surface, energy will be absorbed. This makes it have a lower Q and wider bandwidth. That’s good if you need to attenuate a range of frequencies rather than a single pure tone, which is the case for noise control applications.
But in musical applications, high damping mean no sustained ringing. Use the calculator to vary these parameters. Estimate the Q and damped bandwidth to see how long the pipe will take to die away and if it’ll do so nicely.
The sound of those harmonics depends on boundary conditions. For example, an open-open tube produces the full range of all integer multiples (a more complex, brighter sound), whereas a closed-open one produce only odd harmonics with that characteristic reedy-sounding timbre of a pipe. It’s laid out nicely in the reference table below on the page, with the harmonic patterns placed side-by-side to compare. It makes sense when you understand how it works.
Do you want a fundamental-heavy, darker response? Go closed-open. Is it complex and overtonal? Open-open.
Building these resonators is less about perfect precision and more about understanding the variables. Take careful measurements and factor in the volume of air on each end. Know that temperature will affect your final tuned pitch when actually played. Estimate based off the math, create a model, then tune by feel. Math provides starting line. The way air moves handles the rest.