Truss Rod Relief Calculator
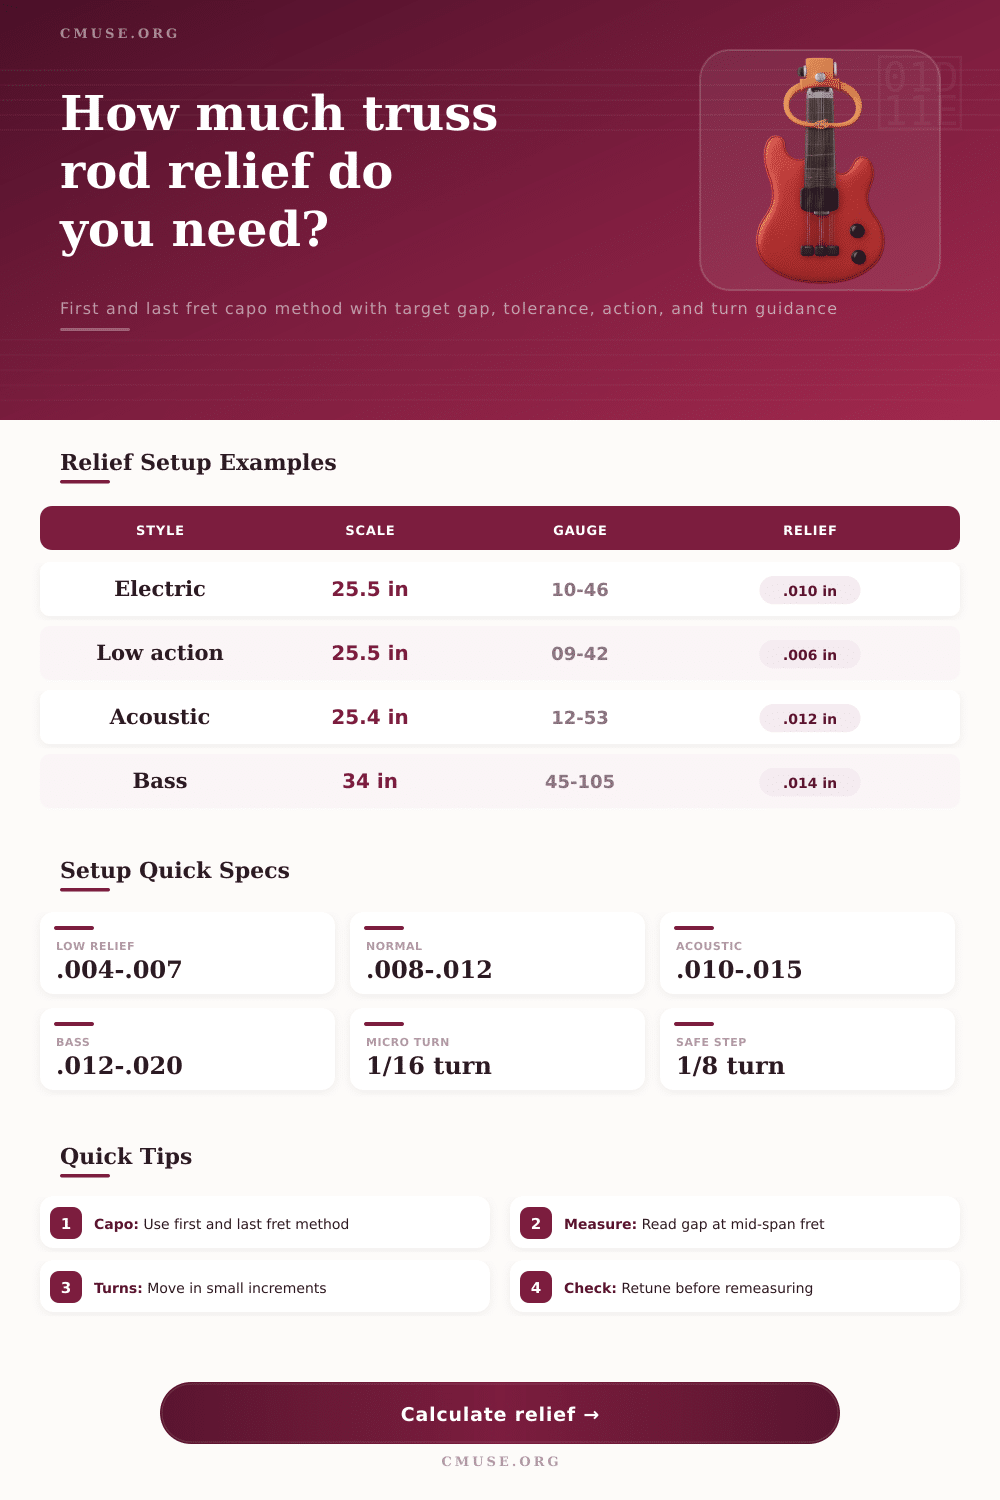
Calculate guitar or bass neck relief from the first and last fret capo method, then compare the measured gap against target relief, action, string gauge, tension, tolerance, and safe truss rod turn guidance.
Relief breakdown
| Setup style | Typical relief | Best for | Watch point |
|---|---|---|---|
| Very low relief | 0.004-0.007 in / 0.10-0.18 mm | Light touch, level frets, low action | Can buzz if picking attack is hard |
| Standard electric | 0.008-0.012 in / 0.20-0.30 mm | Most 24.75-25.5 in guitars | Balance with saddle height after rod work |
| Acoustic medium | 0.010-0.015 in / 0.25-0.38 mm | Bronze strings, stronger attack, open chords | Too much relief can raise middle-neck action |
| Bass neck | 0.012-0.020 in / 0.30-0.51 mm | Long scale, wider vibration arc, heavier strings | Measure after tuning settles |
| Reading | Neck condition | Normal rod move | Expected result |
|---|
| Item | Your value | Reference | Read |
|---|
| Setup factor | Input | How it affects relief | Setup note |
|---|
| Preset | Held frets | Gap fret | Target relief |
|---|---|---|---|
| Strat Standard | 1st to 17th | 8th fret | 0.010 in / 0.25 mm |
| Les Paul Medium | 1st to 17th | 8th fret | 0.009 in / 0.23 mm |
| Fingerstyle Acoustic | 1st to 14th | 7th fret | 0.012 in / 0.30 mm |
| Jazz Bass Standard | 1st to last fret | 9th fret | 0.014 in / 0.36 mm |
Anxiety strikes! Your guitar are buzzing on the higher frets. Usually, a poor string is not the issue; it’s just a neck shifting under pressure. Steel or nylon strings exerts tension and bow the neck in one direction or another. To offset that pulling tension we have what is called truss rod inside the instrument. It offsets the pull of the neck bowing wood back up or down to make it rigid enough to play clearly but still flexible enough to ring through.
Now all you need to do is plug your measurement into the calculator above (and input your scale length) and it does the rest for you. No more guesswork with coefficients and conversions. But what’s the deal? Why does this work? To put it simply, we’re looking past the math and the numbers to the physics of the guitar. What you’re really doing when you measure the gap is finding out by how far that tightrope sag. You’re creating a straight line reference by using a capo on the first fret and pressing down on string at the body joint. Then you measure distance between the imaginary line and where the real string sits halfway along its route. That’s precisely how much wood has bent under tension.
How to Measure Your Guitar Neck Relief
The trick here for most folks is that middle ground measurement. They often measure without tuning up to pitch which means they miss how that tension changes shape of the neck. To get an accurate read, you need to replicate how youll be performing. So if you’re measuring with all strings tuned to open-E, but are going to be playing in drop-D, then the neck will bow forward much more further when you do hit those notes. By allowing you to select both your tuning style and string gauge, the tool makes what you’re seeing consistent and adjusts target window to match.
For example, a bass with heavy-gauge strings require a lot more relief than a light electric run because the strings exert far more downward force on the frets during vibration. But even then, relief changes: It’ll change over time, and with temperature, humidity, etc. Dryer air will cause wood to shrink; wetter air causes expansion. In addition, changes in humidity and temperature will cause the wood move, which alters how effective the rod is. That’s also why you see relief given in ranges, never just one perfect number on any reference table. For instance, a Stratocaster might live comfortabley at 0.010 inches of relief, whereas a fingerstyle acoustic need nearly double that to accommodate the vigorous strumming arc. Attempting to shoehorn an acoustic neck into a low-action electric spec will likely result in a painful buzz for all involved. You want something that suits your playing not necessarily a textbook number.
So when adjusting the rod, be gentle and take your time. Remember, you’re fighting metal fatigue and years of wood memory. It’s all about small amounts and there is no negotiating. Sometimes just turning it a little bit will seem like nothing, yet on a sensitive neck of today’s instruments, it can reduce the relief by a few thousandths of an inch. After each change always check again and always tune first after any adjustment. Otherwise you are making unfair comparisons because you have altered the string tension. Give the instrument some time to adjust to each tweak; give it a couple of minutes to let the wood speak.
This can be oversimplified. Don’t think that you should of bring out your laser levels and calipers. This isn’t necessary for a playable instrument. All you need is a clear head and a simple feeler gauge and you’ll be 90% there with the other ten made up by your ears. If it sounds good and fingers freely across the frets without any unwanted fret buzz, stop messing around. Use the calculator as a guideline but ultimately let your hands and ears be the judges.
Once the neck is locked in, the rest of the setup start to fall together. Now when you pick up your guitar you know just what to expect on each fret and each string and you’re back where you started.