LFO Sync Rate Calculator
Convert BPM, synced note divisions, dotted and triplet timing, bars per cycle, cycles per bar, Hz, milliseconds, and phase offset for musical modulation.
Calculation Breakdown
| Target | Useful Sync Range | Typical Depth | Best Shape | Notes |
|---|
| Division | Straight ms | Dotted ms | Triplet ms | Straight Hz | Cycles / Bar |
|---|
| Cycle Setting | At Current BPM | Hz | Cycles / Bar | Use Case |
|---|
| Phase | Cycle Fraction | Current Delay | Beat Delay | Musical Effect |
|---|
DAW Tempo Sync
Control: note divisions such as 1/8 or 1/16T.
Best for: gates, tremolo, autopan, and repeatable mix movement.
Synth LFO Sync
Control: synced values, retrigger, key sync, and phase.
Best for: filter sweeps, PWM, wavetable motion, and rhythmic timbre.
Free Hz Mode
Control: cycles per second independent of tempo.
Best for: vibrato, chorus drift, subtle instability, and sound design.
MIDI Clock
Control: external tempo with internal division or multiplier.
Best for: hardware rigs, sequencers, and transport-locked modulation.
| Sync Method | Main Formula | Strength | Risk | Best Target |
|---|---|---|---|---|
| Note Division | 60000 / BPM x beats | Grid-locked movement | Can sound mechanical | Filter, amp, pan |
| Dotted Timing | straight x 1.5 | Pushes across beat groups | May obscure downbeat | Delay, pump, pan |
| Triplet Timing | straight x 2/3 | Rolling feel | Can fight straight drums | Wobble, gate, FM |
| Bars Per Cycle | bar ms x bars | Long phrase sweeps | Slow phase errors stand out | Pad filter, reverb |
| Cycles Per Bar | bar ms / cycles | Fast rhythmic repeat | Depth can become harsh | Tremolo, PWM |
| Free Hz | 1000 / Hz | Tempo-independent motion | Drifts against grid | Vibrato, chorus |
Press play and something about the filter sweep doesn’t feel right until you don’t. It might modulate in time with the kick drum, then it goes out of sync. Or it clashes rhythmically in ways that aren’t obvious. Producers has this issue all the time.
Low-frequency oscillators add motion to your sound, but that motion muddies up because the oscillator isn’t locked to the grid. Make things move together not just make them go faster. Ultimately it’s about measuring frequency versus time. One instrument, your synthesizer for instance, will use Hertz or milliseconds whereas another, such as your digital audio workstation, will use beats per minute. This mean converting the rate of your choice of division into something that the hardware can interpret without losing the groove.
How to Sync Your LFOs
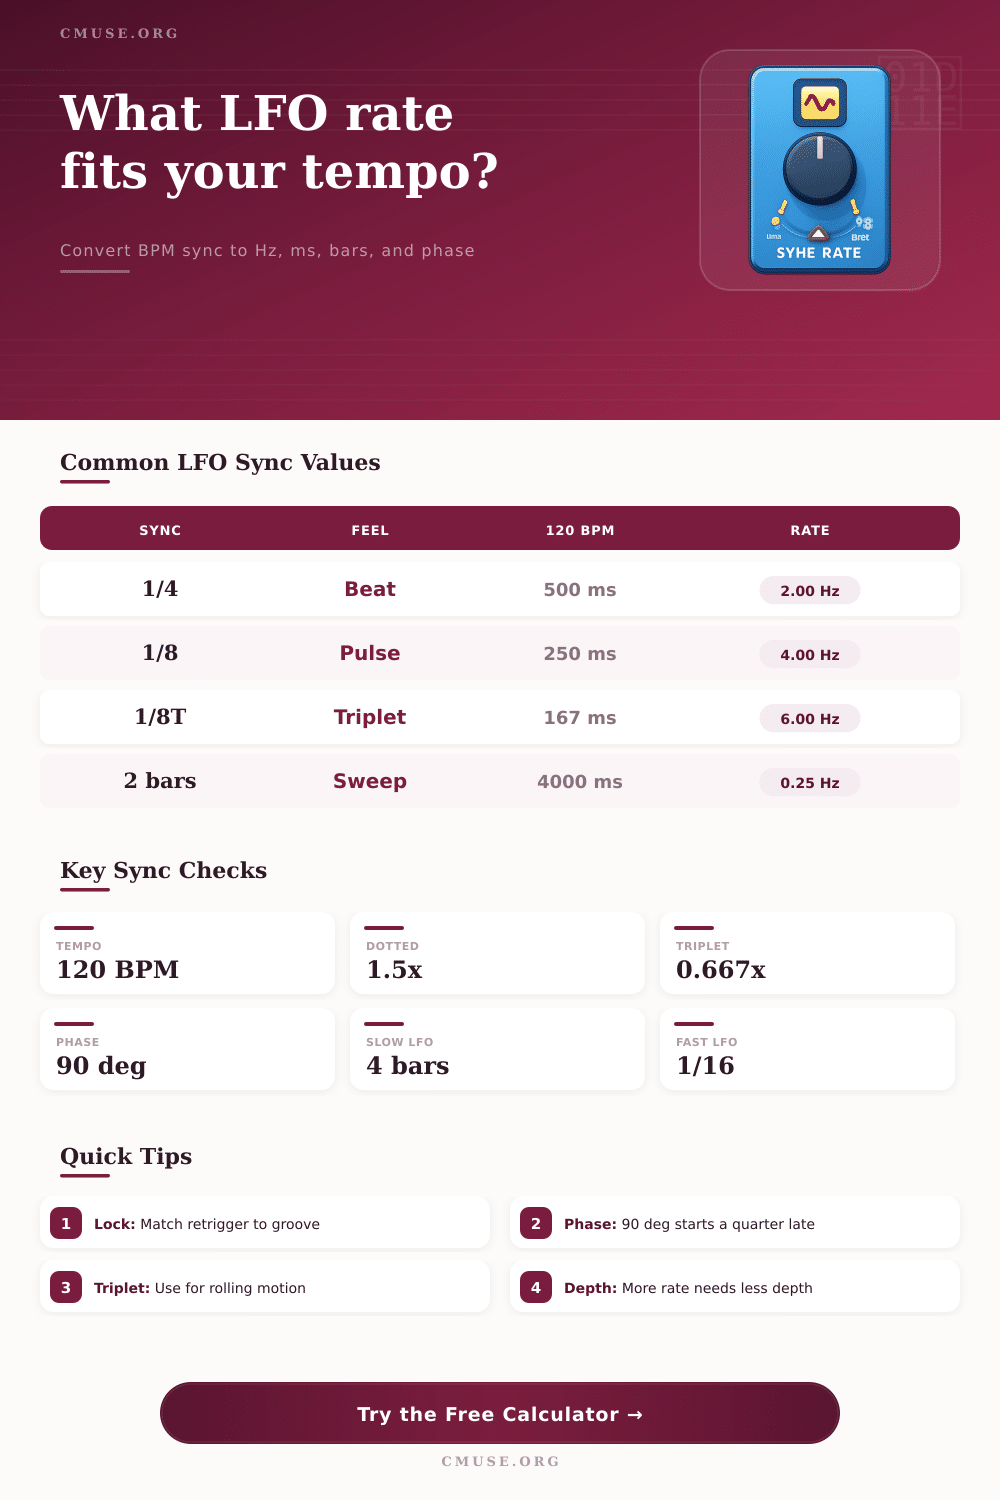
Enter the calculator, you enter your desired division and tempo then it does all the maths for you. You will no longer have to guess whether the selection are right for the track. This is where sound design begins, once you understand what the numbers mean. Let’s begin with the connection between cycle length and tempo. A quarter note at 120BPM is precisely 500 milliseconds. That means if we sync an LFO to that division it will do one complete cycle per beat. One beat = 2 Hertz (two cycles per second). Easy math, and here’s where most producer drop the ball. They establish a rate in free-running mode and later adjust the song’s speed making the modulation no longer fit. The solution is syncing. This tie the rate directly to the clock so the LFO moves as the BPM does.
Triplet and dotted timings adds rhythmic interest. It’s more than a label. It change how long the note lasts different than a steady beat. For example, a dotted note is 1.5 times as long as it would of otherwise. That means it sits just off the beat which can be good for something with an ambient swell or sidechaining. A triplet timing divides the space into three instead of two, so you get this kind of rolling feel, faster but not faster in terms of tempo. Below is reference table that demonstrates what the subdivision does to the milliseconds and the resulting Hertz figure.
This is useful for making rigid sync sound more human. An LFO that resets on every note or bar will sound mechanical unless you add a phase delay, which shifts the start point but not the rate. So if you have a 90 degree shift then this mean the modulation begins a quarter of the way through its cycle. For example with tremolo, the character of an amplitude change will be different depending whether it starts from the peak or the zero-crossing. A small adjustment make a huge difference, turning something that might be sterile into a livig texture.
Equally important is the shape of the wave. Sine waves produces nice smooth gradations that change slowly, which is good for things like vibrato or chorus. Square waves jump instantly from one state to another, perfect for on-off filtering effects or rhythmic gating. Sawtooth ramps smoothly sweep through pitch but reset suddenly at the start. This produce a feeling of tension and then release, like a filter cutting out and snapping back on. So pick the correct shape based off what it is you want to control. If you wanted something to move gradually left-right across a pan you wouldn’t use a gnarly looking square wave.
Don’t forget about depth knob. The faster you set the LFO rate, the less depth it take to make a difference since things change often. Conversely, the slower you set the rate, the more depth you need to hear it. If you don’t give it enough, it is just a subtle drift getting lost in the mix. So if you think there’s too much modulation going on, dial back the depth first and then slow the rate down. It might not be the speed at which it moves as much than how far it moves.
To summarize, LFO sync is all about controlling chaos. It’s not as cool when the modulation feel like an accident. When you have a set of clear frequency and time values based off your tempo, it takes the guesswork away. Now you know how to create sounds that sync perfectly with the drums, or change ever so slowly from bar to bar and never get out-of-phase. Your ears tell you whether it sounds right, and the tool finds those settings for you. Begin by using the grid; then use shape and phase to crack it open just a bit to make it interesting. That’s where the music lives.