Limiter Ceiling Calculator
Work out the gain reduction, output peak, headroom to 0 dBFS and true-peak ceiling margin for any limiter setting, input gain push and streaming platform target
Full Calculation Breakdown
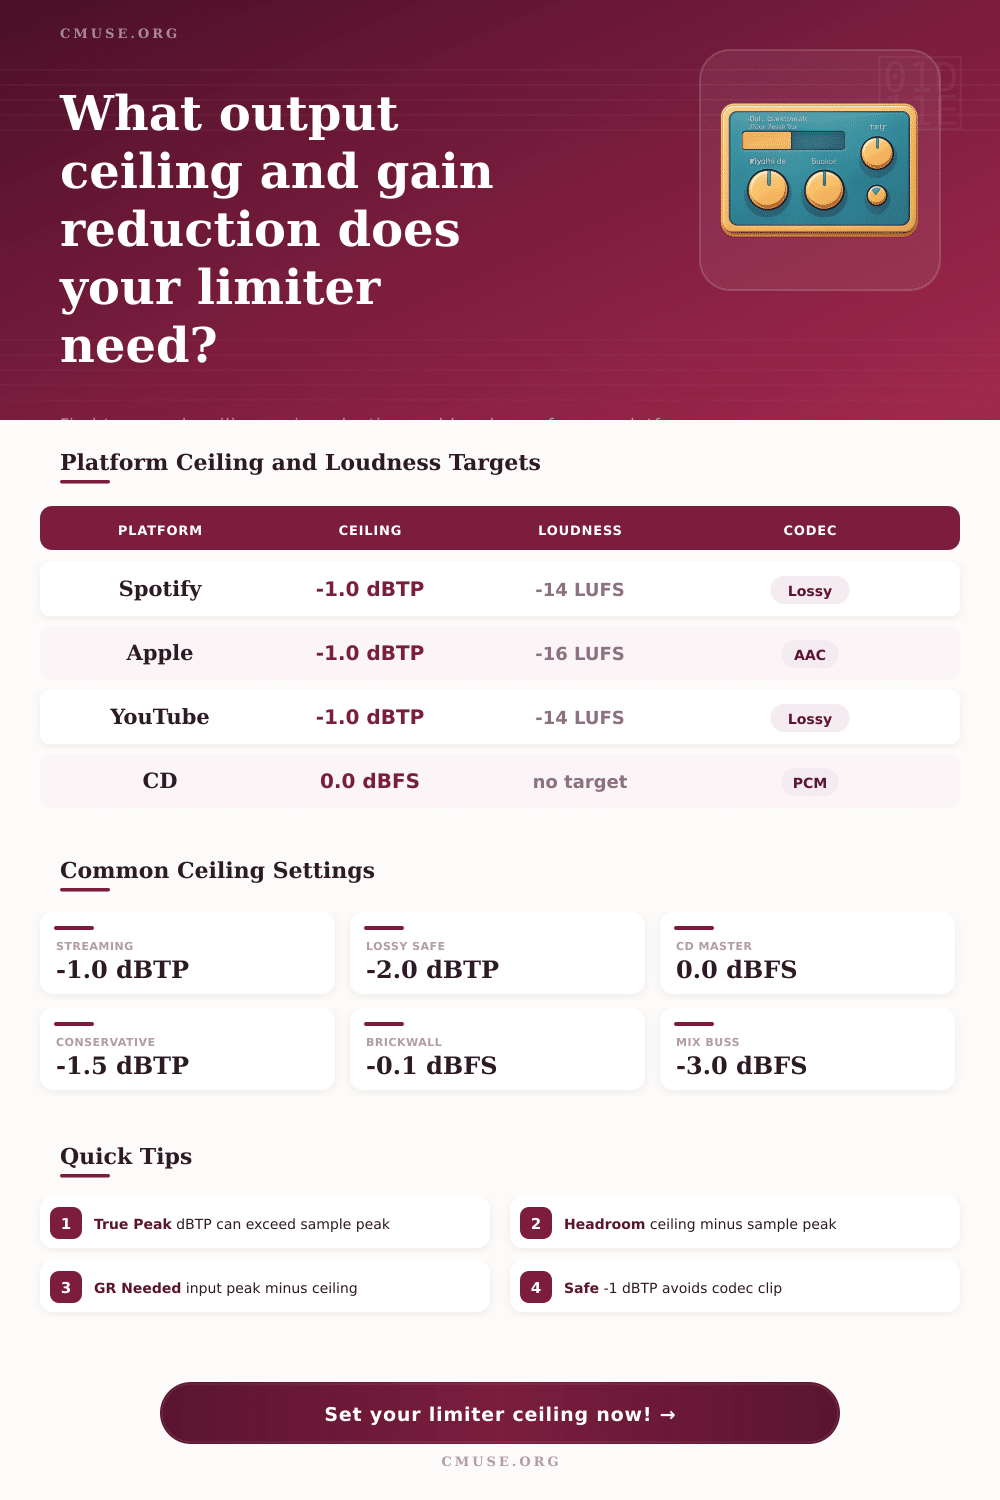
| Platform | Ceiling | Loudness | Codec / Notes |
|---|---|---|---|
| Spotify | -1.0 dBTP | -14 LUFS | Ogg Vorbis / AAC lossy |
| Apple Music | -1.0 dBTP | -16 LUFS | AAC, Sound Check |
| YouTube | -1.0 dBTP | -14 LUFS | Opus / AAC lossy |
| Amazon Music | -2.0 dBTP | -14 LUFS | Conservative lossy |
| Tidal | -1.0 dBTP | -14 LUFS | FLAC / AAC |
| CD (Red Book) | 0.0 dBFS | no target | 16-bit PCM, no codec |
| Broadcast (EBU R128) | -1.0 dBTP | -23 LUFS | True-peak limited |
| Podcast | -1.5 dBTP | -16 LUFS | Mono / lossy safe |
| Input Peak | Ceiling | GR Needed | Output Peak |
|---|---|---|---|
| -2.0 dBFS | -1.0 dB | 0.0 dB | -2.0 dBFS |
| -1.0 dBFS | -1.0 dB | 0.0 dB | -1.0 dBFS |
| 0.0 dBFS | -1.0 dB | 1.0 dB | -1.0 dBFS |
| +2.0 dBFS | -1.0 dB | 3.0 dB | -1.0 dBFS |
| +4.0 dBFS | -1.0 dB | 5.0 dB | -1.0 dBFS |
| +6.0 dBFS | -1.0 dB | 7.0 dB | -1.0 dBFS |
| +9.0 dBFS | -1.0 dB | 10.0 dB | -1.0 dBFS |
| +12.0 dBFS | -1.0 dB | 13.0 dB | -1.0 dBFS |
| Target / Codec | Ceiling | Safety Margin | Why |
|---|---|---|---|
| CD / PCM | 0.0 dBFS | 0.0 dB | No codec overshoot |
| Brickwall master | -0.1 dBFS | 0.1 dB | Tiny safety only |
| High-bitrate AAC | -1.0 dBTP | 1.0 dB | Streaming standard |
| Apple AAC 256k | -1.0 dBTP | 1.0 dB | Encoder overshoot |
| Low-bitrate MP3 | -1.5 dBTP | 1.5 dB | More ISP error |
| Lossy-safe master | -2.0 dBTP | 2.0 dB | Worst-case codec |
| Cascaded encodes | -2.0 dBTP | 2.0 dB | Re-encode stacking |
| Use Case | Ceiling | Headroom | Codec Safety |
|---|---|---|---|
| Streaming master | -1.0 dBTP | 1.0 dB | Safe for lossy |
| Lossy-safe master | -2.0 dBTP | 2.0 dB | Very safe |
| Conservative | -1.5 dBTP | 1.5 dB | Extra safe |
| CD master | 0.0 dBFS | 0.0 dB | PCM only, no codec |
| Brickwall loud | -0.1 dBFS | 0.1 dB | Risky for codec |
| Mix buss limit | -3.0 dBFS | 3.0 dB | Lots of headroom |
You’ve mixed something down that sounds loud and punchy in your DAW, bounced it to WAV, uploaded it and; bam! Streaming services has compressed it back to Ogg Vorbis or AAC, and now when people play it back, the final chorus is clipping nastily.
It’s not bad luck; this happens because of inter-sample peaks that gets clipped when your audio gets encoded. The decoder has to reconstruct them as true peaks, which differ from how your software presents them as sample peaks. Digital audio use discrete sampling, which creates moments of true peak overshoot even though analog converters and human ears hears a continuous waveform between those samples.
Why You Should Use True Peak for Streaming
A -0.5 dBFS reading on your meter could translate into a plus 2 dB reconstruction spike during a lossy encode process and that reconstruction spike become distortion post-encode. Using sample peak as your limiter ceiling allow for an invisible clip that can destroy your ultimate master, whereas true peak avoids that issue entirely.
The only math involved is calculating how much gain reduction should of applied; that’s where the calculator above enters, taking out all guesswork of predicting what exactly you’ll need. Spotify recommends “no more than -1dBTP,” which leaves one decibel of headroom, as do Apple Music and YouTube, they’re suggesting not going past that level just in case there own internal encoders distort your music or squish its dynamics.
For a format like CD, there’s no need for headroom; the PCM doesn’t have issues with inter-sample overshoot, so zero dBFS should be fine, but what happens then if you upload that exact same CD master to a streaming service? It’ll probably clip unless you had some headroom baked into initial mix. The reference table on the page explains this pretty well; every platform has different codec and loudness limitations.
But most engineers don’t know about it: the input gain push setting. If you’re working toward a competitive level of loudness and pushing your limiter, its ceiling may be several decibels above instantaneous peaks (before the limiter kicks in). Faster lookahead times will minimize any pre-ringing artifacts. However, if the ceiling is set too high, it won’t capture all transients.
Because of this, it is important to understand precisely how many decibel of limiting are taking place when the peaks occur. If you have an input peak of plus four dBFS and a ceiling of minus one, then you’re asking for five decibels of limiting right there. That’s quite a bit of compression which can totally squash the transients. The tool instantly calculates that ratio so you can adjust the push downward or lower the ceiling before mastering.
Another safeguard is safety margins. Adding an inter-sample safety margin of zero point three decibels provide protection from even aggressive reconstruction algorithms that can be below hard clip. Each encode has the possibility to add overshoot, which means some masters may sound just fine until they’re sent off for podcast distribution or posted on social media sites where further layers of compression is applied.
Setting the conservative ceiling at minus two dBTP protects against cascading encoding errors with robust strength, a small sacrifice in perceived loudness in return for transparently guarantee.
The other thing to monitor is headroom to zero dbFs. Streaming algorithms uses LUFS (integrated) level measurements to normalize the loudness of what they deliver. However, a peak limit still applies. The limiter will distort if your output peak hit the ceiling repeatedly, which you’ll see in the breakdown section where the arithmetic of all this is spelled out, how the pushed peaks interact with the set threshold. Is there still breathing room or not?
As much as mastering involve compression, EQ and more, it also involves managing expectations, and knowing your ceiling tell you when to back off or push harder. Maybe the mix has too much pre-limit leveling, too many gain reductions are being applied. This means we might need more aggressive limiting at the end instead.
In today’s distribution chain, true peak detection is not negotiable. You may be able to get away with ignoring it. However, you’ll add distortion that cannot be corrected later by any amount of mixing. Catch the peaks in your system before they escape it and your music will make it intact to the listener’s ear.