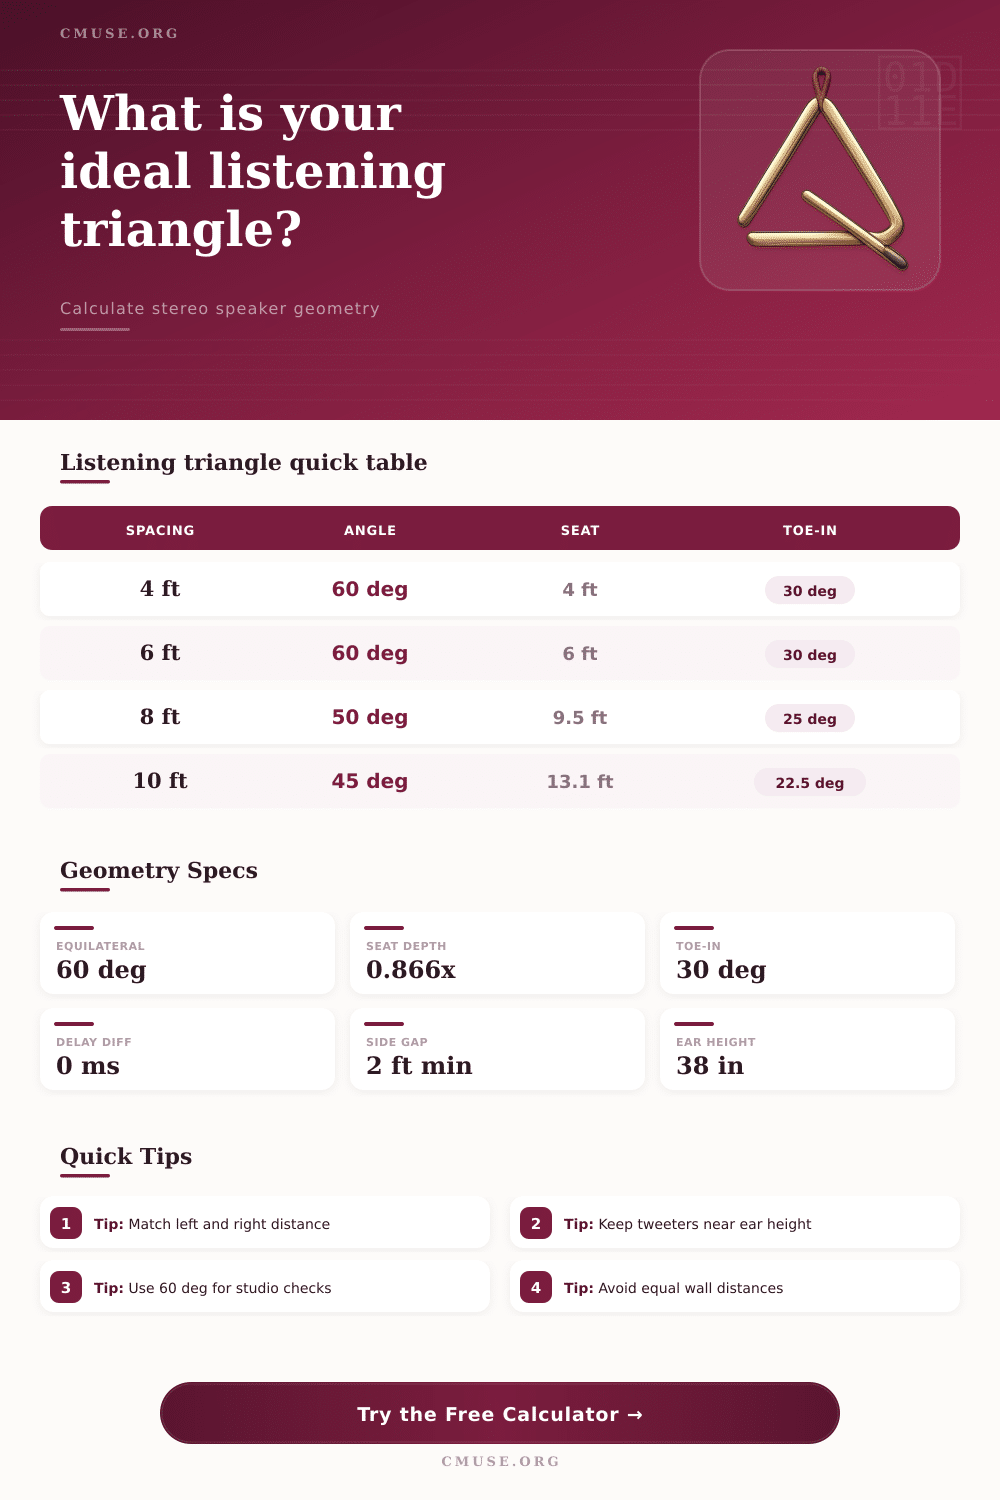
Listening Triangle Calculator
Calculate speaker spacing, listening distance, toe-in angle, room fit, and height alignment for a precise stereo image.
🎧 Listening Triangle Presets
⚙ Speaker Placement Inputs
📐 Stereo Geometry Spec Grid
📊 Listening Angle Reference
| Angle at Listener | Listening Distance Formula | Seat Depth Formula | Typical Use |
|---|---|---|---|
| 40 deg | 1.462 x spacing | 1.374 x spacing | Longer rooms, relaxed hi-fi |
| 45 deg | 1.307 x spacing | 1.207 x spacing | Wide speakers in medium rooms |
| 50 deg | 1.183 x spacing | 1.072 x spacing | Balanced stereo listening |
| 55 deg | 1.080 x spacing | 0.957 x spacing | Controlled imaging with less depth |
| 60 deg | 1.000 x spacing | 0.866 x spacing | Studio equilateral reference |
Formulas assume the listener is centered between the speakers and both speaker-to-listener distances match.
🎹 Common Listening Triangle Setups
| Setup | Speaker Spacing | Angle | Seat Distance |
|---|---|---|---|
| Nearfield production desk | 3.5 to 4.5 ft / 1.1 to 1.4 m | 60 deg | Matches speaker spacing |
| Project studio mix position | 5 to 6 ft / 1.5 to 1.8 m | 55 to 60 deg | 5.4 to 6 ft / 1.6 to 1.8 m |
| Small hi-fi listening room | 6 to 7 ft / 1.8 to 2.1 m | 50 to 60 deg | 6 to 8.3 ft / 1.8 to 2.5 m |
| Mastering or control room | 8 to 10 ft / 2.4 to 3.0 m | 55 to 60 deg | 8.6 to 10 ft / 2.6 to 3.0 m |
| Music-focused cinema stage | 9 to 12 ft / 2.7 to 3.7 m | 45 to 50 deg | 10.6 to 15.7 ft / 3.2 to 4.8 m |
🎙 Triangle Style Comparison
| Triangle Style | Stereo Image | Room Demand | Best Match |
|---|---|---|---|
| 60 deg equilateral | Precise center and stable panning | Moderate depth | Mix decisions, speaker checks |
| 55 deg focused | Strong center with compact width | Shorter depth than 60 deg | Small rooms and desks |
| 50 deg balanced | Wider sweet spot with softer center | Needs more listener depth | Hi-fi rooms and keyboards |
| 45 deg relaxed | Comfortable stereo width | Longer room required | Living rooms and wide cabinets |
| 40 deg narrow | Reduced width, stable vocals | Highest depth requirement | Long rooms with limited side space |
📏 Room Clearance Reference
| Check | Rule of Thumb | Why It Matters | Calculator Signal |
|---|---|---|---|
| Side clearance | 2 ft / 0.6 m or more | Reduces early side-wall reflections | Compares room width to spacing |
| Front wall offset | 2 to 5 ft / 0.6 to 1.5 m | Changes bass buildup and depth cues | Adds to required seat position |
| Rear wall gap | 3 ft / 0.9 m or more | Helps prevent rear reflection smear | Shows leftover space behind listener |
| Height match | Within 2 in / 5 cm | Keeps treble centered at ear level | Reports tweeter-to-ear difference |
The listening triangle is comprised of two speakers and an listener position, and the listening triangle will create a stereo image for the listener. If the distances and angles of the listening triangle are correct, the listening triangle will create a stable phantom center, allowing each instrument to appears at different points between the two speaker. If, however, the distances and angles of the listening triangle are incorrect, the listener will experience a smearing of the stereo image or the stereo image may collapse to one side of the listening triangle.
Many listener will attempt to correct these issues by simply moving the speakers by feel. However, moving the speakers by feel is an inefficient process because it does not account for any change in the room or any changes to the speakers themselves. Thus, using the measurements to set up the listening triangle will allow the listener to find the correct stereo image more quickley and accurate.
How to Set Up a Listening Triangle
Speaker spacing will determine the width of the listening triangle, while the listening angle will determine how far back from the screen the listener need to position themselves. If the listening angle is wide, the listening triangle will be tighter around the listener and there will be less depth that the listener needs to be positioned within the listening triangle. Conversely, a narrow listening angle will create a wider listening triangle but can cause the phantom center of the speakers to be soft for the listener.
A calculator can be used to determine the mathematics behind the listening triangle. The speaker spacing and listening angle can be entered into the calculator to determine the dimensions of the listening triangle that will provide the listener with the best listening experience. Furthermore, any positioning of the listener will need to leave enough space behind the listener for sound reflections to not occur off the rear wall of the listening area.
The dimensions of the listening area may affect the listening triangle for the listener. Side clearance will prevent the listener from feeling early reflections from the sides of the listening area. The front wall offset will prevent too much bass from building up before it reaches the listener.
The distance from the rear wall will decide whether the rear wall will add a smear to the sound reflections that reach the listener; if the listener’s listening position is too close to the rear wall, the listening triangle can be shrunk or the listening angle made narrower or the rear wall treated with acoustic treatment. Height alignment is another necessary step in creating the listening triangle. Height alignment ensures that the cymbals and vocals is felt equally by each listener.
The tweeter for each speaker should aim at the ear level of the listener. However, many speaker stand place the tweeters either too high or too low. If the speakers have different heights, the balance of the cymbals and vocals will be off.
Each speaker should be adjusted so that the heights are within a couple of inches of each other to provide the most stable listening experience. A calculator can be used to calculate if there is a height difference between the two speakers, and any necessary changes to the stands or speakers can be made. Toe-in is the process of turning the speakers inward toward the listener.
The amount of toe-in for each speaker will be half of the listening angle. Increasing the toe-in will improve the focusing ability of the phantom center. Those who prefer less toe-in may find that the soundstage is wider, while those who prefer more toe-in may enjoy a more controlled sound if there are alot of reflections within the listening area.
A reference table can be utilized to determine how changes in listening angle will impact the relationship between the speaker spacing and listening distance. Not all listening setups are the same, and, thus, there are different listening triangles for each type of listening setup. For instance, if the speakers are to be positioned on a desk, the listening angle will be 60 degrees to allow for the short distance between each speaker and the listener.
For those who have a living room that is of a relatively large size, 45 or 50 degrees is often used for the listening angle to allow the speakers to be placed farther apart while still maintaining a listener that is positioned within the listening triangle. For those who wish to create a cinema stage within the living room, a wider listening angle will be used so that the listener feels as if they are within the movie itself. Each type of setup is utilized to achieve its goal, and each changes the dimensions of the listening triangle that is created.
In addition to positioning the speakers, there are steps that can be taken to test the listening triangle. Playing some of the listener’s favorite music can help to determine if the phantom center is