Acoustic Foam Calculator
Estimate foam panel counts, coverage targets, absorption area, NRC-weighted treatment, and wall or ceiling placement for music rooms.
🎧Room Presets
📏Room Dimensions
🧱Foam Panel Settings
📊Foam Spec Grid
📋Coverage Target Table
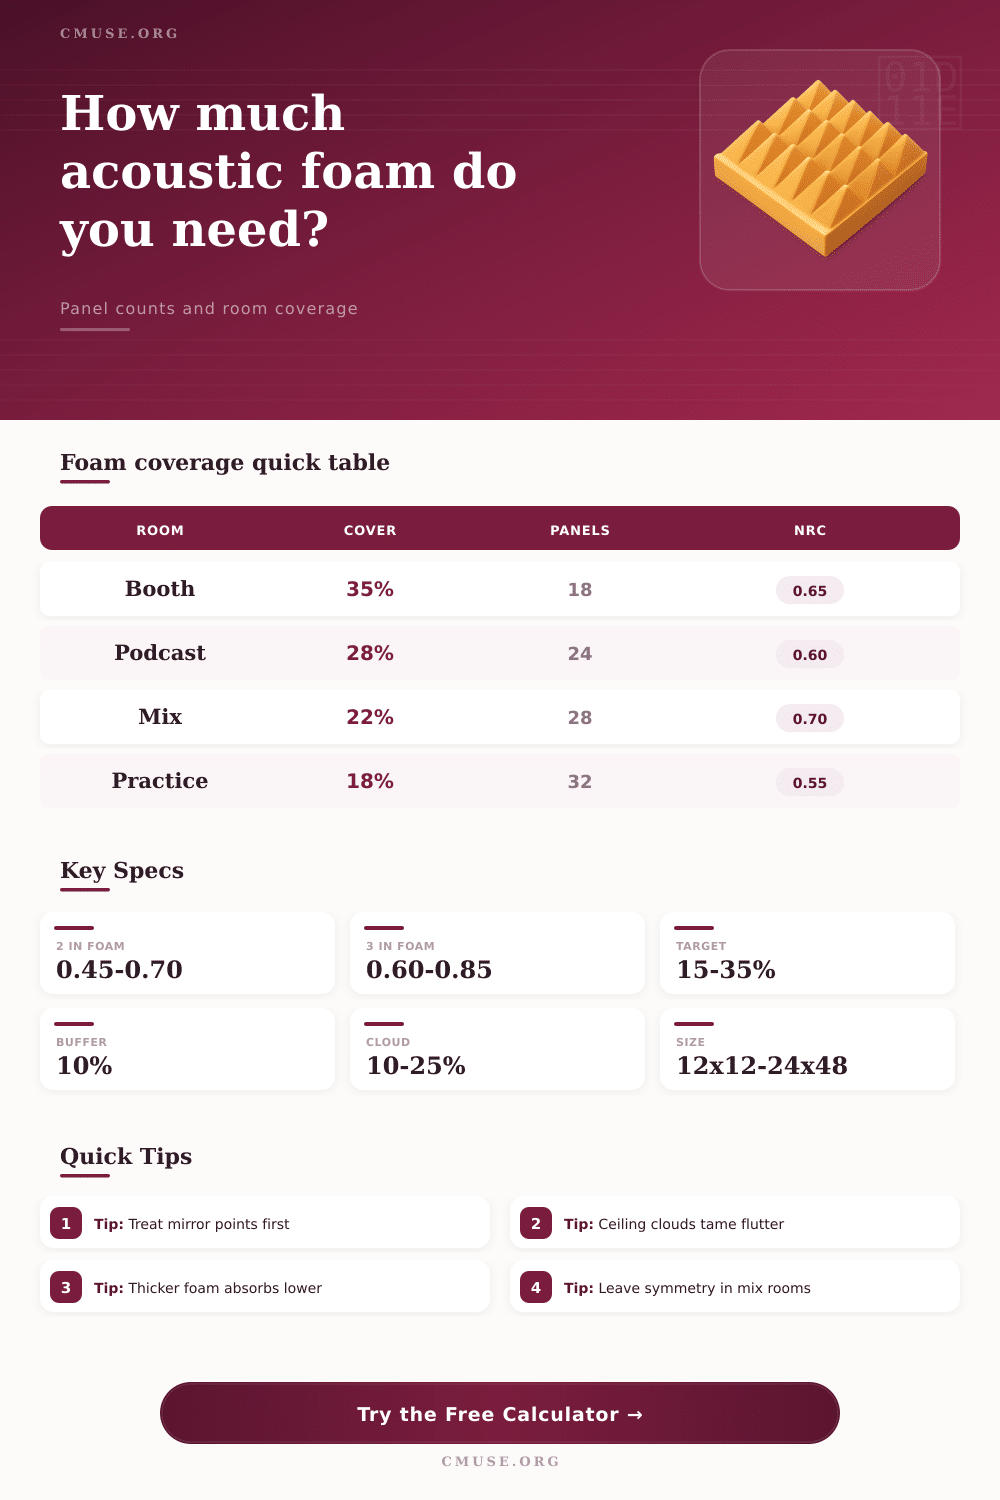
| Room Use | Target Coverage | Best First Zone | Notes |
|---|---|---|---|
| Voice booth | 30% to 45% | Side walls | Control short reflections |
| Podcast room | 22% to 35% | Speaker wall | Reduce speech slap |
| Mix room | 18% to 28% | Mirror points | Keep left-right symmetry |
| Practice room | 12% to 22% | Hardest wall | Leave some liveliness |
| DJ booth | 18% to 30% | Rear wall | Manage monitor spill |
🧱Foam Profile Comparison
| Foam Profile | Typical NRC | Best Depth | Use Case |
|---|---|---|---|
| Flat open-cell | 0.35 to 0.65 | 2 in | Simple wall coverage |
| Wedge foam | 0.45 to 0.75 | 2 to 3 in | Studio side walls |
| Pyramid foam | 0.50 to 0.80 | 2 to 3 in | Booths and corners |
| Eggcrate foam | 0.35 to 0.60 | 1.5 to 2 in | Light speech control |
| Bass wedge | 0.65 to 0.90 | 4 in | Thicker wall zones |
| Melamine foam | 0.55 to 0.85 | 2 to 3 in | Lightweight panels |
🎯Placement Allocation Table
| Focus | First Reflections | Wall Fill | Ceiling Cloud |
|---|---|---|---|
| Balanced studio | 25% to 30% | 50% to 60% | 10% to 20% |
| First reflections | 35% to 45% | 40% to 50% | 10% to 15% |
| Ceiling heavy | 20% to 25% | 45% to 55% | 25% to 35% |
| Wall heavy | 20% to 25% | 65% to 75% | 5% to 10% |
| Booth wrap | 30% to 40% | 55% to 65% | 5% to 15% |
📐Panel Size Reference
| Panel Size | Face Area | Panels for 48 sq ft | Common Placement |
|---|---|---|---|
| 12 x 12 in | 1 sq ft | 48 panels | Patterned wall grids |
| 12 x 24 in | 2 sq ft | 24 panels | Small reflection points |
| 24 x 24 in | 4 sq ft | 12 panels | Broad wall sections |
| 24 x 48 in | 8 sq ft | 6 panels | Clouds and large walls |
Acoustic treatment require you to make specific decisions. Many people begins acoustic treatment by considering how sound behave in the room. Yet, the effectiveness of acoustic treatment depends on two factors: how much surface area you will cover with acoustic treatment, and where you will placed that acoustic treatment.
Coverage percentage are one of the primary variable in acoustic treatment. The percentage of a room that you cover with acoustic treatment change based on the use of that room. For instance, if a room is to be used for speech, then the coverage percentage will be more higher.
How to Plan Acoustic Treatment for Your Room
However, if the room is to be used for music mixing, the percentage of the room that will be covered in acoustic treatment will be lower to preserve the dimension of that treatment area. In other words, a voice booth will have a high percentage of its area covered in acoustic treatment. Yet, a music mixing room will have a lower percentage of its area covered by acoustic treatment.
An acoustic calculator can help you determine the percentage of your treatment area that will need to be covered by acoustic treatment. All you do is enter the dimensions of the room that you intend to treat, and the acoustic calculator will calculate the area that you will need to treat. Panel thickness is another variable that will affect the performance of your acoustic treatment.
The thickness of the panels will determine which frequency of sound the panels will absorb. For instance, one inch of acoustic foam will absorb flutter reflection between parallel surfaces in the treatment area. However, one inch of acoustic foam will not absorb the lower mid frequencies of sound.
Two inch of acoustic foam is a common thickness for acoustic treatment for speech and light music applications. Three or four inch panels of acoustic foam will absorb the lower frequencies of sound, and they is useful in treatment rooms if the treatment area has a boom in one of its corners. However, thicker panels of acoustic treatment will not absorb all frequencies of sound within a treatment area.
The thicker the panels of acoustic treatment are, the different frequency of sound that will be controlled will change. Placement allocation is another aspect of acoustic treatment. The placement of acoustic treatment is something that many people gets wrong when they first begin treating their room for sound.
For instance, first reflection point on the side walls and the ceiling will provide more control over the sound in your treatment area than acoustic treatment placed random throughout the treatment area. First reflection points should be prioritized for acoustic treatment, but considerations should also be made for treating the remaining walls and the ceiling as well. For instance, you may want to allocate 25% of your acoustic treatment panels to the reflection points in your treatment area, 55% of your panels to your treatment area’s walls, and 20% to the ceiling.
Treatment rooms with high ceiling may require a ceiling-heavy acoustic treatment approach to control the flutter reflections between the floor and the ceiling. Profile choice is one more variable to consider in your acoustic treatment. The profile of the panels will change the amount of surface area that your acoustic treatment will have.
For instance, wedge or pyramid acoustic treatment profile will increase the surface area of the treatment panels. The increased surface area will allow for the better absorption of the mid and high frequencies of sound. Eggcrate treatment panels are common, but they will perform similar to flat panels of acoustic treatment of similar thickness.
Bass wedges absorb the low-mid frequencies of sound. They are less visually appealing than other treatment profiles, however. Another setting to consider is the buffer percentage.
This setting should be included in your acoustic treatment calculation. The buffer percentage prevent you from purchasing too few acoustic treatment panels. For instance, a ten percent buffer will account for acoustic treatment panels that may be cut from the treatment area for offcuts, future treatment area expansions, or for treatment areas whose walls do not even divide evenly into the size of your acoustic treatment panels.
Acoustic calculators apply a percentage buffer to the area to be treated. Then, they calculate and display the total number of acoustic treatment panels that will be required for the treatment area. Real treatment rooms has doors, windows, and HVAC returns.
These objects impact the movement of sound within the treatment area. Therefore, the dimensions of the treatment area that you enter into the acoustic treatment calculator may not accurately reflect the dimensions of the treatment area that is to be treated. Use the acoustic treatment calculator to find your starting point for acoustic treatment.
Then, use your acoustic treatment panels and your knowledge of sound to treat the treatment area. You may need to move some of the acoustic treatment panels from one wall to a first reflection point. Finally, once you have ensured that the dimensions of the treatment area are treated and the coverage percentage is correct, you can treat the remaining area by placing the acoustic treatment panels into the appropriate locations based on what you hear the treatment area make with the current placement of the acoustic treatment panels.