Gain Staging Calculator
Estimate trim moves, converter peak level, analog headroom, and usable signal-to-noise margin for recording, mixing, live sound, and streaming chains.
Core formulas: dBFS = dBu - converter clip dBu, required trim = target peak - current peak, Vrms = 0.775 x 10^(dBu/20), SNR = nominal level - noise floor.
Gain Staging Result
| Workflow | Nominal Target | Peak Target | Why It Works |
|---|---|---|---|
| Vocal tracking | -24 to -20 dBFS RMS | -12 to -8 dBFS | Leaves space for expressive phrases and consonant spikes. |
| Podcast recording | -24 dBFS RMS | -12 to -6 dBFS | Keeps speech clean before compression and loudness processing. |
| DI instruments | -22 to -18 dBFS RMS | -12 to -8 dBFS | Protects converters from slapped bass or sharp pick attacks. |
| Mix bus print | -18 dBFS RMS | -8 to -6 dBFS | Preserves headroom for mastering and bus processor color. |
| Mastering loop | -16 to -12 dBFS RMS | -3 to -1 dBFS | Uses more level after the mix is already controlled. |
| 0 dBFS Equals | +4 dBu Reads | -18 dBFS Reads | Best Use |
|---|---|---|---|
| +14 dBu | -10 dBFS | -4 dBu | Small interfaces and lower voltage gear. |
| +18 dBu | -14 dBFS | 0 dBu | Common studio alignment with healthy room. |
| +20 dBu | -16 dBFS | +2 dBu | Hybrid rigs with moderate analog level. |
| +24 dBu | -20 dBFS | +6 dBu | High headroom converters and pro outboard. |
| Source | Typical Crest Range | Suggested Peak | Gain Staging Note |
|---|---|---|---|
| Close vocal | 12 to 18 dB | -12 to -8 dBFS | Use pop peaks to set trim, not quiet verse level. |
| Spoken word | 8 to 14 dB | -12 to -6 dBFS | Compression later can raise noise if trim is too low. |
| Snare or kick | 18 to 26 dB | -14 to -8 dBFS | Transient spikes need more reserve than meters imply. |
| Synth line | 6 to 12 dB | -10 to -6 dBFS | Steady waveforms can run slightly hotter safely. |
| Mix bus | 8 to 14 dB | -8 to -6 dBFS | Avoid clipping EQ or saturation before the final limiter. |
| Preset | Nominal dBu | Peak Range | Target Peak |
|---|---|---|---|
| Bedroom Vocal Chain | -10 dBu | 14 dB | -10 dBFS |
| Podcast Booth | -12 dBu | 10 dB | -12 dBFS |
| DI Guitar | -16 dBu | 16 dB | -11 dBFS |
| Eight Mic Drums | -14 dBu | 24 dB | -12 dBFS |
| Live Vocal Monitor | -6 dBu | 14 dB | -8 dBFS |
| Mastering Chain | +4 dBu | 10 dB | -3 dBFS |
Gain staging is an process of making sure the signal is strong enough to avoid noise but quiet enough to avoid clipping. Gain staging are important because gain staging ensures that the signal from the instrument never exceed the maximum limit of the digital converter. If the signal do exceed the maximum limit of the digital converter, the signal will begin to clip, which will distort the digital signal more beyond repair.
In order to perform gain staging, the person must have an understanding of the differences between analog and digital level. Analog levels is measured in dBu, which is a measurement of voltage. Professional analog gear use a nominal level of +4 dBu.
How to Set Levels to Avoid Noise and Clipping
Consumer gear, however, use a lower nominal level of -10 dBV. Digital levels are measured in dBFS. 0 dBFS are the maximum level that the digital system can handle.
At this level, the digital system will begin to clip if the signal attempt to overcome this limit. The analog to digital converter create the link between these two type of measurements, but it has a limit to how high the analog signal can go to equal 0 dBFS. Another concept that is important to understanding gain staging is the concept of crest factor.
Crest factor is the difference between the average level of the signal and the peak level of the signal. For instance, the crest factor of vocal signals might be 14 dB. This means that the peak of the vocal signal is 14 dB higher than the average level of that signal.
If you dont account for this crest factor, the signal peaks will reach 0 dBFS and begin to clip. Drum signal have a higher crest factor than vocal signals, meaning that they requires more headroom in the recording chain. When setting levels within the recording chain, a person should use safety margin.
Safety margins provide headroom between the highest peak of the signal and 0 dBFS. Using a safety margin of 3 dB or 6 dB can provide headroom for instances when a singer might sing louder than expected. If the signal is set so that there is no safety margin, and the singer sings louder than expected, clipping will occur.
Another factor to consider is the noise floor. The noise floor is the level of background noises in the system. If the signal level are too low, the noise floor will be too loud in relation to the signal.
Therefore, a signal must be high enough to avoid noise floor issues but low enough to not clip. Common mistake when gain staging include focusing on the RMS meter instead of the peak meter. RMS meters shows the average loudness of the signal but do not reflect the peak levels of the signal.
By focusing on the RMS meter only, a signal will clip. Another common mistake is to forget that a compressor might add makeup gain to the signal. This makeup gain can increase the level of the signal, which might result in clipping at an analog-to-digital converter.
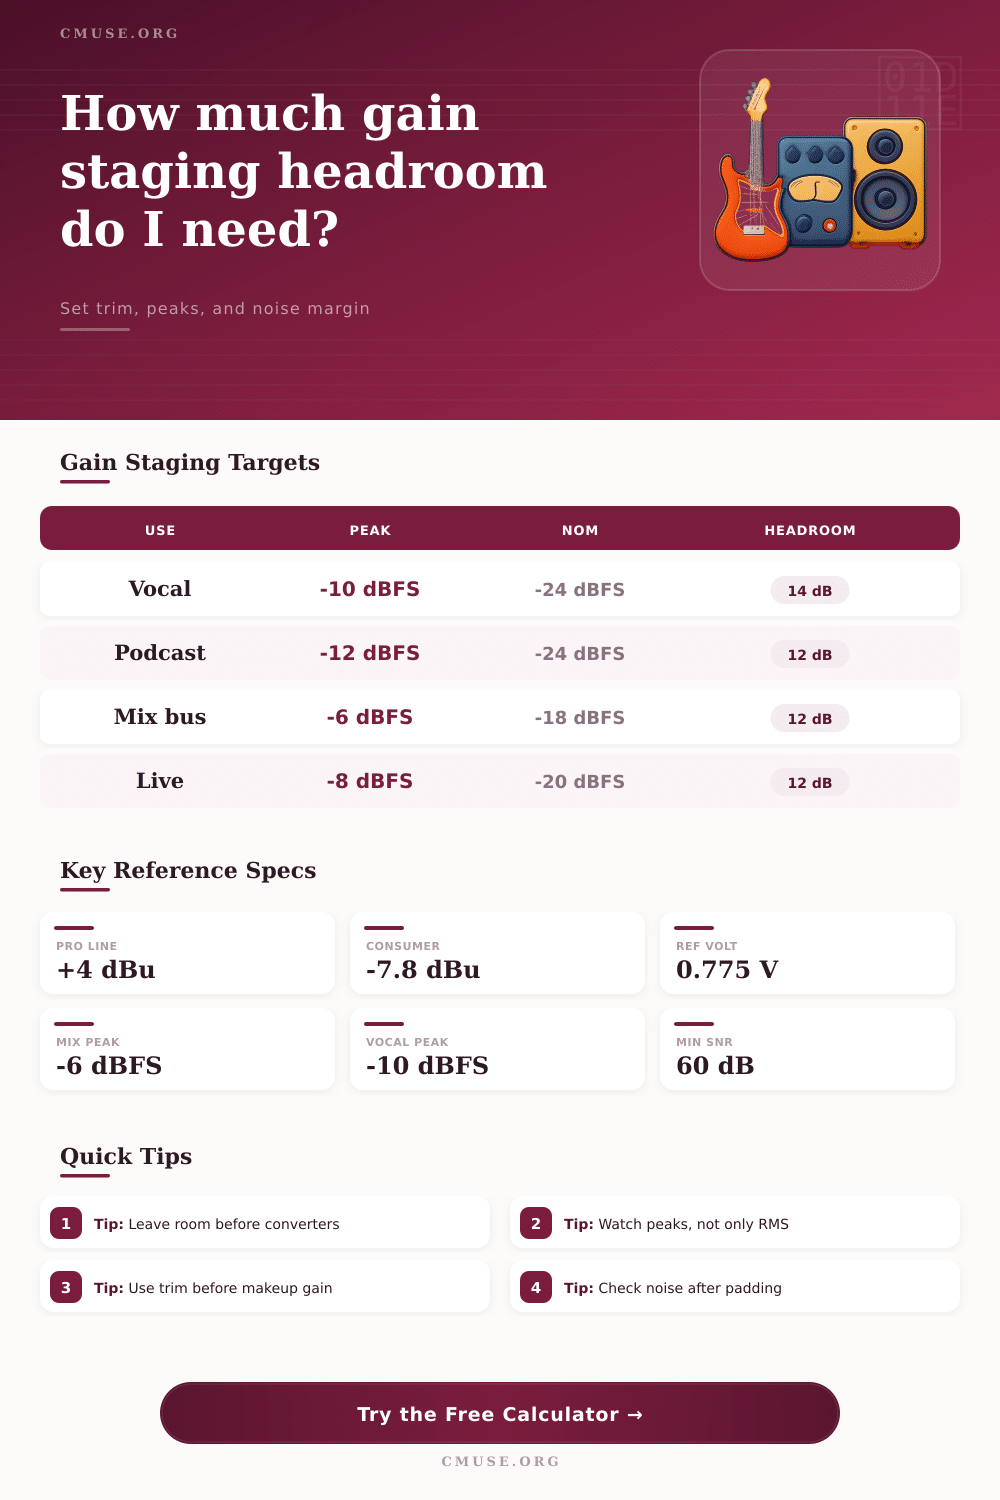
Different types of projects has different gain staging targets. For vocal tracks, the target should be set to ensure that the peak level of the signal are at -10 dBFS to allow for headroom in mastering. For podcasts, the target should be at -12 dBFS so that the volume between podcast is consistent.
For mix buses, -6 dBFS is a common target because the mixing process provide more control over the master mix bus. Finally, there are meters that shows the peaks of the signal in relation to 0 dBFS. A green light shows that the signal is in the safe range, and a clipping warning mean that the gain should be reduced.
By ensuring that the gain is properly managed throughout the entire recording chain, the signal will be clean and have the headroom required to achieve a high-quality recording of the signal.