Reverb Decay Calculator
Estimate RT60, absorption, and panel counts for rooms, booths, and live spaces with band-aware acoustic data.
🎧 Room Presets
🛠 Room Setup
📊 Live Spec Grid
| Room Use | Target RT60 | Feel | Mix Goal |
|---|---|---|---|
| Voice booth | 0.20-0.30 s | Very dry | Zero bloom |
| Podcast room | 0.25-0.35 s | Tight | Speech focus |
| Control room | 0.30-0.45 s | Neutral | Clear imaging |
| Live room | 0.45-0.75 s | Open | Natural tails |
| Profile | 125 Hz | 1 kHz | 2 kHz |
|---|---|---|---|
| Bare shell | 0.04 | 0.05 | 0.06 |
| Drywall/wood | 0.05 | 0.07 | 0.08 |
| Carpeted room | 0.08 | 0.12 | 0.13 |
| Podcast booth | 0.18 | 0.30 | 0.35 |
| Material | Depth | 1 kHz Alpha | Use |
|---|---|---|---|
| Foam tile | 1 in | 0.65 | Light control |
| Fiberglass | 2 in | 0.95 | Broadband wall |
| Mineral wool | 4 in | 1.05 | Deep broadband |
| Bass trap | 6 in | 1.10 | Low-end decay |
| RT60 Range | Sound | Best For | Risk |
|---|---|---|---|
| 0.20-0.35 s | Dry and close | Voice capture | Can feel dead |
| 0.35-0.60 s | Controlled | Mix rooms | Needs bass control |
| 0.60-1.00 s | Warm and open | Live tracking | Speech blur |
| 1.00 s+ | Long tail | Halls and nave | Loss of clarity |
Reverb decay are a measurement of how long it takes for sound to become audible in a room once the sound source stop emitting sound. Reverb decay is often represented by a measurement of RT60, which is the time it takes for sound to drop by 60 decibels. A high RT60 indicate a long reverb decay, which may make the sound within that space unclearly.
A low RT60 mean that the reverb decay within that space is short, which makes that space sound dry or dead. It is important to manage the reverb decay within a room because it will impact how clear the speech or music within that space will sound. Several factor, such as the size of the room, the type of materials present within the room in relation to it’s surface, and the treatments that may be added to those surfaces, determines the calculation of reverb decay.
How to Control Reverb in a Room
For instance, materials like concrete will reflect more sound at lower frequencies than materials like carpet, which will absorb more sound. By utilizing these different material within a space, we are able to manipulate the reverb decay within that space to an apropiate target. One of the main methods of treating a space to control its reverb decay is by placing materials like foam or mineral wool on the walls and ceilings of the space.
The thickness of these materials is important to the control of reverb decay because thicker materials will absorb more low frequencies of sound than thin materials. For instance, 1-inch tile of foam will absorb some sound, but 4-inch panels of mineral wool will absorb more sound of different frequencies than the thin tiles. The depth of these acoustic treatments is also important for the same reason that the thickness is important; sound must penetrate the material to be absorbed by the material, so shallow materials will not absorb low frequencies of sound as effectivly.
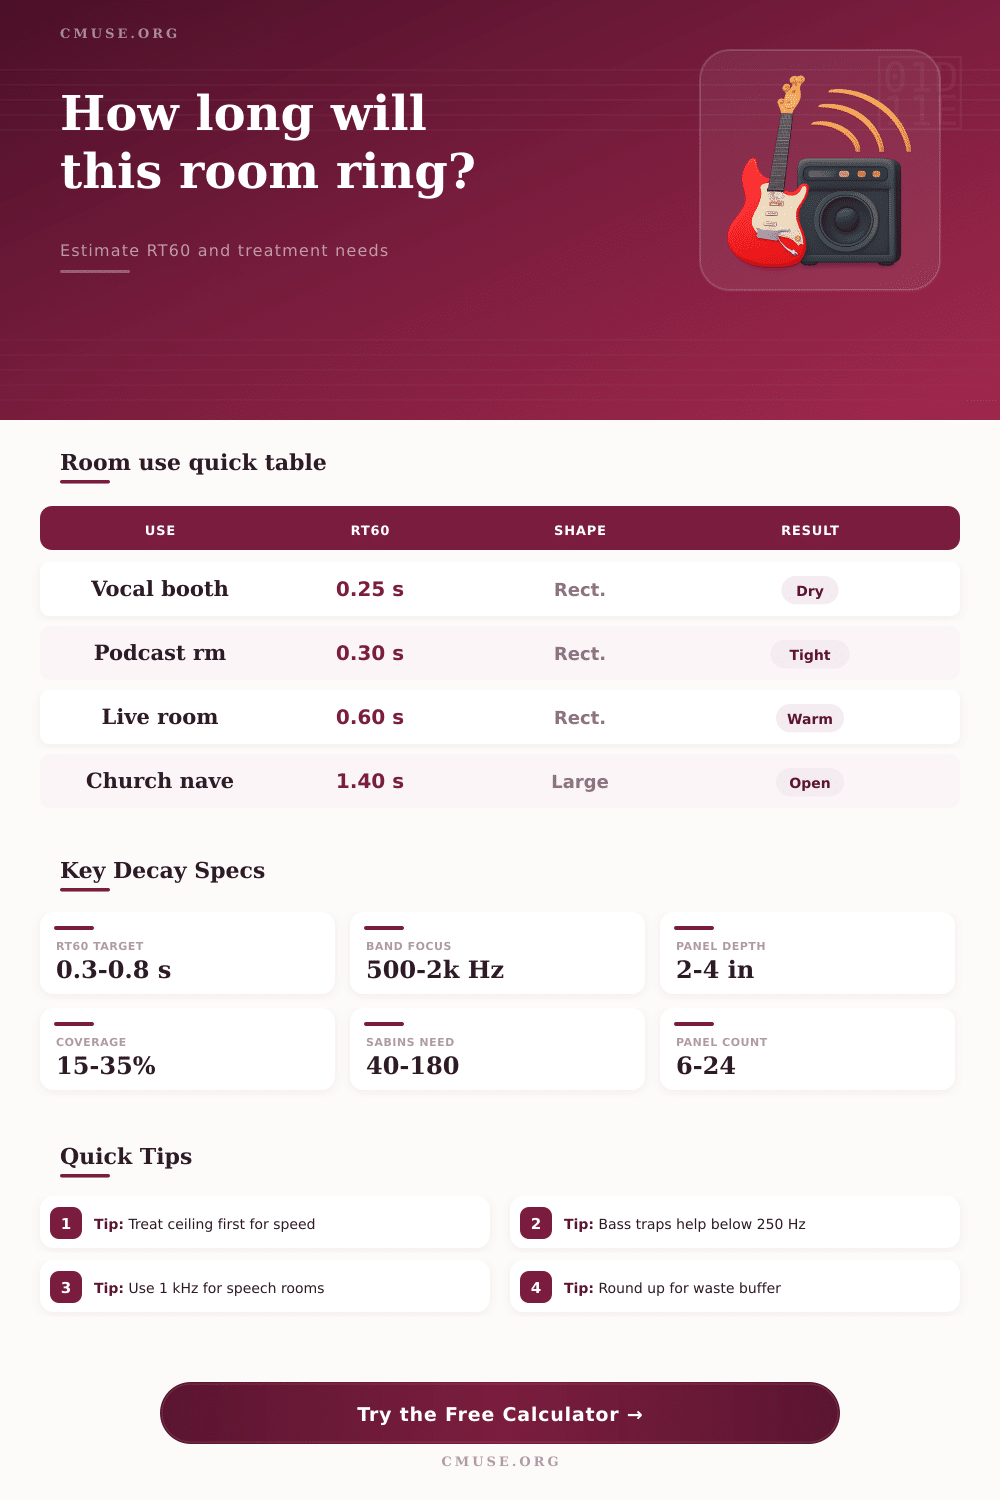
In addition to depth, it is also important to decide the percentage of the walls and ceilings that you will treat with these acoustic treatments. Depending on the use that you intend to make of the space, you may require a certin level of reverb decay for that space. For instance, a vocal booth will require a very low RT60, perhaps as low as 0.25 seconds, to prevent singers from breathing or speaking too closely to blur there sounds together.
In contrast, a live room for drums may require an RT60 of 0.6 seconds. A classroom may require an RT60 of 0.5 seconds so that teachers speech is not blurred together, but a church may require an RT60 of 1.4 seconds to allow the spatial sound of music to create a soaring sound throughout the building. Thus, identifying the use of the space will help to determine the target reverb decay for RT60.
It is also important to consider which frequency band to treat in the space. Speech is most intelligible at 1 kHz, so treating 1 kHz will allow for the best speech in the space. You can treat the 500 Hz frequency band to ensure that the sound is balanced in the space.
However, any sound below 250 Hz should not be treated with acoustic treatment on the walls, as these frequencies can build up in the corner of the room. Thus, corner traps should be used to treat those 250 Hz frequencies. Additionally, the standing wave that may occur in a space can often be problematic.
You can prevent standing waves by treating the ceilings with acoustic clouds or treating the walls with acoustic panels at an angle. It isnt necessary to treat every surface in the space. The ceilings and rear walls should be treated, but the front walls of the space should be left untreated.
Finally, there are some variable that are difficult to quantify when treating a space for reverb decay. An overage of approximately 10% should be allowed for acoustic treatments for the possibility of waste in the treatment, as well as for the additional sound absorption that the furnitures in the space will create. Once you install the acoustic treatments in the space, pink noise can be used to test the effectiveness of those treatments.
By playing pink noise in the space after the treatments are installed, you can test and verify the target RT60. The actual sound of the space is the most important factor in any recording space.